This is the first article in a series on Aria Automation. Yes, the title talks about the installation of the 8.11.2 release, when the product was still called vRealize Automation. Why talk about such an old version? Because it often happens that you have to make updates on old infrastructures […]
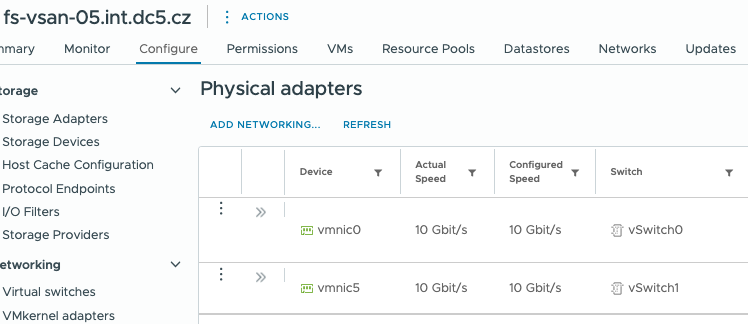
Renaming or reordering vmnics on an ESXi host can be useful in various scenarios, such as standardizing network configurations or aligning network interface names across multiple hosts. This guide will show you how to achieve this using the ESXi command line.
Listing Current vmnic Aliases
Before making changes, it is essential to check the current vmnic assignments. You can do this with the following command:
localcli --plugin-dir /usr/lib/vmware/esxcli/int/ deviceInternal alias list
This command will return a list of all existing vmnic aliases and their corresponding bus addresses.
Bus type  Bus address          Alias
--------  -------------------  -----
pci       m01000300            vmhba0
pci       m01000b00            vmnic0
pci       p0000:00:07.1        vmhba1
pci       m02001300            vmnic1
logical   pci#m01000300#0      vmhba0
logical   pci#p0000:00:07.1#0  vmhba1
logical   pci#p0000:00:07.1#1  vmhba64
logical   pci#m02001300#0      vmnic1
logical   pci#m01000b00#0      vmnic0
When a nic is controlled by a native driver, then there are actually two aliases associated with the device: a pci alias for the pci device and a logical alias for the uplink logical device.
[root@fs-vsan-05:~] localcli --plugin-dir /usr/lib/vmware/esxcli/int deviceInternal alias list | grep vmnic1
When the logical alias is present, then both the pci alias and logical alias need to be renamed !
Changing a vmnic Name
Make sure you have console access before starting the upcoming steps.
To change the name of a specific vmnic, use the following commands. Replace vmnic5 with the desired new alias and update the bus-address accordingly.
localcli --plugin-dir /usr/lib/vmware/esxcli/int deviceInternal alias store --bus-type pci --alias vmnic5 --bus-address m02001300

localcli --plugin-dir /usr/lib/vmware/esxcli/int deviceInternal alias store --bus-type logical --alias vmnic5 --bus-address pci#m02001300#0
Once the commands have been executed, you need to reboot the ESXi host for the changes to take effect.
reboot
Having Some Fun with vmnic Naming
If you want to experiment and see how ESXi handles long vmnic names, you can try something fun like this:
localcli --plugin-dir /usr/lib/vmware/esxcli/int deviceInternal alias store --bus-type pci --alias vmnic1234567890 --bus-address m02001300

localcli --plugin-dir /usr/lib/vmware/esxcli/int deviceInternal alias store --bus-type logical --alias vmnic1234567890 --bus-address pci#m02001300#0

reboot
While ESXi generally follows a strict naming convention, pushing its limits can be an interesting experiment!
Conclusion
Renaming vmnics in ESXi via the command line is a straightforward process that requires just a few commands and a reboot. Whether you’re restructuring network configurations or just having a bit of fun, these steps will help you modify your ESXi network interfaces with ease.
Happy 2025! 🎉 Here is a fun one to kick off the New Year ☺️ Last year, I demonstrated a method for customizing the SMBIOS hardware string using Nested ESXi, but the solution was not perfect and required hacking up a VM ROM file and it was also limited to using the BIOS firmware for […]
VMware Cloud Service Providers on Innovating with VCF #CloudServiceProviders #PrivateCloud #VMwareCloudFoundation #IBMCloud #Rackspace #TSystems #ITInfrastructure
VMware Cloud Foundation is the perfect underpinning for our VMware Cloud Service Providers’ innovation efforts. Its flexibility allows them to run a modern private cloud for their customers that feels like a public cloud. When combined with their own expertise and services, the result is solid […]
I wanted to import a VM in a vCenter managed vSphere 7 cluster, but during the deployment/import task an error occured! I checked the the /var/log/vmware/vpxd.log, where i found the following line Transfer failed: Invalid response code: 403, note that HTTP/s proxy is configured for the transfer.
I have been tuning my Home Lab network during my vacation. Private AI/ML, vGPU and VDI requires a fast Home Lab setup. I tweaked my Switch (Dell EMC S4112T-ON), UDM Pro, ESXi hosts, and also […]
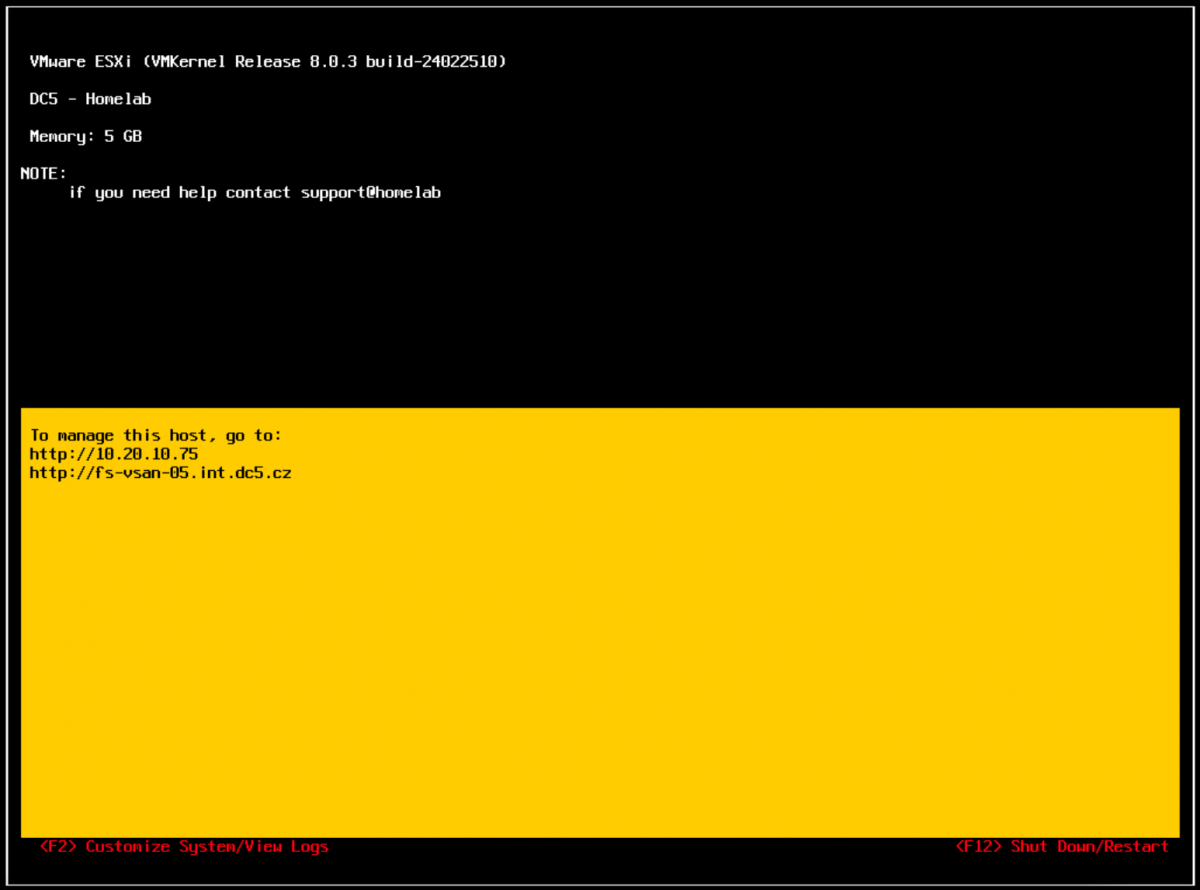
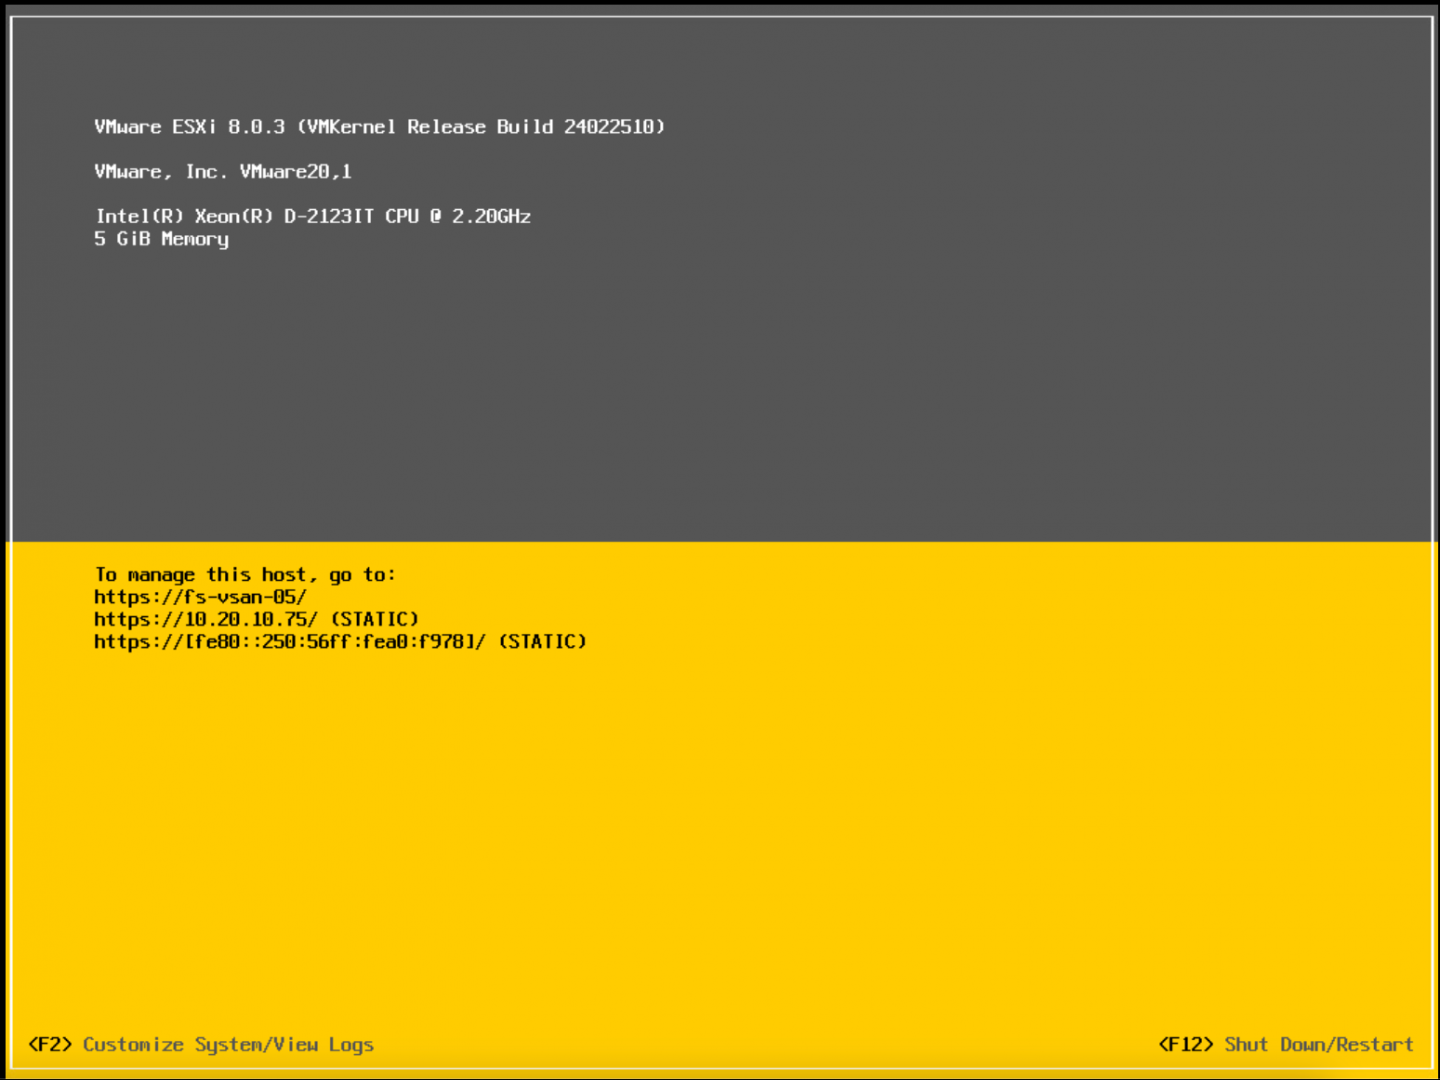
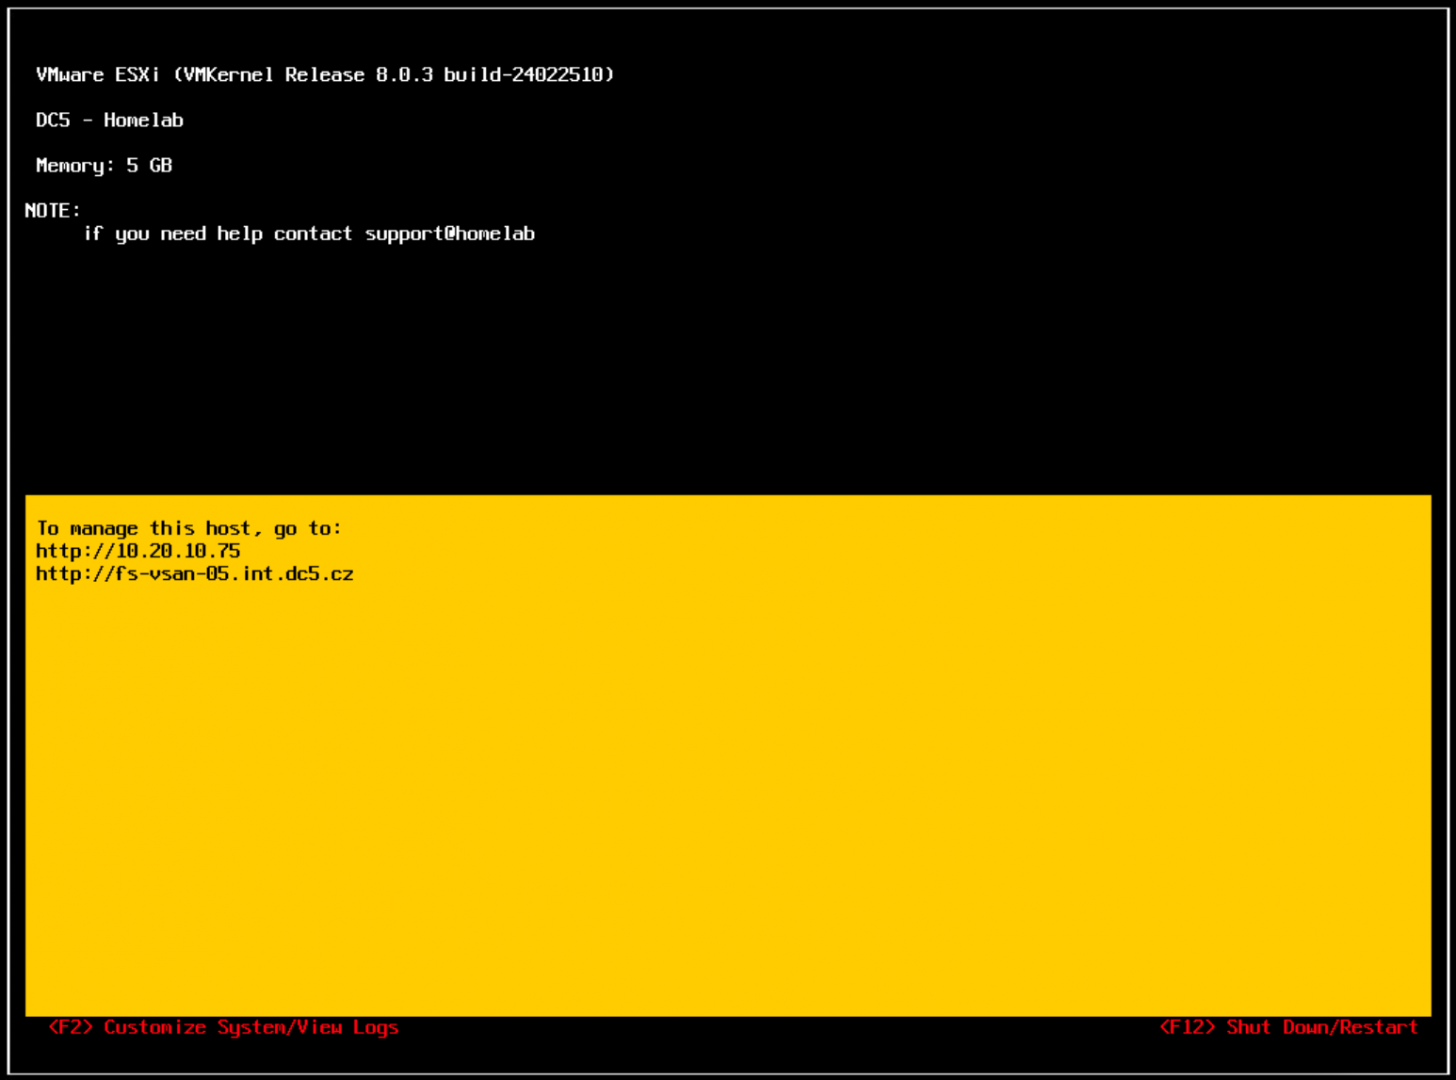
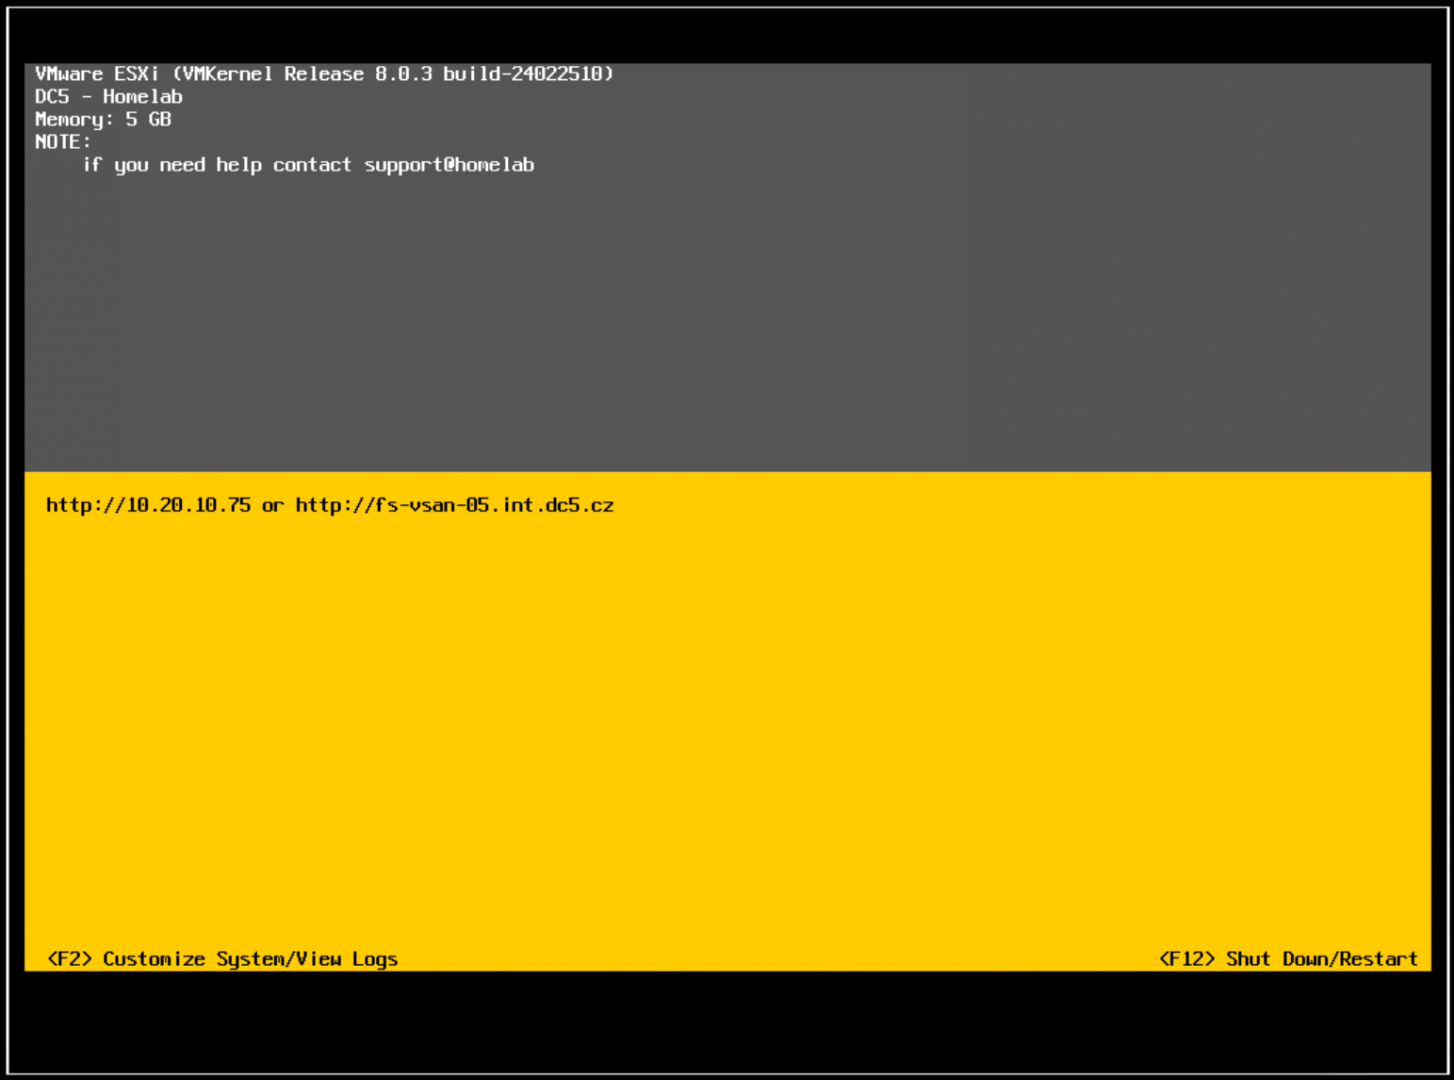
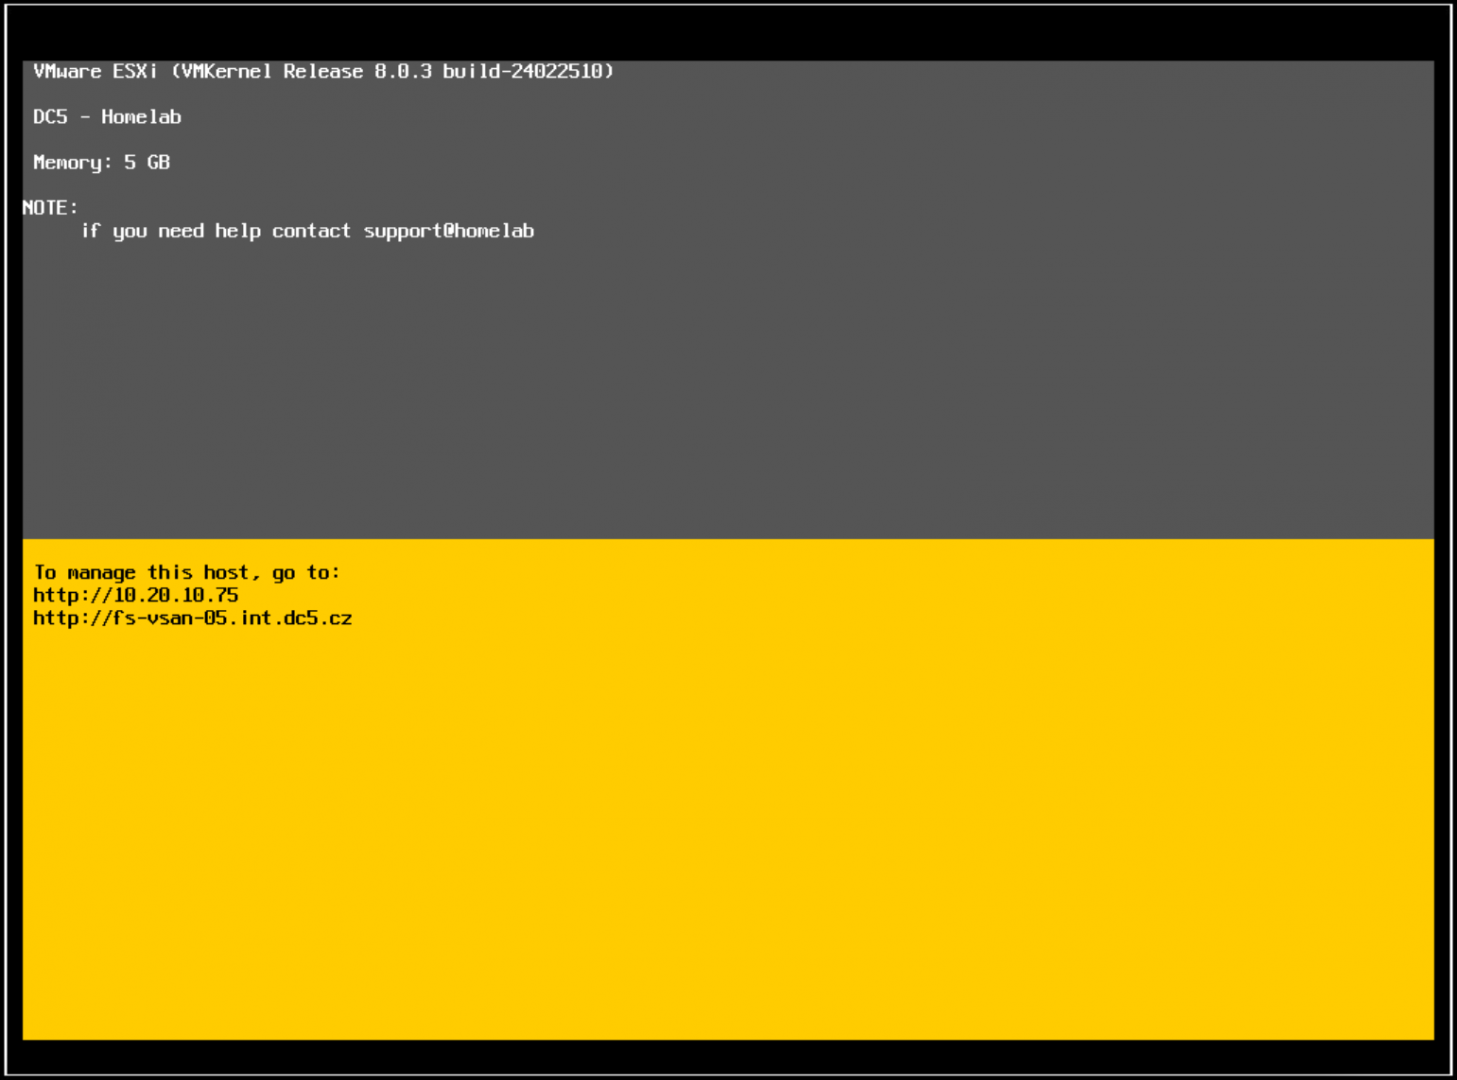
Ever wanted to spruce up that default login screen on your ESXi host or have some fun with your DCUI? Then you’re in the right place! In this post, I’ll walk through using the Annotations.WelcomeMessage advanced setting to display a custom welcome message on your ESXi host. Best of all, I’ll share a neat PowerShell function to make it easy.
Why Customize the Welcome Message?
Personalization: Display a personal greeting, instructions, or a quick reminder for anyone logging into the ESXi console.
Useful Info: Share contact details or support info in case someone needs to know who to call if something breaks.
Fun Factor: It’s always nice to see something other than “Welcome to VMware ESXi” from time to time at least in homelab.
Security: Display security/legal warning.
The Advanced Setting: Annotations.WelcomeMessage
Annotations.WelcomeMessage is an advanced ESXi host parameter. It’s where you store the text you want displayed in DCUI on the default console screen (replacing some default text, similar to screenshot below).
(virtual ESXi)
PowerShell Script: Set-WelcomeMessage Function
Here is the star of the show—my simple PowerShell function that taps into VMware’s PowerCLI to set Annotations.WelcomeMessage on your ESXi host. It even shows you the old message before setting the new one.
Function Set-WelcomeMessage {
    <#
        .SYNOPSIS
        This function retrieves the vCenter version and build number.
        Based on https://knowledge.broadcom.com/external/article/315410/

        .NOTES
        File Name      : set_welcome_message.ps1
        Author         : Stanislav Musil
        Prerequisite   : PowerShell
        Website        : https://vpxd.dc5.cz/index.php/category/blog/
        X (Twitter)    : https://www.x.com/stmusil

        .DESCRIPTION
        The script is a function that takes a single parameter, the vCenter server name. Retrieves the version and build number.
        To use the function, you can dot-source the script and then call the function.
        Windows:   . .\set_welcome_message.ps1
        Mac/Linux: . ./set_welcome_message.ps1

        .EXAMPLE
        Set-WelcomeMessage -Hostname "ESXi.example.com" -WelcomeMessage "Welcome to {{hostname}"

    #>
    param (
        [string]$HostName,
        [string]$WelcomeMessage
    )

    # Ensure PowerCLI module is imported
    if (-not (Get-Module -Name VMware.VimAutomation.Core -ErrorAction SilentlyContinue)) {
        Import-Module VMware.VimAutomation.Core
    }`

# Define the target host and the parameter values
$ESXihost = Get-VMHost -Name $HostName
$paramName = "Annotations.WelcomeMessage"

$current = Get-AdvancedSetting -Entity $ESXihost -Name $paramName
Write-Host "Current Weclome message:"  $current.Value

# Set the advanced parameter
Get-AdvancedSetting -Entity $ESXihost -Name $paramName | Set-AdvancedSetting -Value $WelcomeMessage -Confirm:$false

# Verify the change
$updatedSetting = Get-AdvancedSetting -Entity $ESXihost -Name $paramName
Write-Output "New $paramName value on $ESXihost : $($updatedSetting.Value)"

}
How to Run It
1. Dot-source the script (so the function is recognized):
On Windows:
. .\set_welcome_message.ps1
On Mac/Linux:
. ./set_welcome_message.ps1
2. Execute the function:
Set-WelcomeMessage -Hostname "ESXi.example.com" -WelcomeMessage "Welcome to my ESXi host!"
3. That’s it! Now when you check the DCUI over iDRAC/IPMI/iLO etc.. or on directly on console screen, you’ll see your brand-new custom text.
Customizing your ESXi’s welcome message is quick, easy, and surprisingly fun. Whether you’re adding a helpful notice or just a silly greeting, a personal touch goes a long way. Give it a try, and see if your team notices!
Do you know that receiving the vExpert award is not just about blogging? While most vExperts do blog, there are many ways that you might already be contributing to the VMware community that can earn you the 2025 vExpert award. Below, we will outline some of the many different ways you can […]