In this post, I’ll walk you through the installation step by step, with screenshots for every important click along the way. Whether you’re setting up a lab or preparing for production, these pictures will make sure you don’t miss a thing. Let’s dive in!
Mount ISO image and run installer
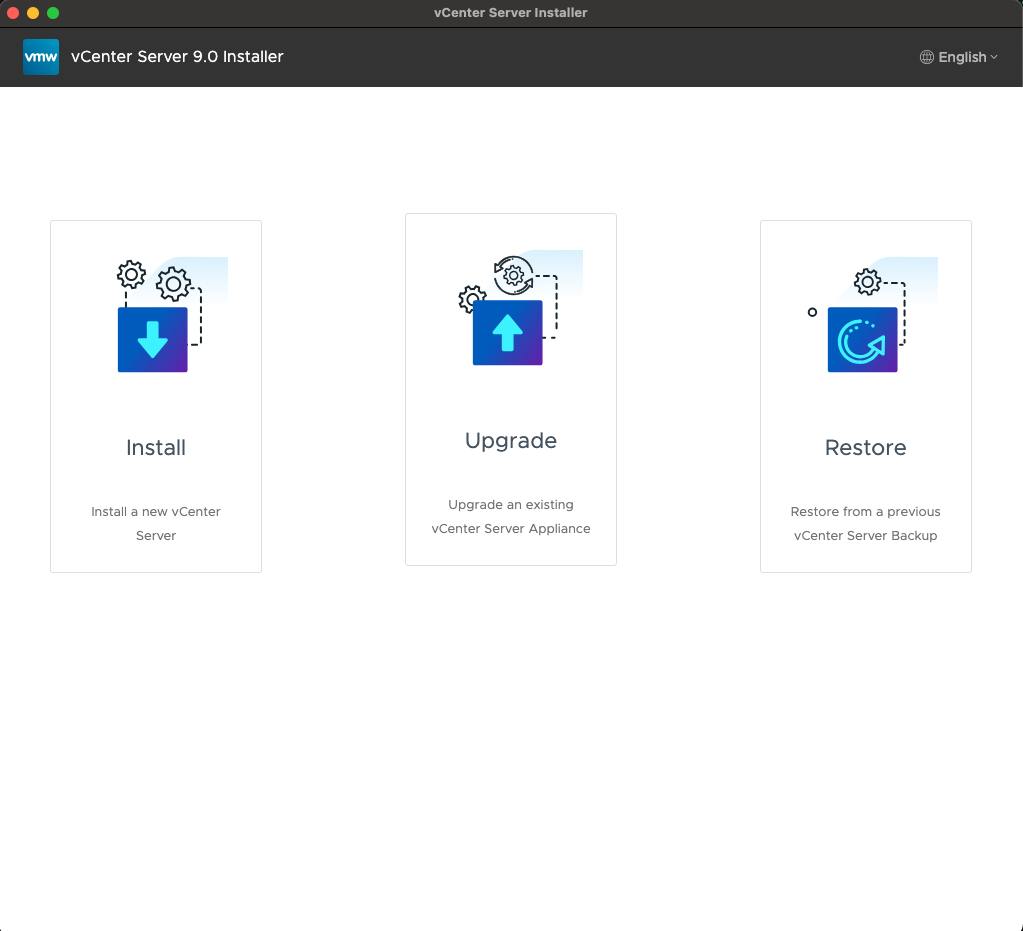
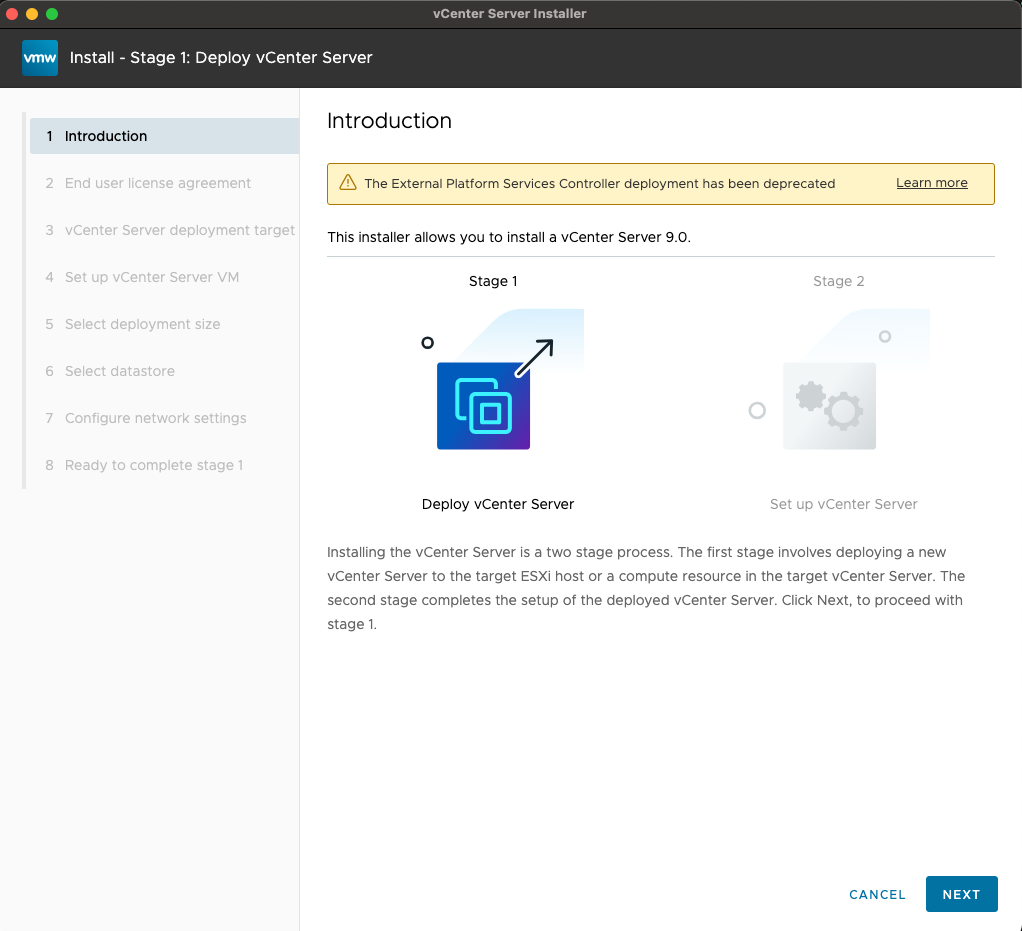
Deploy new vCenter Server
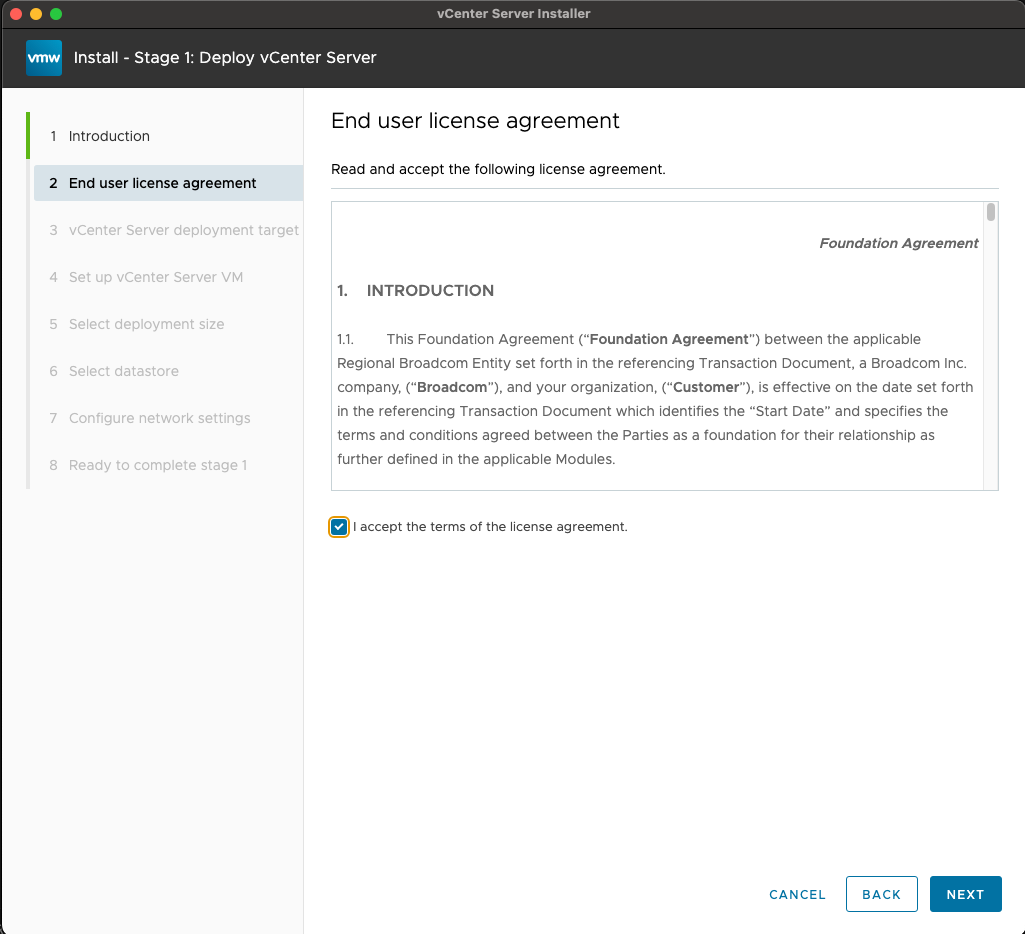
Check “I accept the terms of the license agreement.”
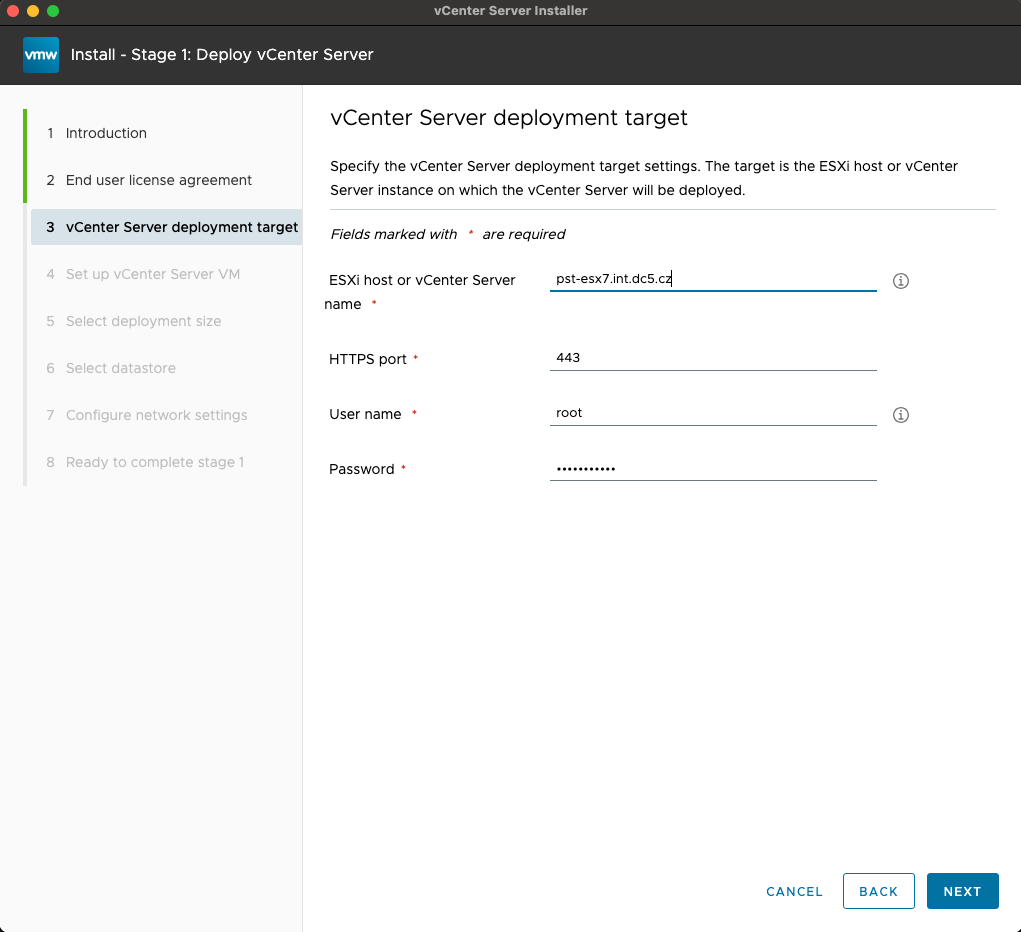
Fill the ESXi host DNS name/IP or vCenter DNS/IP + credentials.
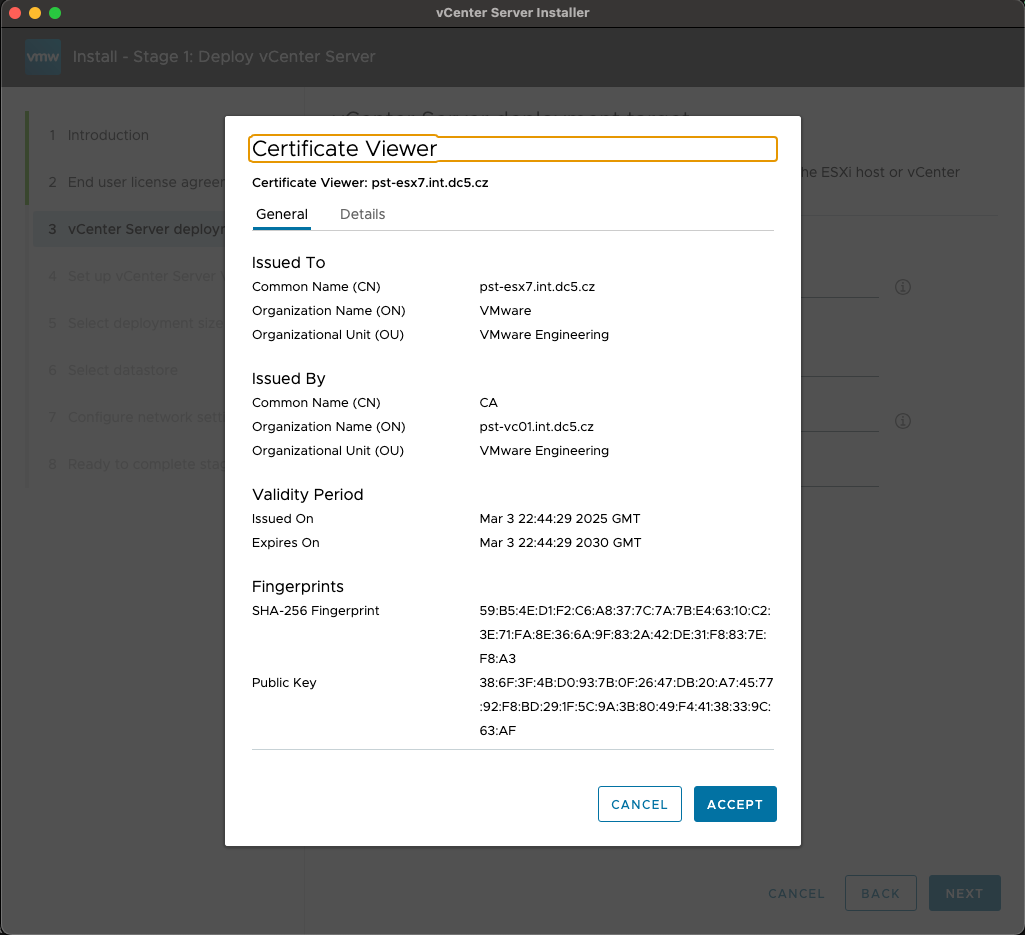
Accept the certificate
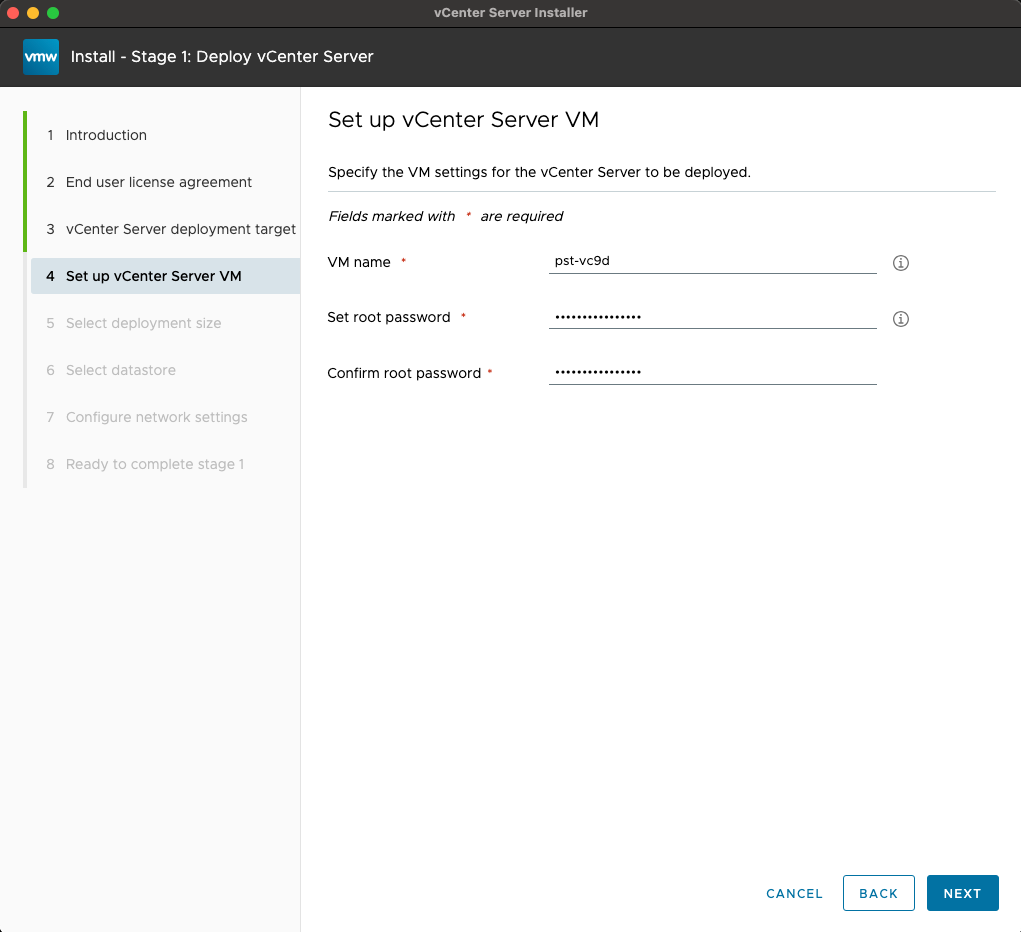
Provide a new vCenter VM Name and root password.
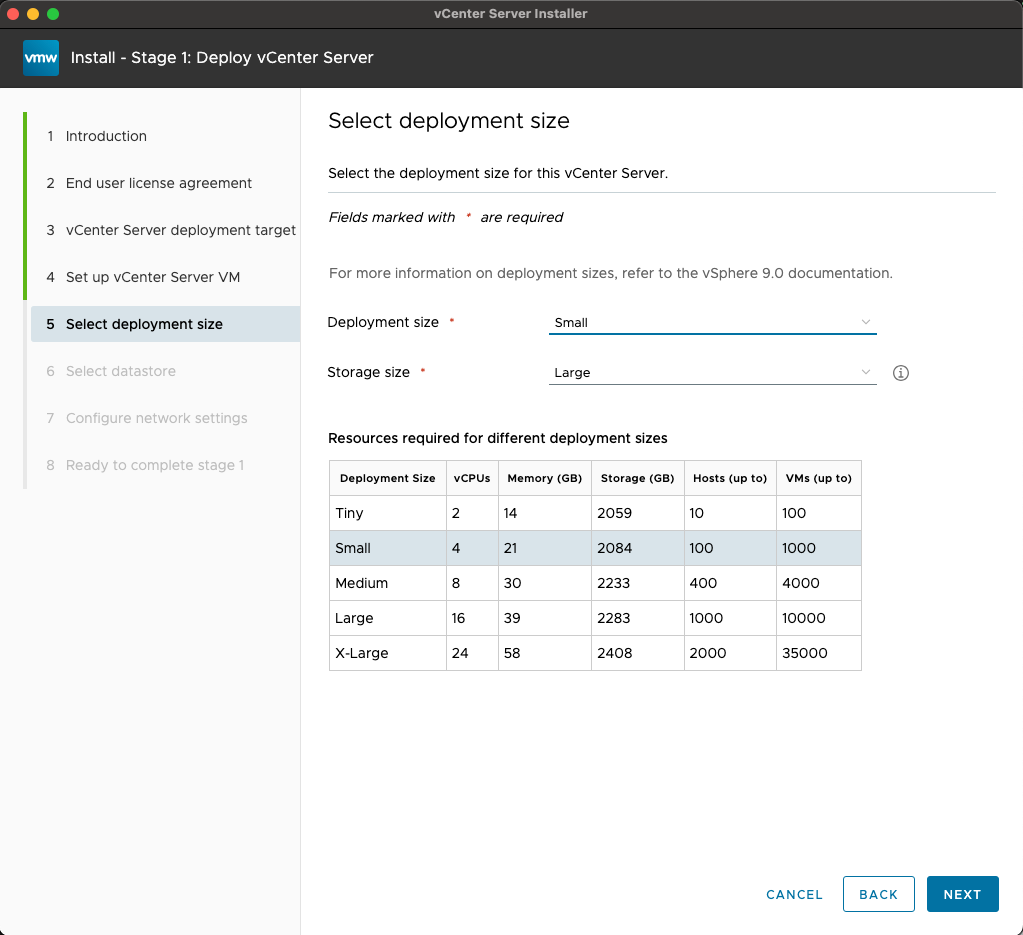
Choose deployment size based on your environment.
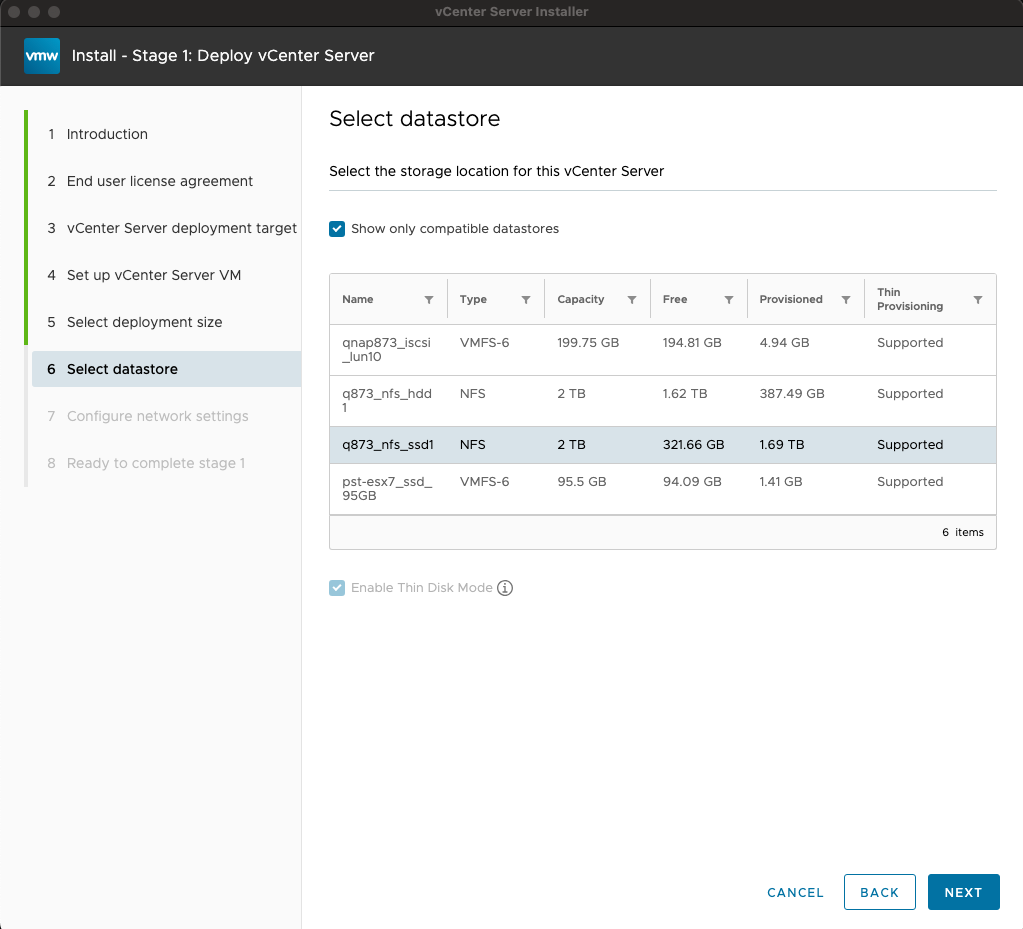
Pick datastore where the new vCenter will be deployed.
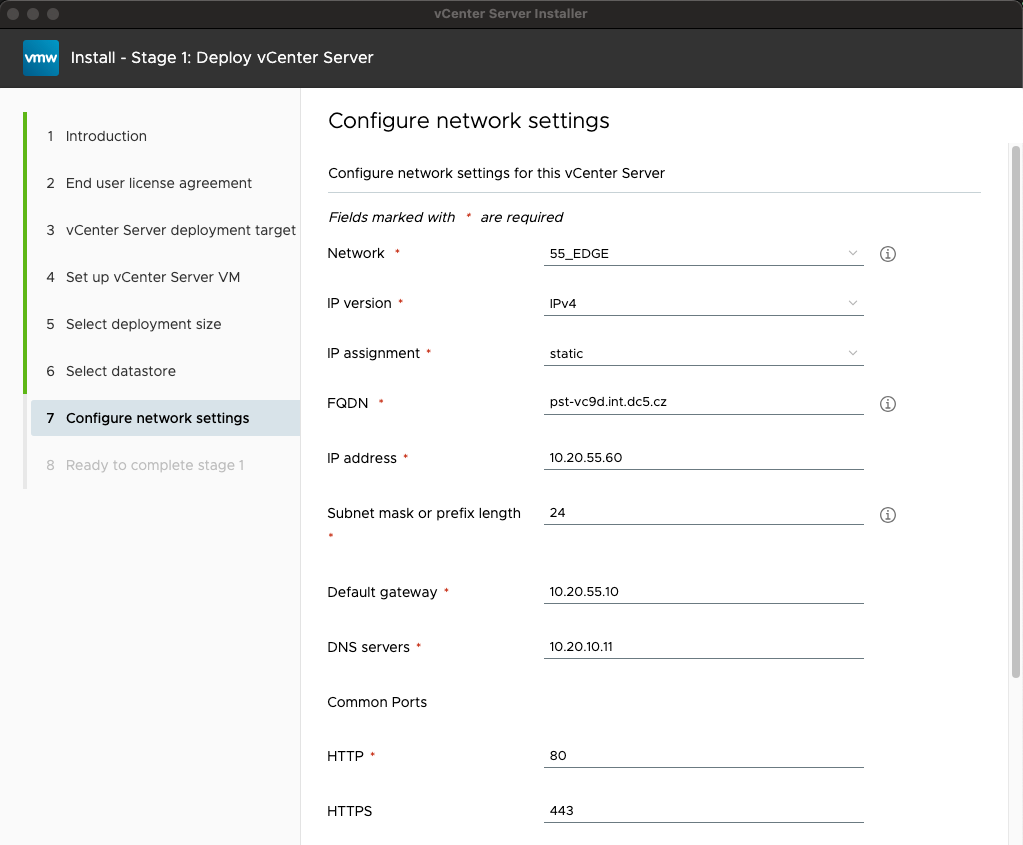
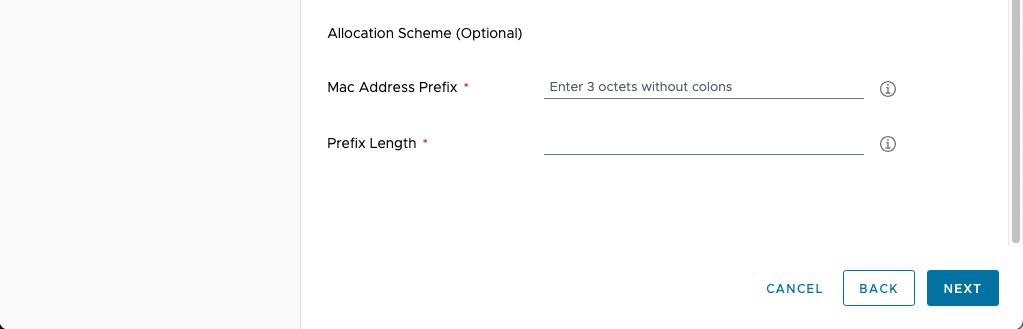
Fill all the netwok details.
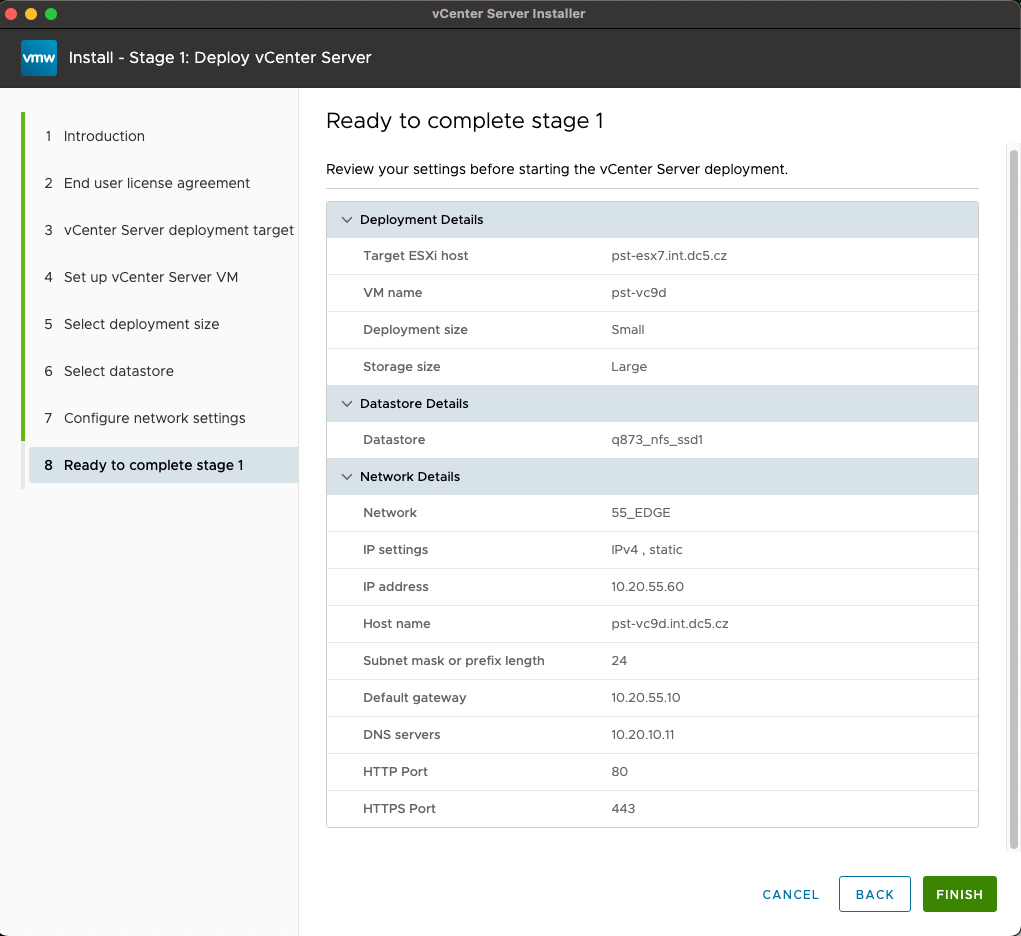
Final review before deployment.
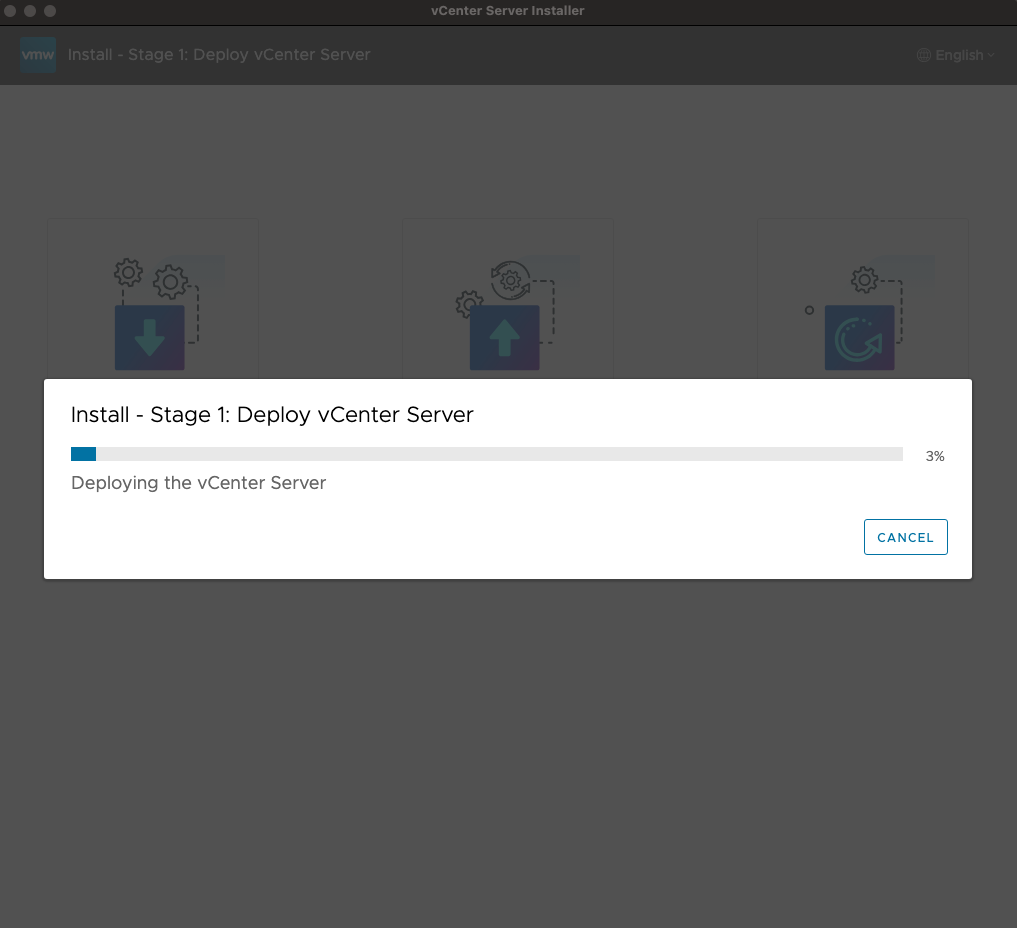
Deployment in progress
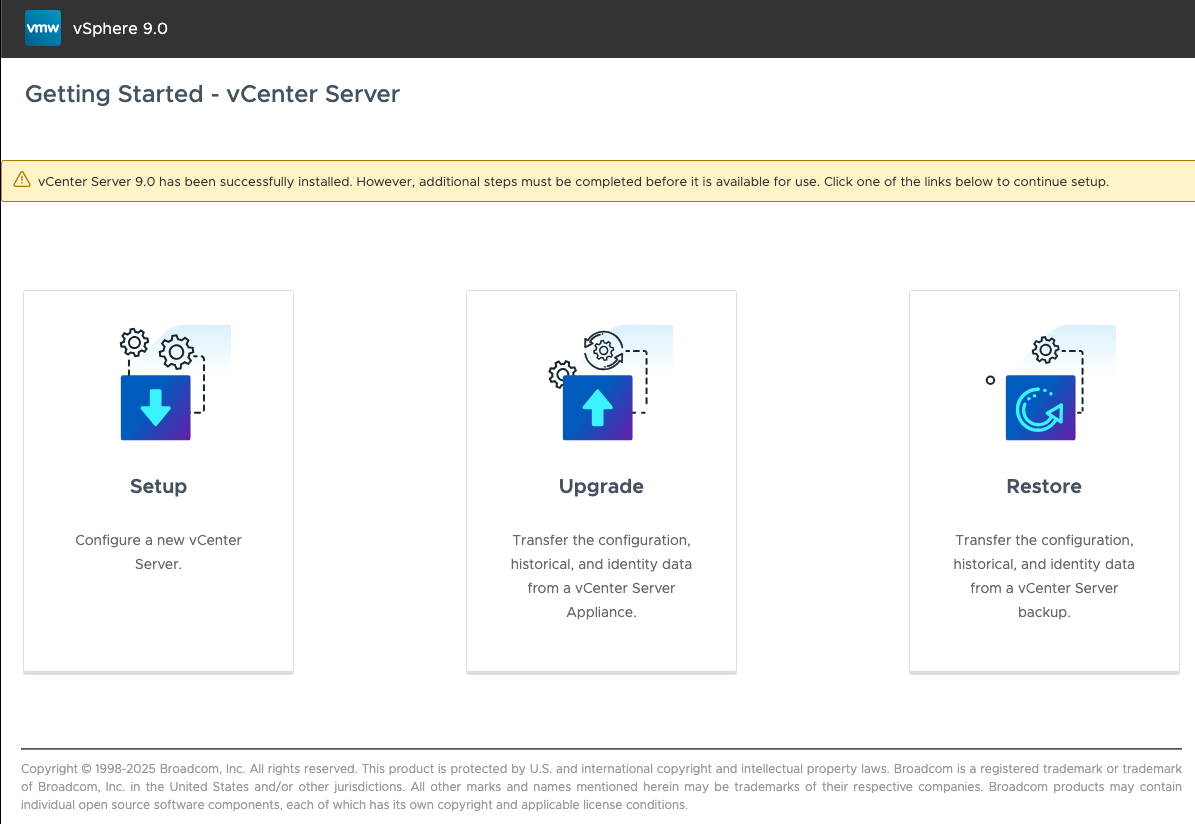
Stage 2
choose “Setup”
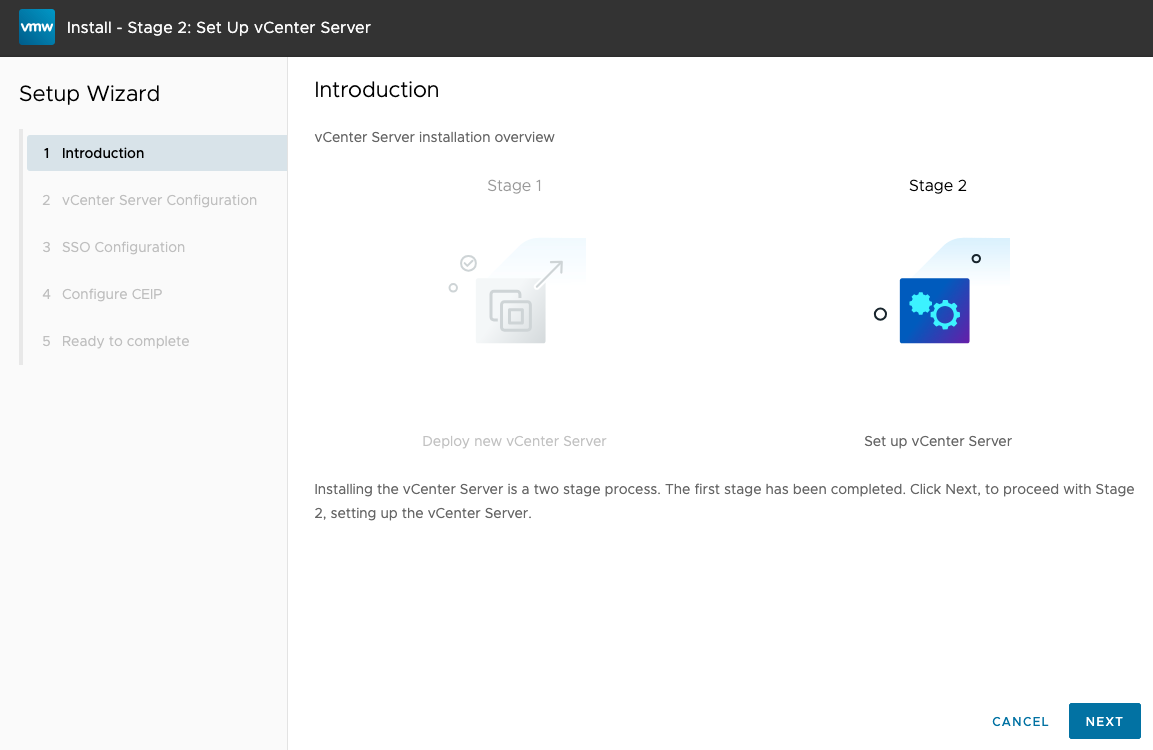
Continue with Stage 2
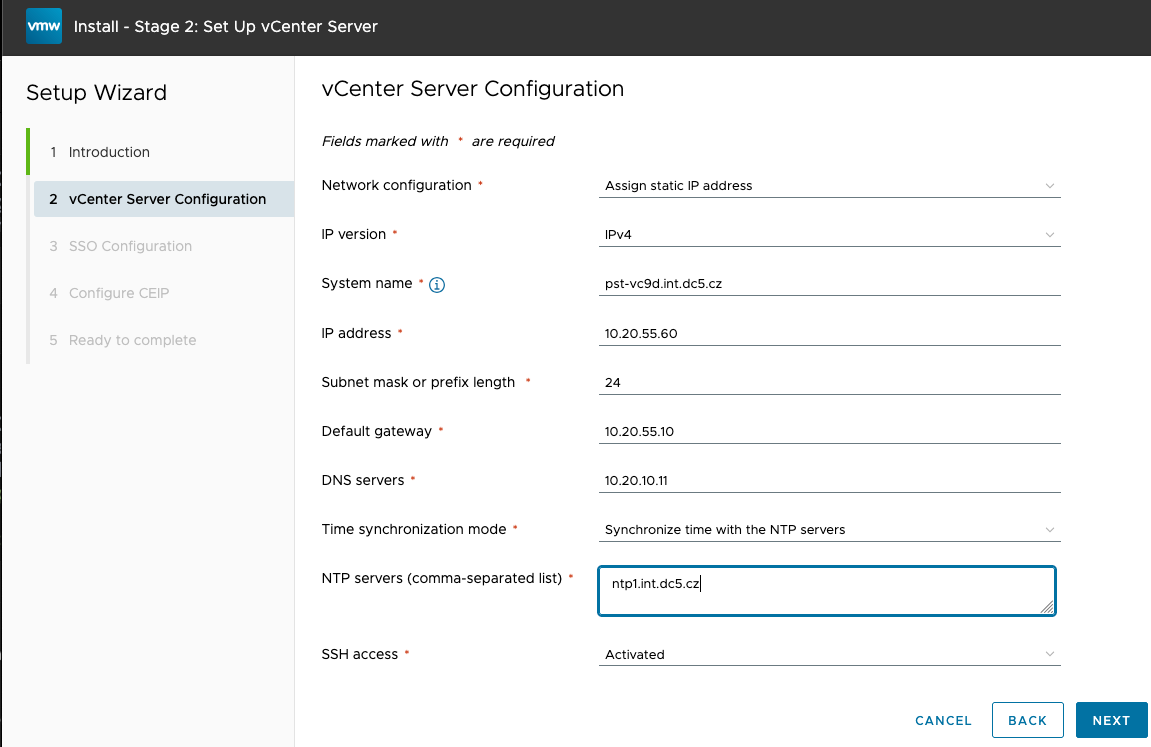
Fill vCenter configuration, DNS servers, NTP’s, Allow/disallow SSH access.
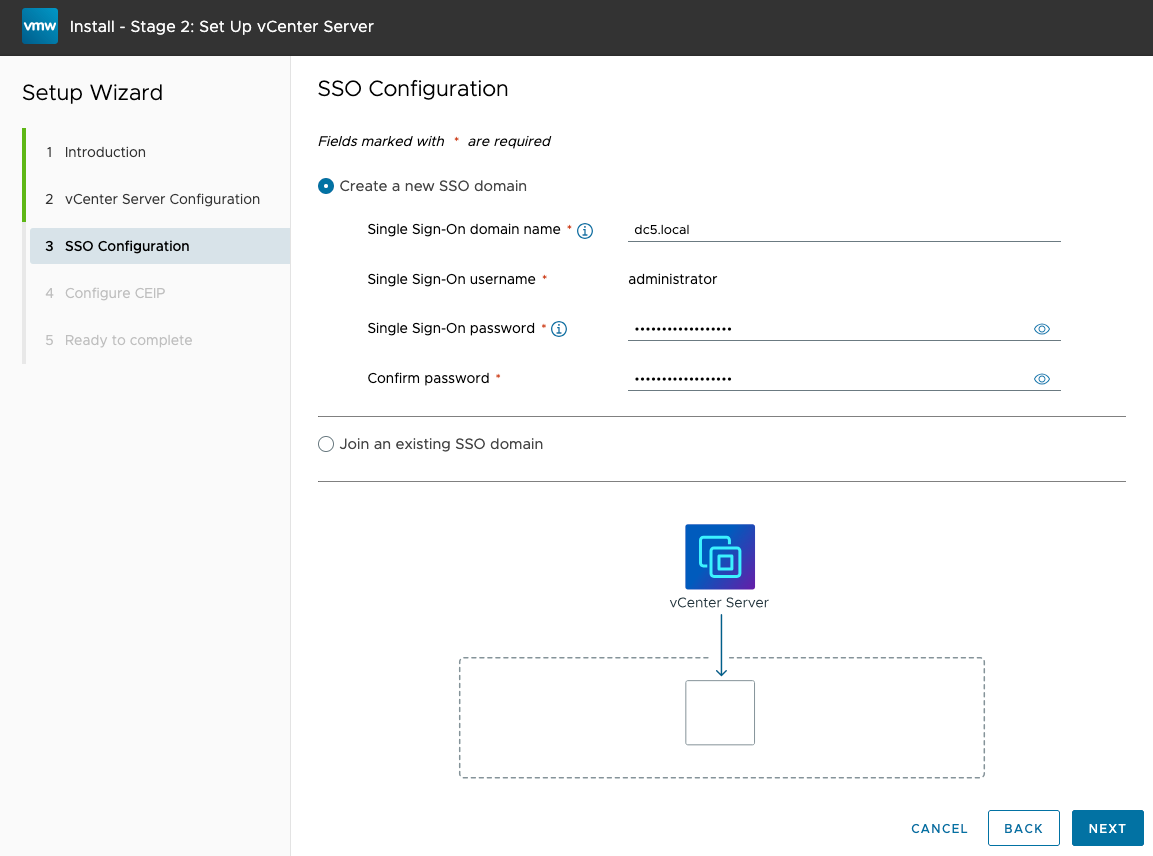
Create new or join existing SSO domain.
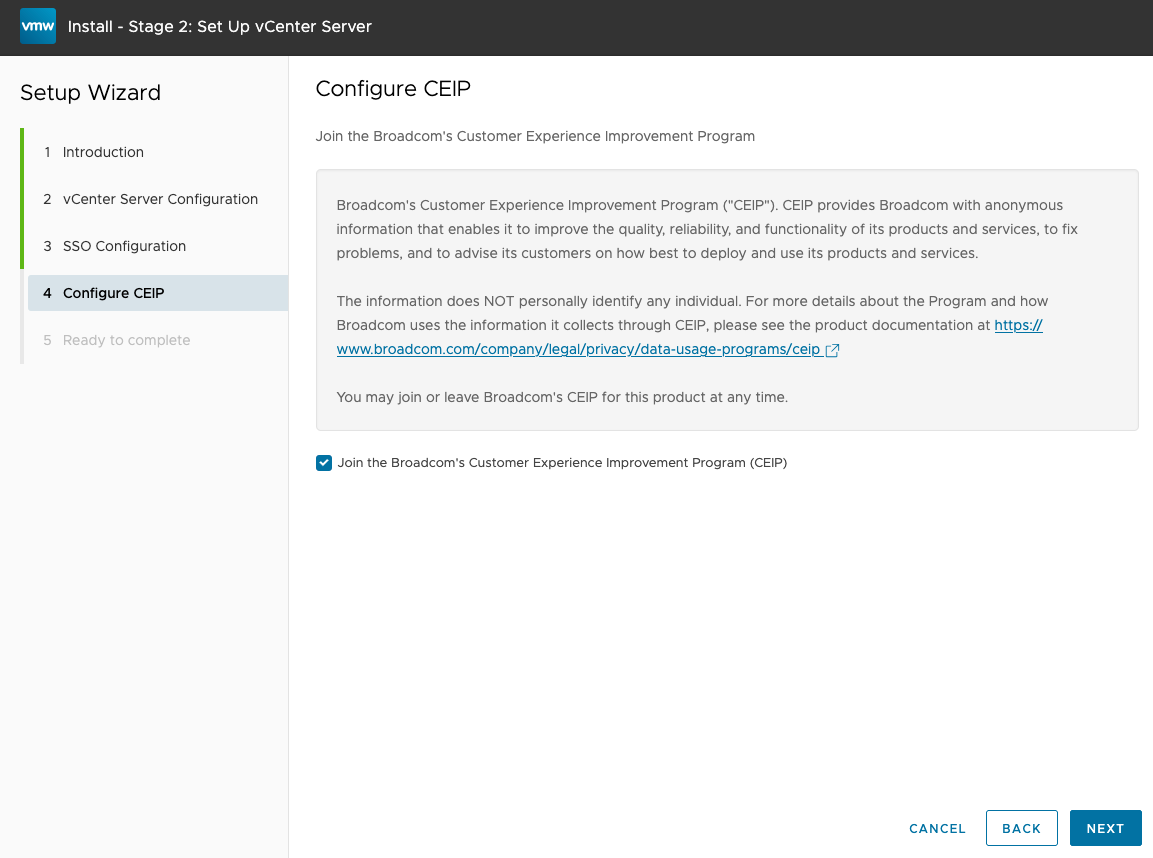
Configure CEIP
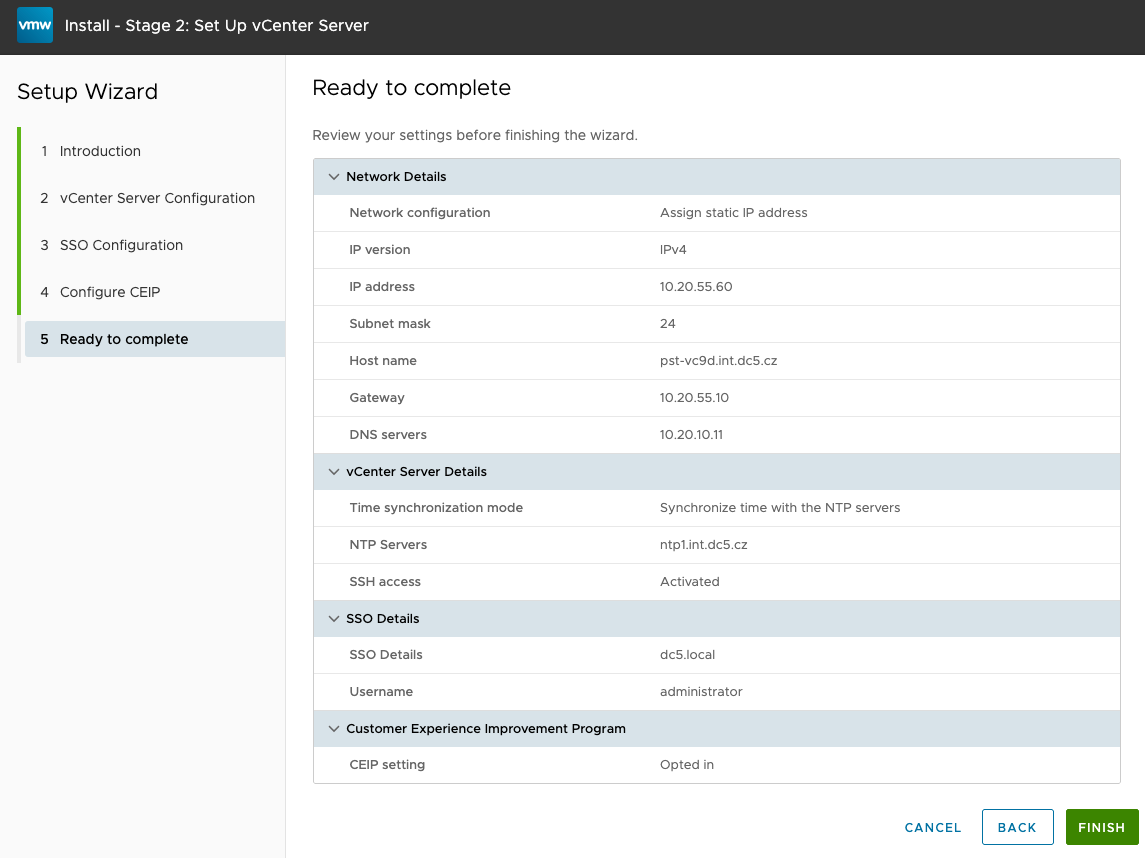
Review
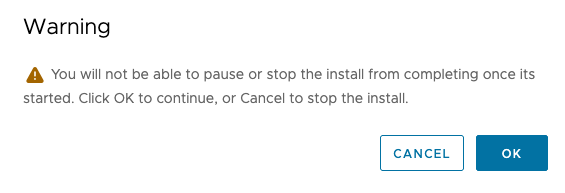
Warning as after this point there is no way back.
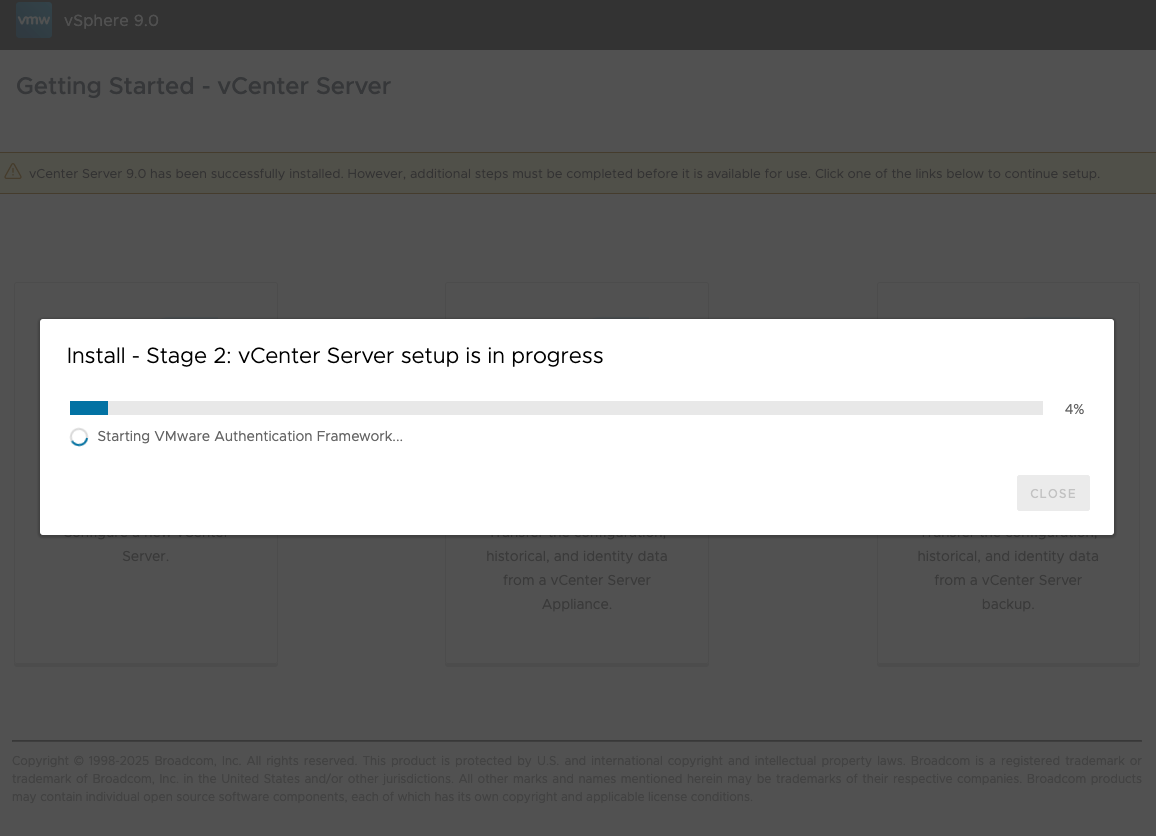
Stage 2 deployment and configuration
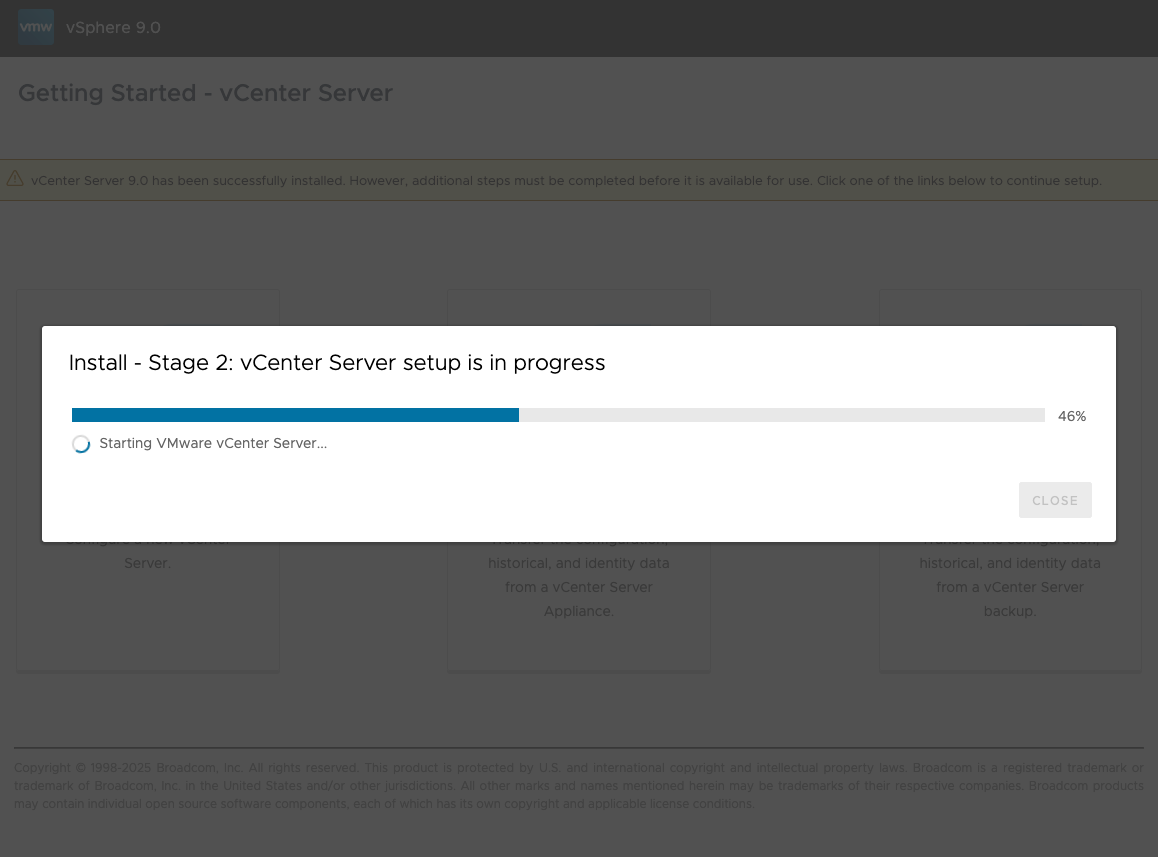
Stage 2 progress
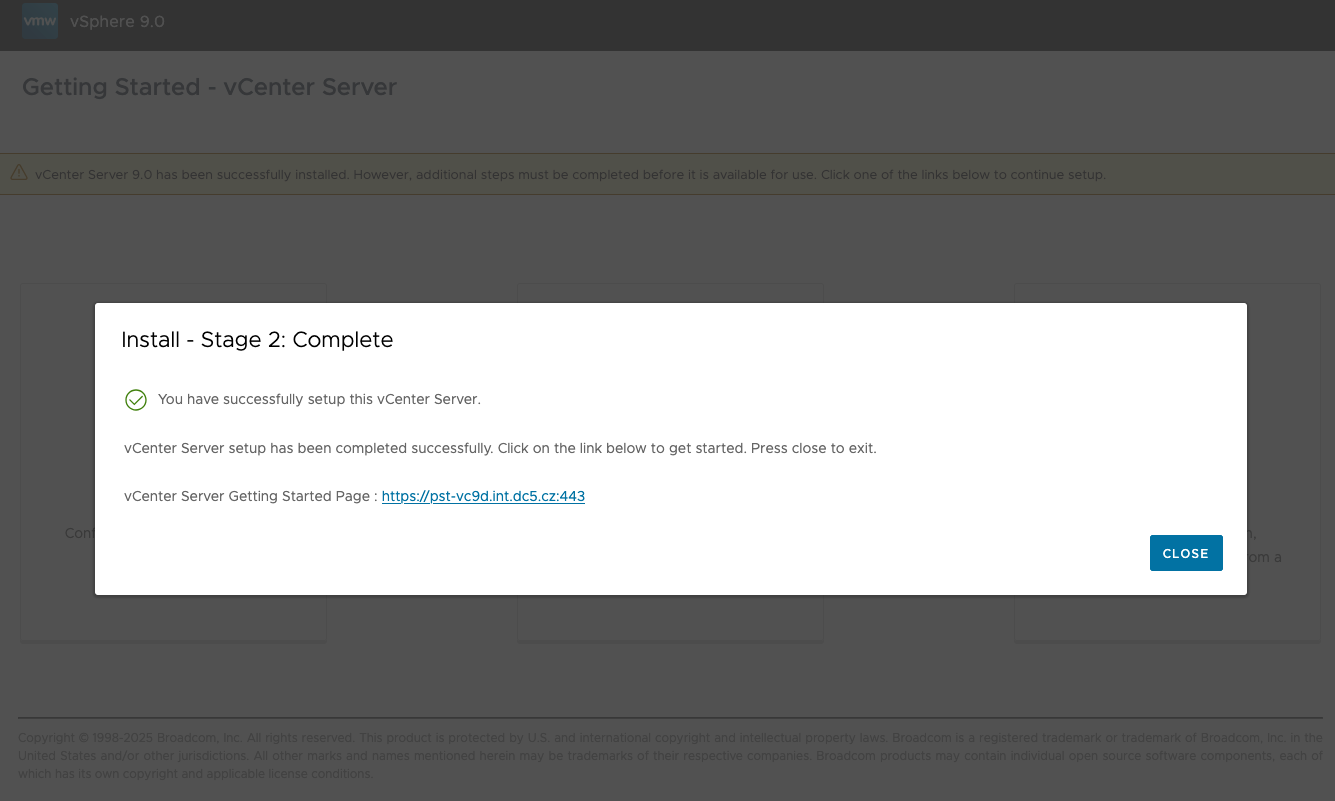
Stage 2 completed. Click on the link…
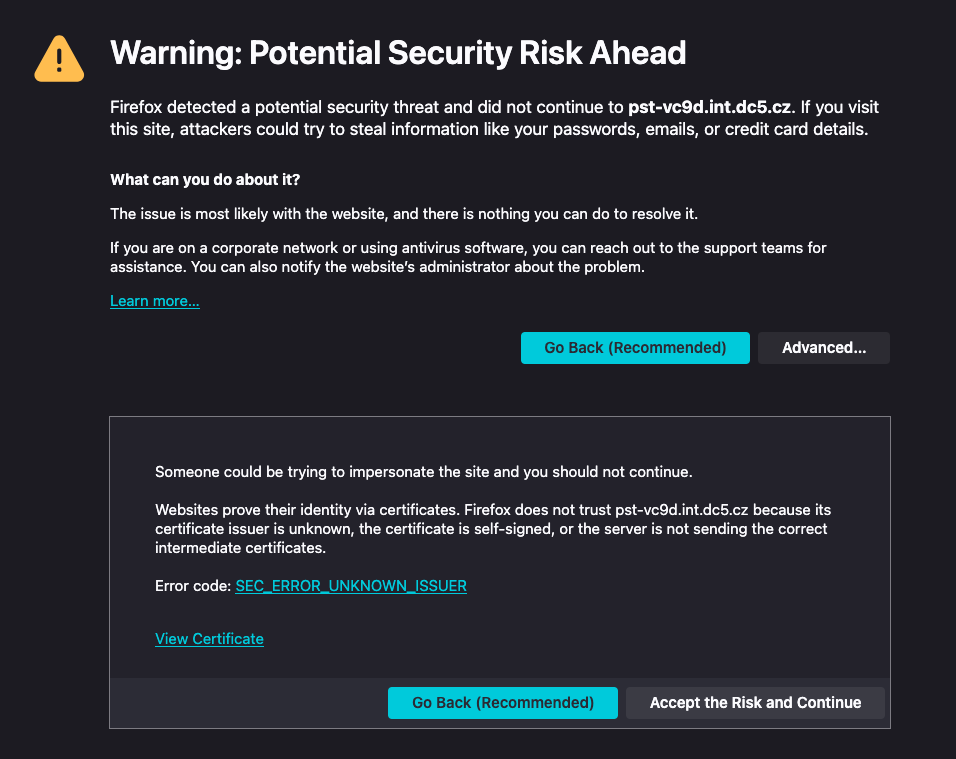
Accept SSL certificate as the initial SSL certificate is self-signed.
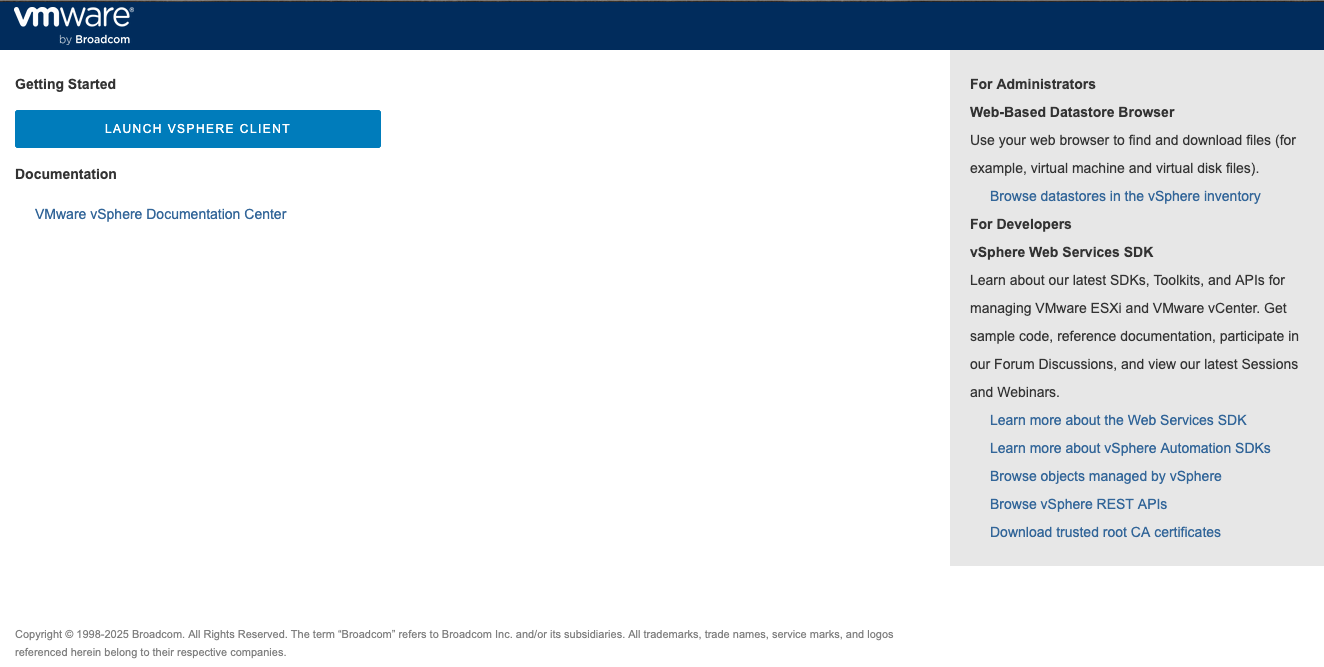
vCenter Web page
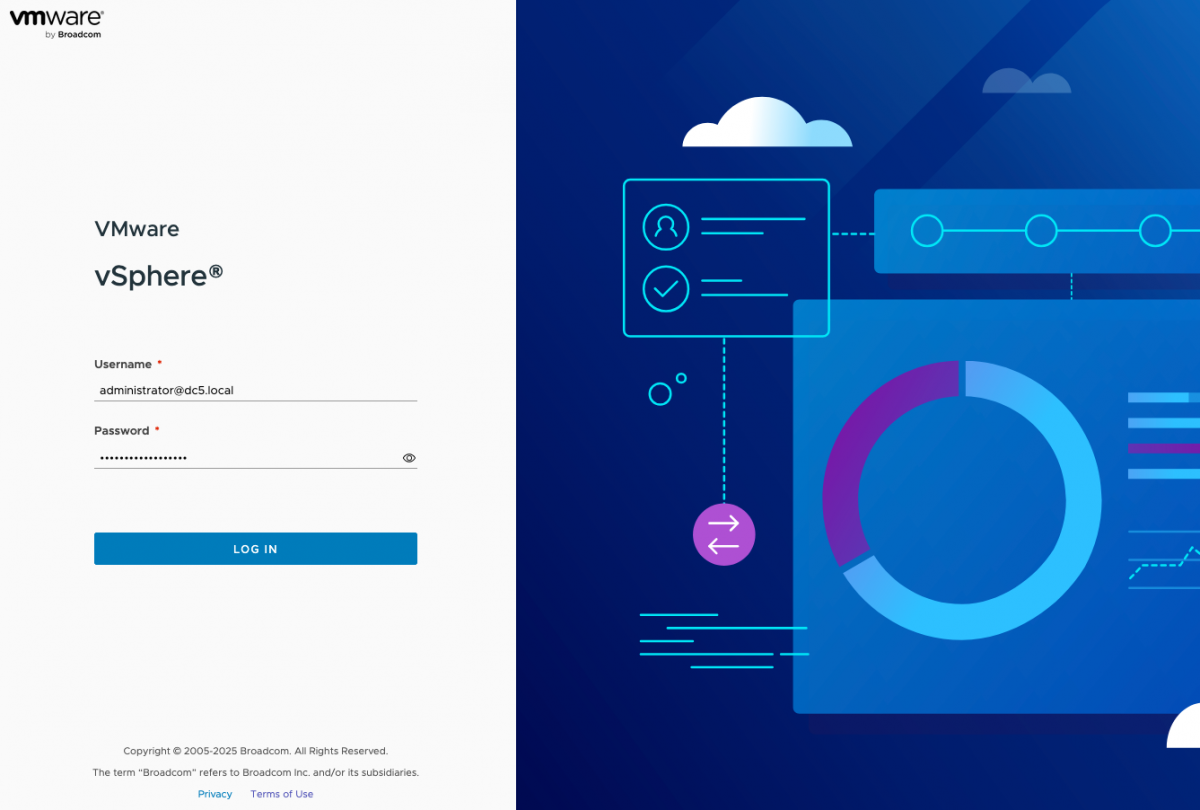
Login to the vCenter WebUI client

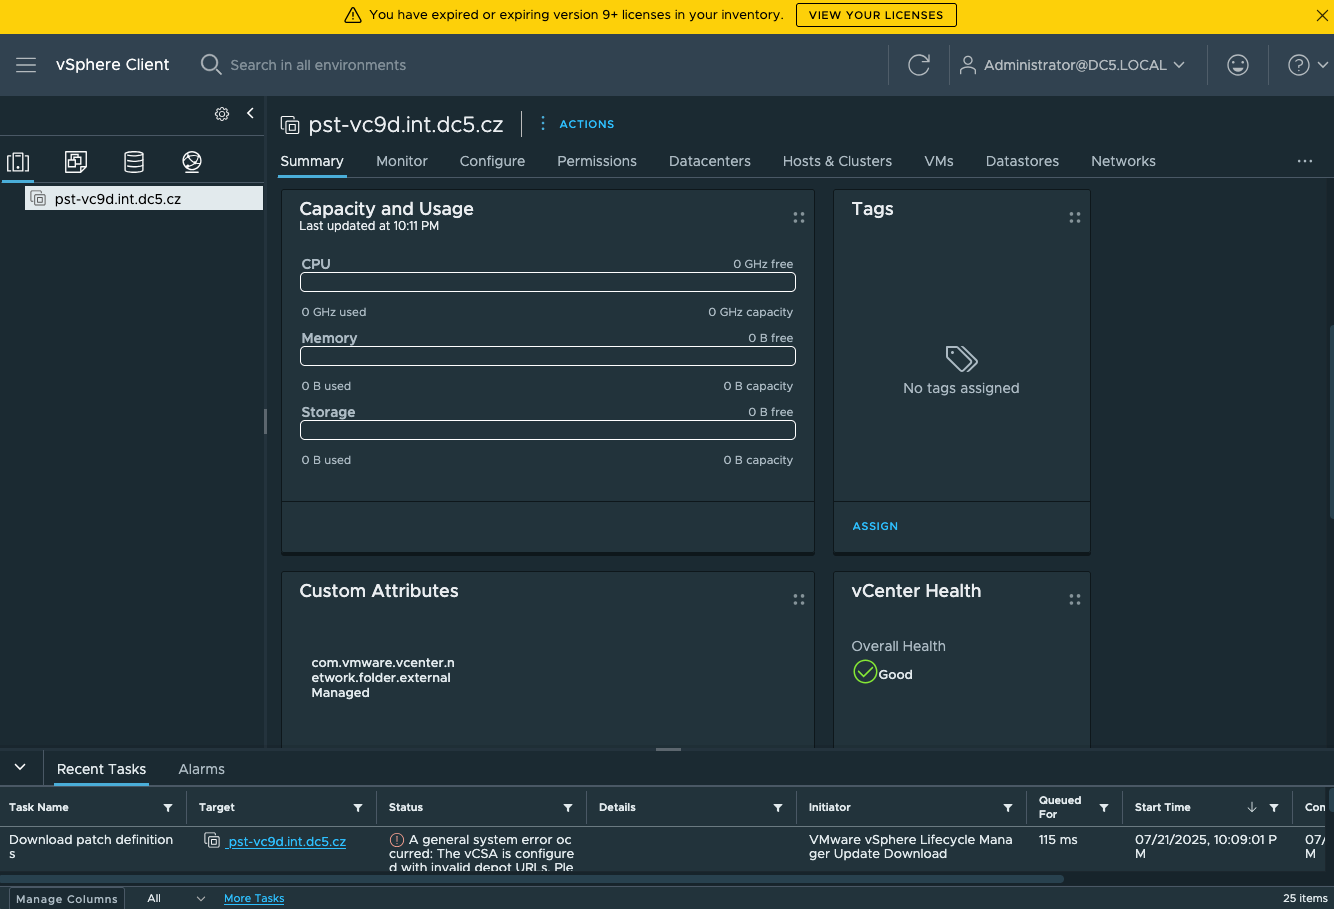
Welcome to your new vCenter 9.0
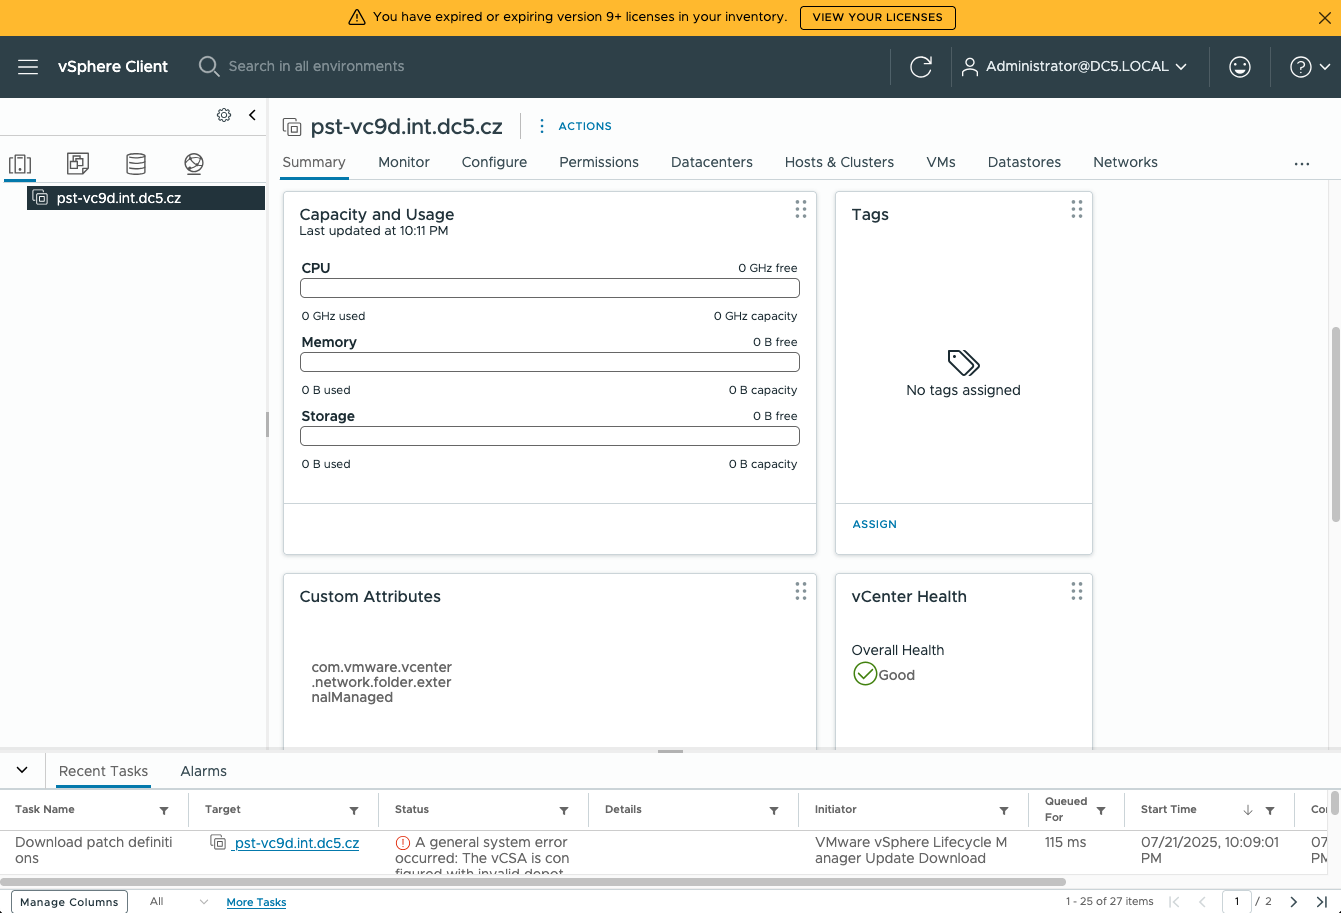
vCenter 9 in dark mode