Managing virtual network interfaces (vNICs) effectively is crucial for VMware administrators who want to optimize their virtual infrastructure. It’s important to note that modifying a VM’s in-guest virtual networking adapter link speed addresses OS or application-level limitations related to the default detected 10Gb speed of the vmxnet3 adapter. However, keep in mind that the actual network speed available to the VM is still limited by the physical hardware components, such as the host CPU and physical NICs.
Introducing the vNIC Link Speed PowerShell Script
I’ve developed a straightforward PowerShell script leveraging VMware’s PowerCLI to automate setting vNIC link speeds for your virtual machines.
How It Works
This script allows you to:
- Select your virtual machine by name.
- Choose the desired link speed (10,000 Mbps, 25,000 Mbps, 40,000 Mbps, or 65,000 Mbps). You can modify this script and set the speed between 10,000 Mbs and 65,000 Mbs.
- Verify the power state of the VM and optionally power it off safely.
- Automatically apply the new link speed settings to all vNICs of type vmxnet3.
- Check and confirm the applied settings.
Requirements
Before you begin, ensure you have:
- VMware PowerCLI installed and connected to your vCenter server.
- Administrative privileges on vCenter and your VMs.
Usage Example
Here’s how easy it is to run the script:
PS> .\vNIC-LinkSpeed.ps1The script will prompt you to enter the VM name and select your desired link speed from a simple menu. Verify the power state of the VM, prompting you to shut it down if necessary. If you choose not to power off the VM, the script will exit.
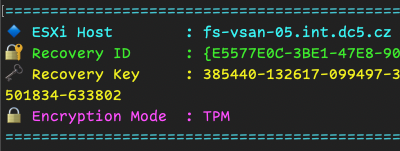
script output

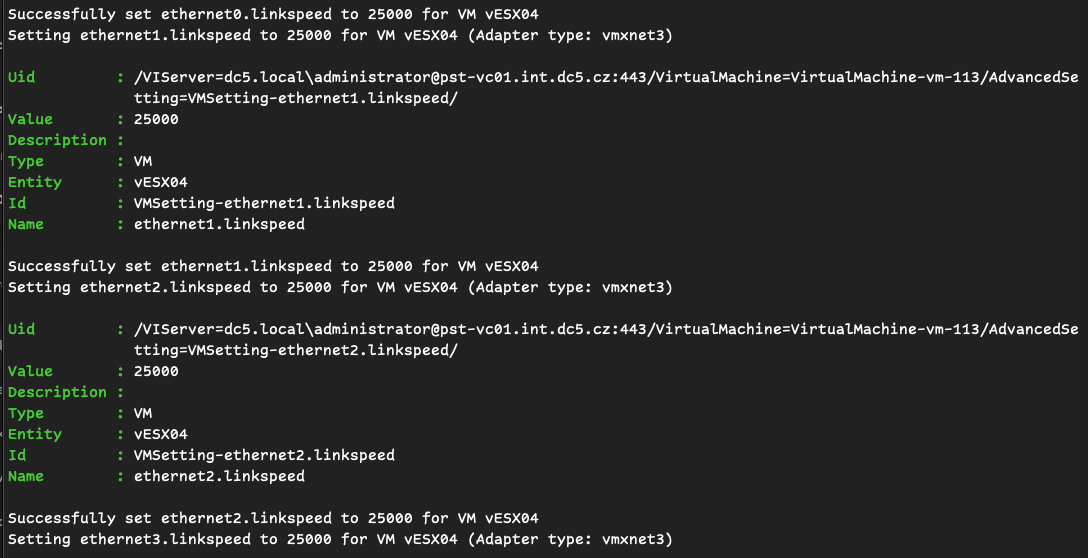

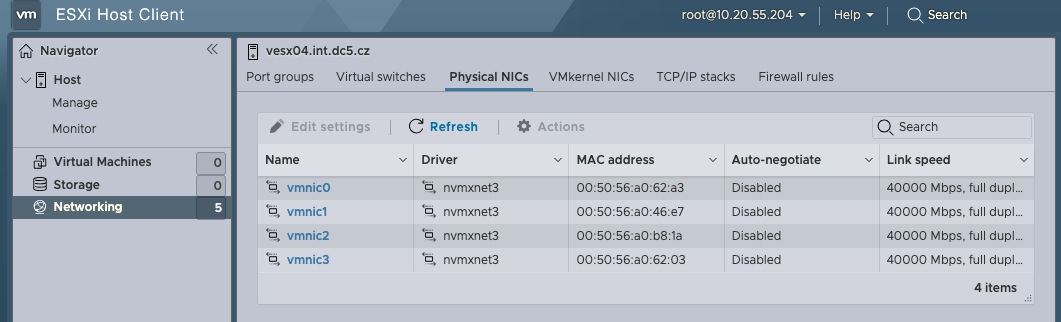
In my case I change the link speed for my virtual ESXi.
Why Use This Script?
- Efficiency: Automates repetitive tasks, saving you valuable time.
- Reliability: Ensures consistent configuration across all vNICs.
- Flexibility: Easily adaptable to any environment and extendable for future requirements.
Download and Customize
You can download and customize the script from my GitHub repository https://github.com/musil/vSphere_scripts (direct link to file -> vNIC-LinkSpeed.ps1 ), or copy it directly from this blog post and adapt it according to your specific needs.
<#
.SYNOPSIS
    This script sets the link speed for all vNICs of a specified VM to a user-selected value.

.DESCRIPTION
    This script modifies the advanced settings of the specified VM's vNICs to set a new link speed.

.AUTHOR
    Stanislav Musil

.VERSION
    1.0

.DATE
    2024-06-28

.PARAMETER vmName
    The name of the virtual machine.

.PARAMETER linkSpeed
    The desired link speed for the virtual machine's vNICs.
    This parameter specifies the speed (in Mbps) to set for each vNIC.

.NOTES
    Requirements: PowerCLI module installed and connected to vCenter.
    KB: https://knowledge.broadcom.com/external/article/368812/how-to-change-the-vmxnet3-link-speed-of.html

.EXAMPLE
    Show how to run the script, e.g.:
    PS> .\vNIC-LinkSpeed.ps1

#>

# Variables
$vmName = Read-Host "Enter the name of the VM"
$options = @(10000, 25000, 40000, 65000)
Write-Host "Select a link speed from the options below:"
for ($i = 0; $i -lt $options.Count; $i++) {
    Write-Host "$($i+1)): $($options[$i])"
}
$selected = Read-Host "Enter the number for your desired link speed"
if (($selected -as [int]) -and ($selected -ge 1) -and ($selected -le $options.Count)) {
    $linkSpeed = $options[$selected - 1]
    Write-Host "You selected: $linkSpeed"
} else {
    Write-Host "Invalid selection. Exiting."
    exit
}

# Get the VM object
$vm = Get-VM -Name $vmName

# Check VM PowerState
if ($vm.PowerState -ne "PoweredOff") {
    Write-Host "VM '$vmName' is currently $($vm.PowerState)."
    $response = Read-Host "Do you want to shut down the VM now? (y/n)"
    if ($response -eq 'y') {
        Stop-VM -VM $vm -Confirm:$false
        Write-Host "Waiting for VM to power off..."
        while ((Get-VM -Name $vmName).PowerState -ne "PoweredOff") {
            Start-Sleep -Seconds 5
            Write-Host "Still waiting for VM to power off..."
        }
        Write-Host "VM is now powered off."
    } else {
        Write-Host "Please power off the VM and run the script again."
        break
    }
}

# Get all network adapters (NICs) on the VM
$nics = Get-NetworkAdapter -VM $vm

# Loop through each NIC and set the corresponding advanced setting
for ($i = 0; $i -lt $nics.Count; $i++) {
    $nic = $nics[$i]
    $settingKey = "ethernet$($i).linkspeed"
    if ($nic.Type -eq "Vmxnet3") {
        Write-Host "Setting $settingKey to $linkSpeed for VM $vmName (Adapter type: vmxnet3)"
        New-AdvancedSetting -Entity $vm -Name $settingKey -Value $linkSpeed -Force -Confirm:$false
        Write-Host "Successfully set $settingKey to $linkSpeed for VM $vmName"
    } else {
        Write-Host "Skipping $settingKey (Adapter type: $($nic.Type) is not vmxnet3)"
    }
}


Write-Host "Checking what is set for each vNIC:"

# Check what is set for each vNIC
for ($i = 0; $i -lt $nics.Count; $i++) {
    $settingKey = "ethernet$($i).linkspeed"
    $currentSetting = Get-AdvancedSetting -Entity $vm -Name $settingKey -ErrorAction SilentlyContinue
    if ($currentSetting) {
        Write-Host "$settingKey : $($currentSetting.Value)"
    } else {
        Write-Host "$settingKey : Not set"
    }
}
# Final confirmation message
Write-Host "`nAll vNIC link speeds have been set to $linkSpeed."
Write-Host "`nAdvanced settings updated for all NICs.`n"
Additional Resources
For more detailed information on managing vNIC link speeds and advanced settings, refer to this VMware knowledge base article: KB 368812
Happy automating!