Yesterday’s VMUGCZ online event delivered exactly what many VMware admins appreciate most: a practical deep dive that goes beyond the wizard.
In “vSAN File Services a little bit deeper”, Jiří Viktorin walked through how vSAN File Services works “under the hood,” what you should have ready before enabling it, and what to watch out for when moving from lab to production.
I’m happy to share that I’ve been awarded VMware vExpert 2026 — and this marks my 9th year in the vExpert program.
If you’re not familiar with it, vExpert is VMware’s global advocacy program that recognizes people who consistently contribute to the community — through blogging, speaking, helping others, creating tools, sharing real-world lessons, and generally pushing knowledge forward.
The biggest value of the vExpert program isn’t a badge — it’s the people.
Every year I learn something new from community discussions, deep dives, and those “wait… how did you solve that?” moments that turn into better designs and cleaner operations.
It’s also a reminder that content doesn’t need to be perfect to be useful. A short write-up of a tricky issue, a configuration note, a working Terraform/Ansible example, or a hard-earned troubleshooting path can save someone hours.
What I’m focusing on in 2026
This year I want to publish more practical, “from the trenches” content around:
VMware Cloud Foundation (VCF) – SDDC, Fleet Managment etc.
vSphere operations, upgrades, lifecycle and best practices
Kubernetes / Tanzu and real-world platform operations
Automation & Infrastructure as Code (Terraform, Ansible, Git workflows)
Homelab projects that map to production realities
Community and staying connected
A big part of vExpert is staying connected with other community members — sharing content, exchanging ideas, and helping each other grow. I’ll be active across my socials and will keep posting links to new content as it ships.
Thank you
Huge thanks to everyone who reads, comments, shares feedback, or asks questions — that’s what keeps the loop going. And congrats to everyone else awarded vExpert 2026 as well. Let’s make 2026 a year of useful content and stronger community. Also thank you to #VMUGCZ community 🙂
If you’re working on similar topics or want to collaborate, feel free to reach out.
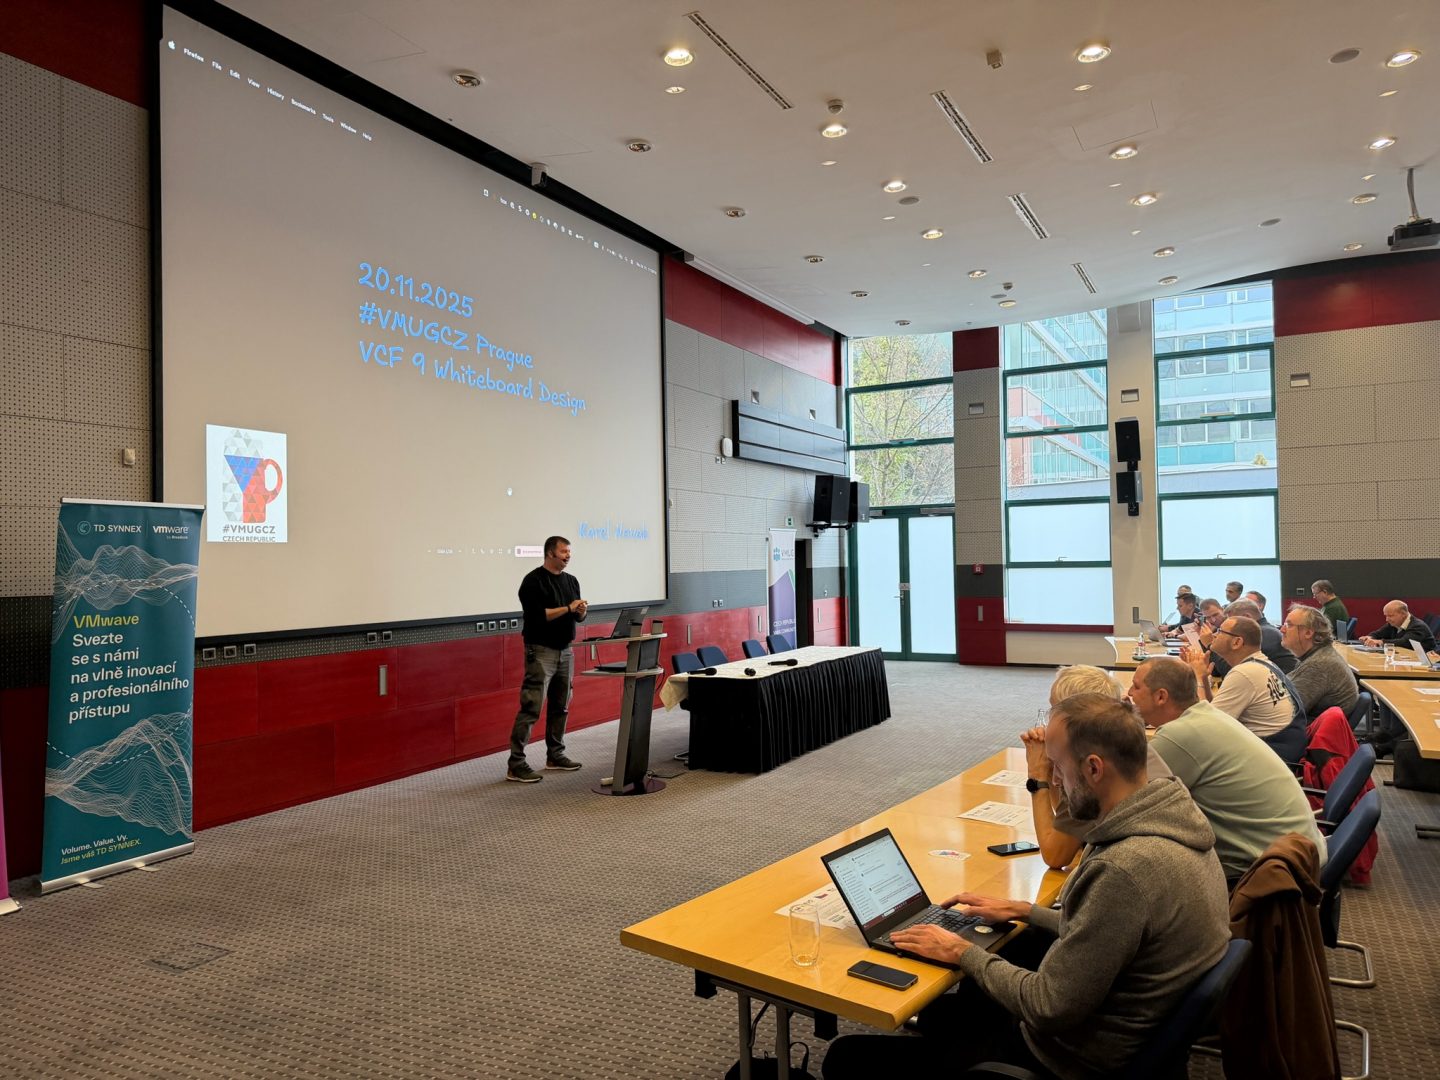
A quick recap of the VMUGCZ meetup on 20.11.2025 — packed sessions, 100+ attendees, Broadcom Knights community talks, Veeam Q4 updates, networking, and the closing raffle. Photos included at the end of the post.
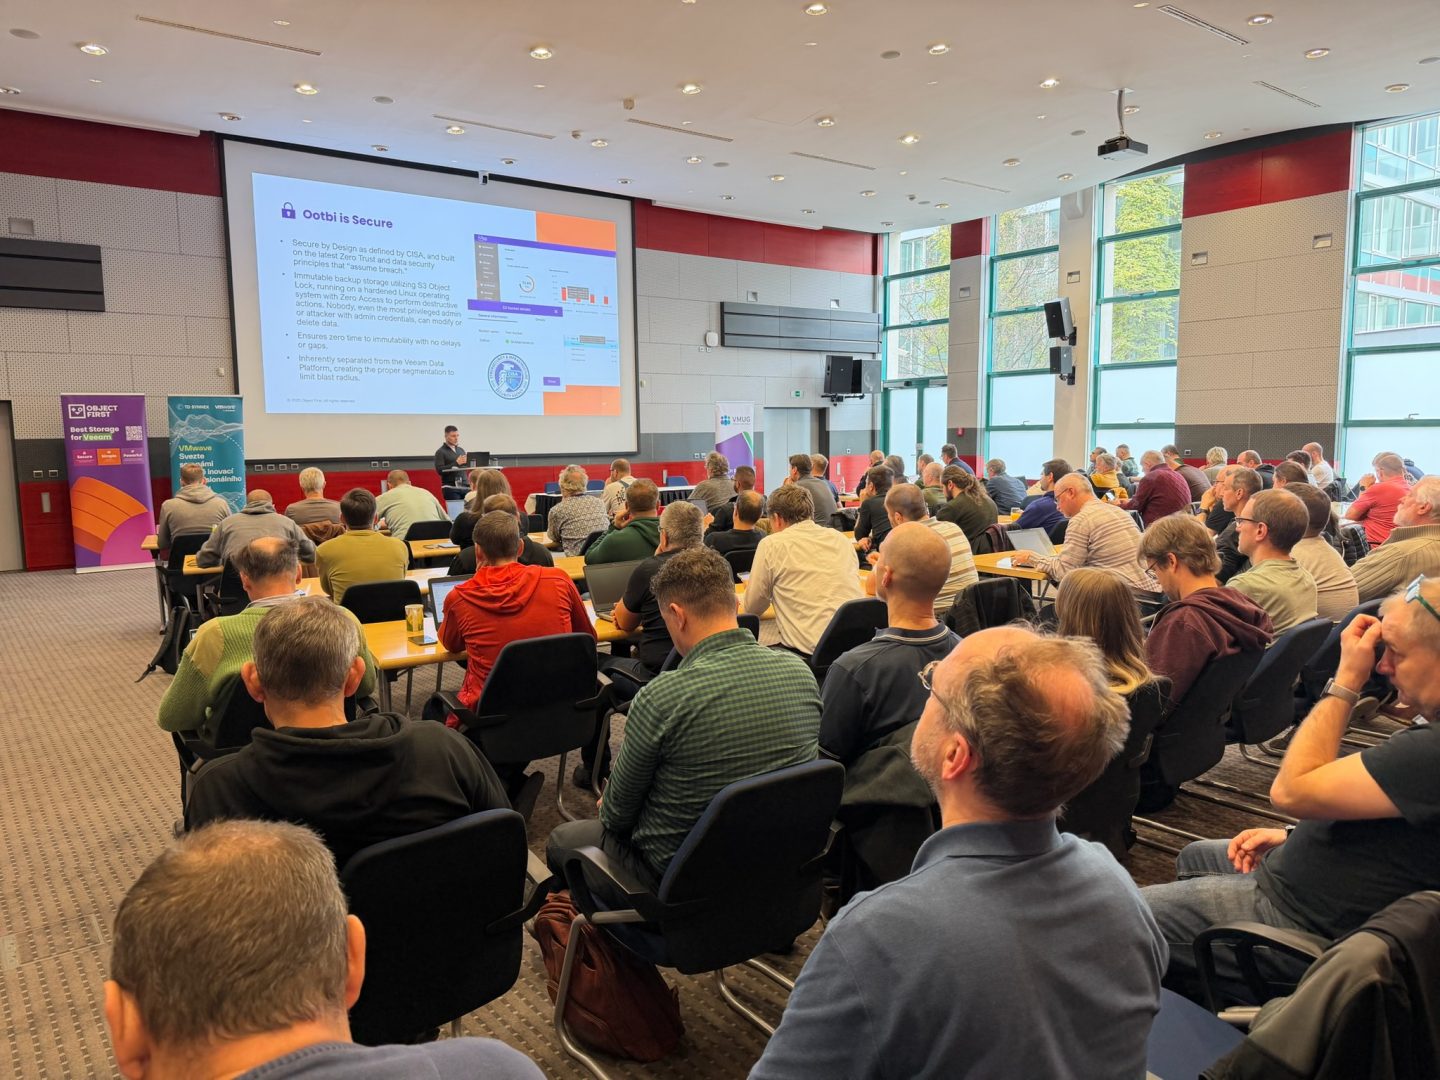
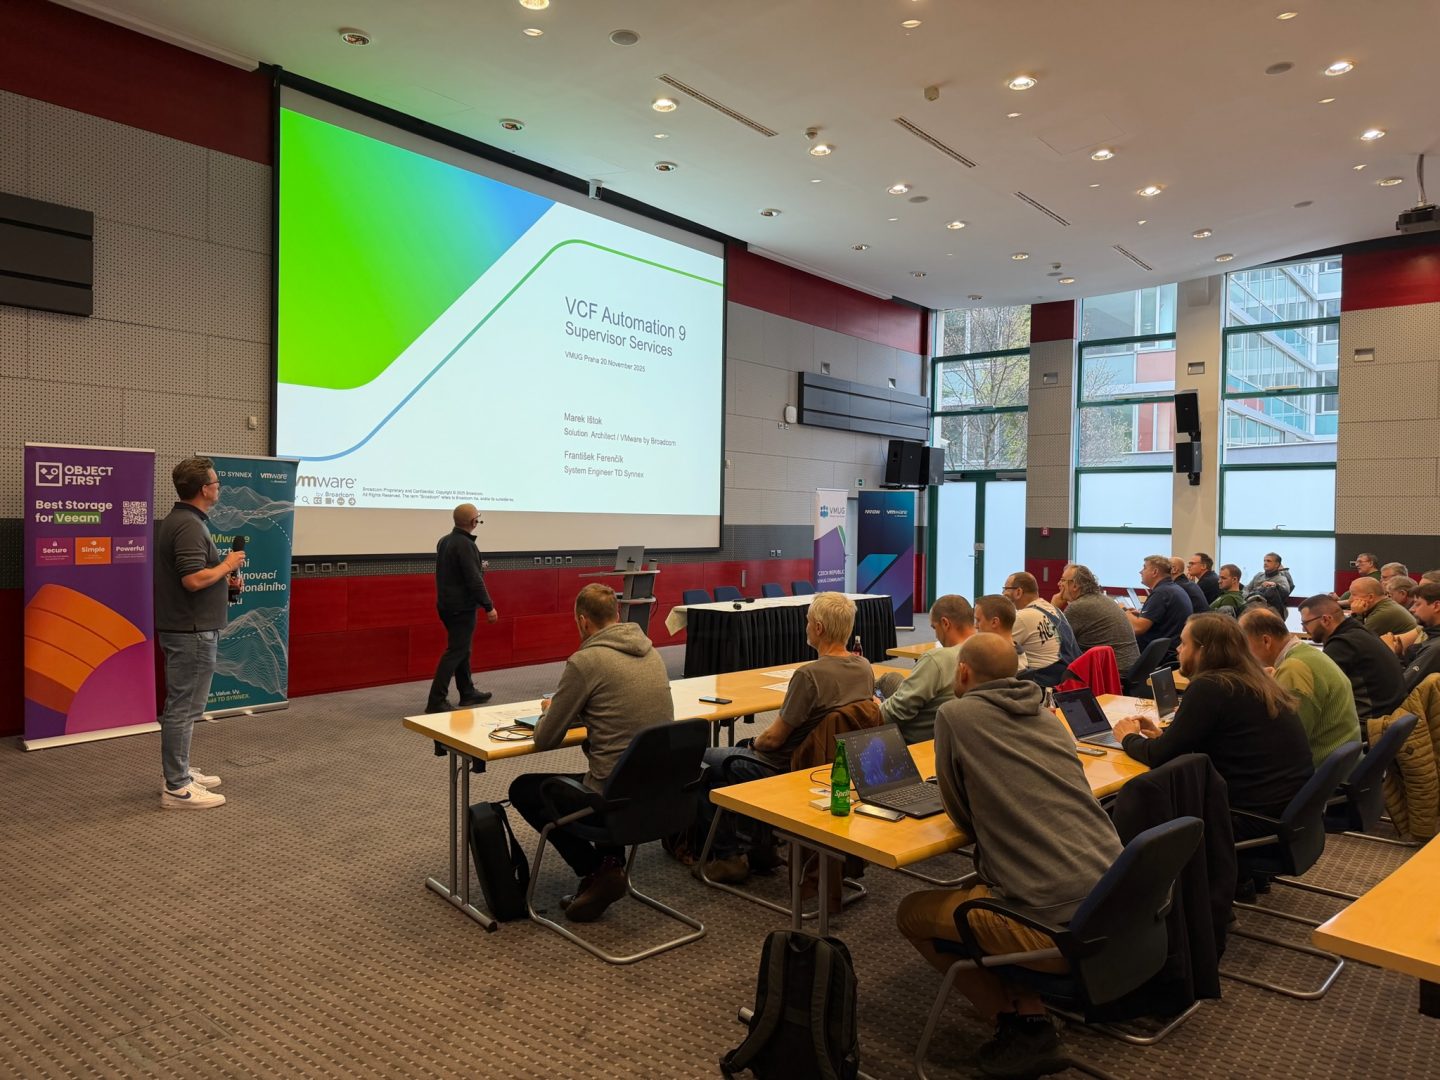
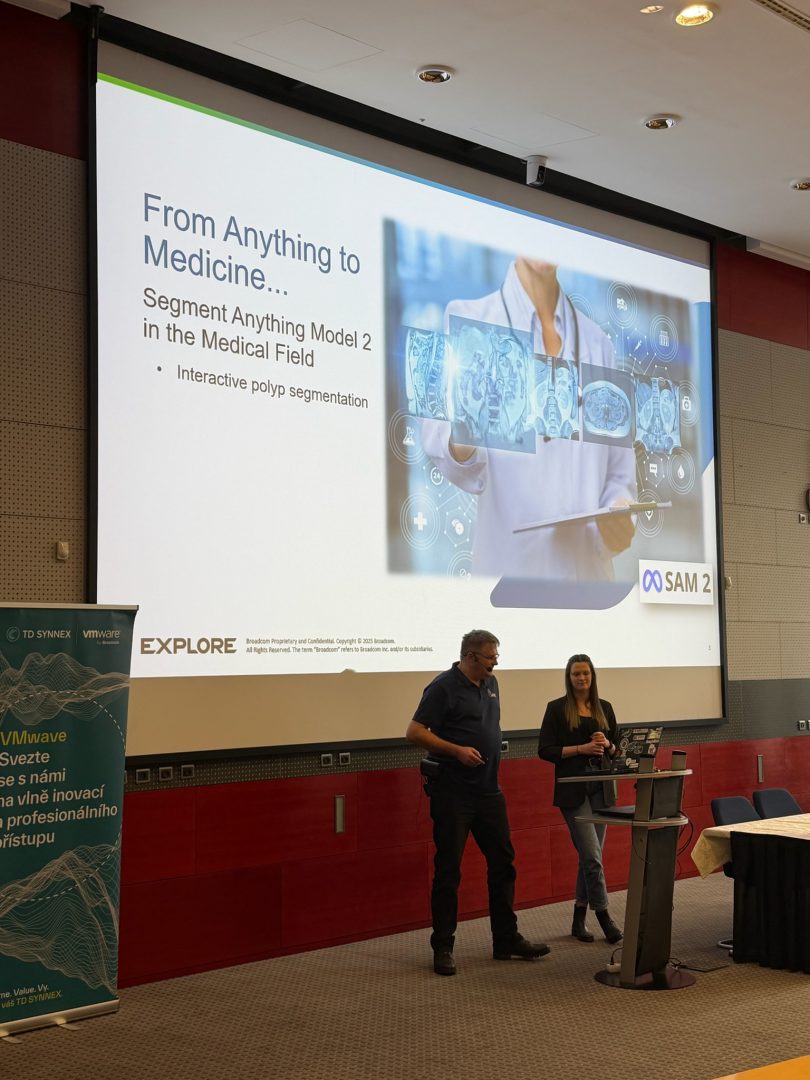
The Czech VMware community met again on 20 November 2025 for another packed VMUGCZ event. With 100+ attendees, great speakers, and a day full of networking, it turned into one of the strongest meetups yet.
Morning Kickoff
The day started with registration and a warm cup of coffee, followed by a short welcome from the VMUGCZ leaders. From there, we jumped straight into the tech.
Agenda & Session Highlights
NSX VPC a Little Bit Deeper
Speaker: Jiří Viktorín (Arrow Electronics)
A solid deep dive into NSX VPC with practical insights for real deployments.
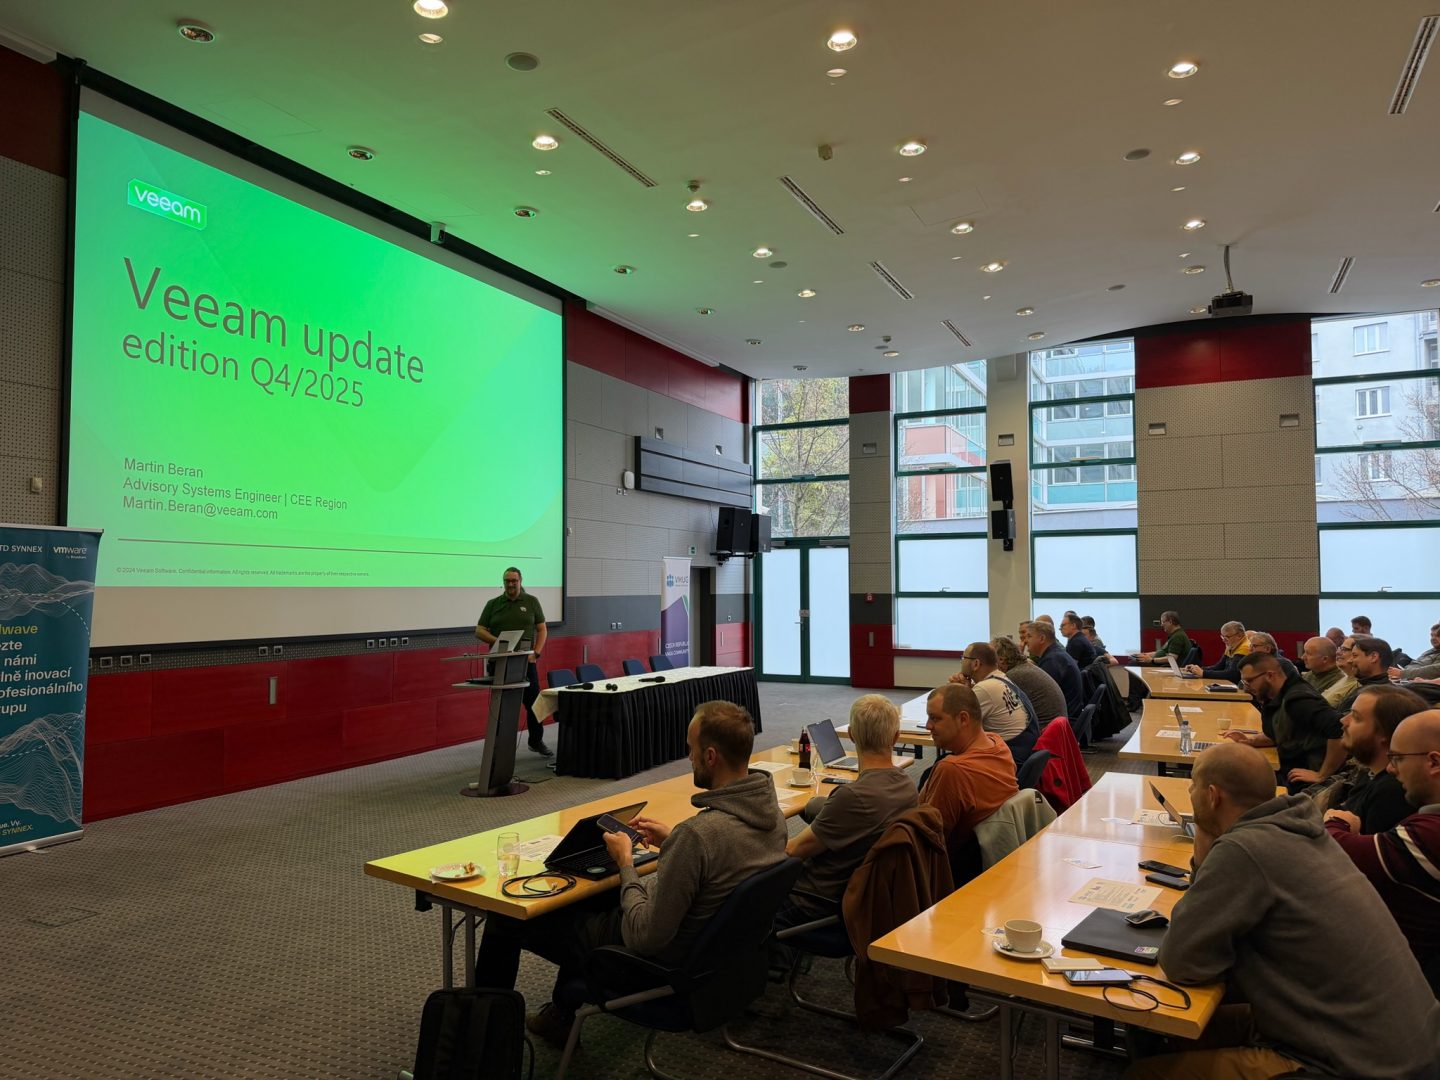
Veeam – Q4/2025 Update Edition
Speaker: Martin Beran (Veeam)
Martin walked through what’s new in the latest Veeam update. Backup folks had plenty to take home.
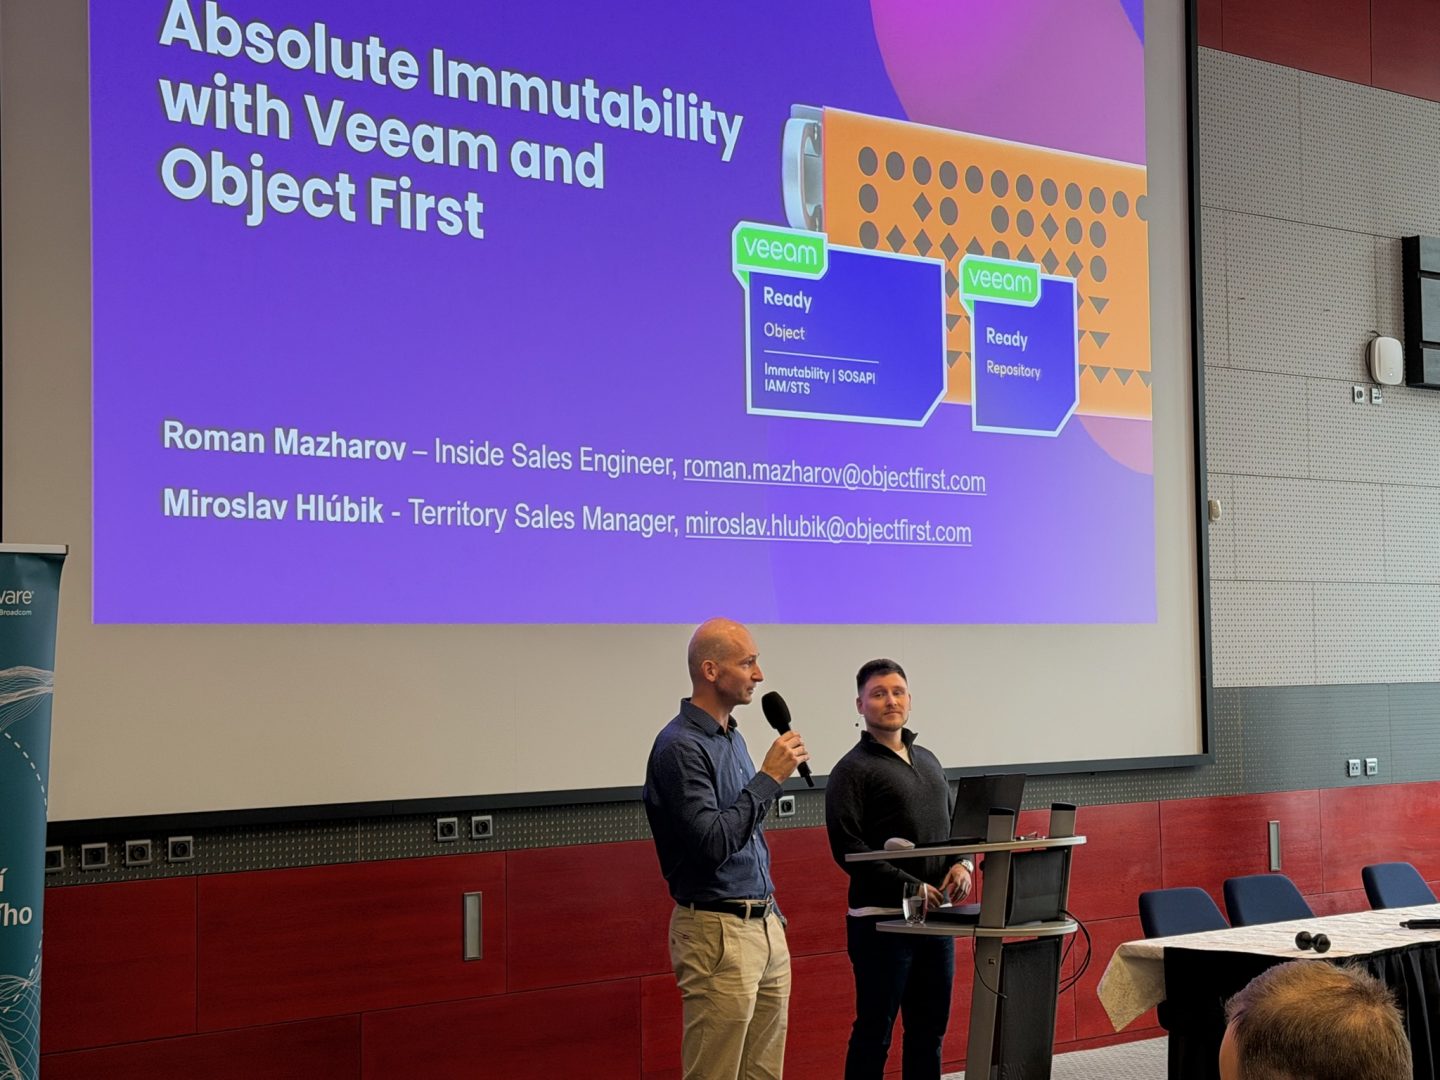
Absolute Immutability with Veeam and Object First!
Speaker: Roman Mazharov, Miroslav Hlúbik (Object First)
A strong session focused on modern immutability strategies using Veeam + Object First.
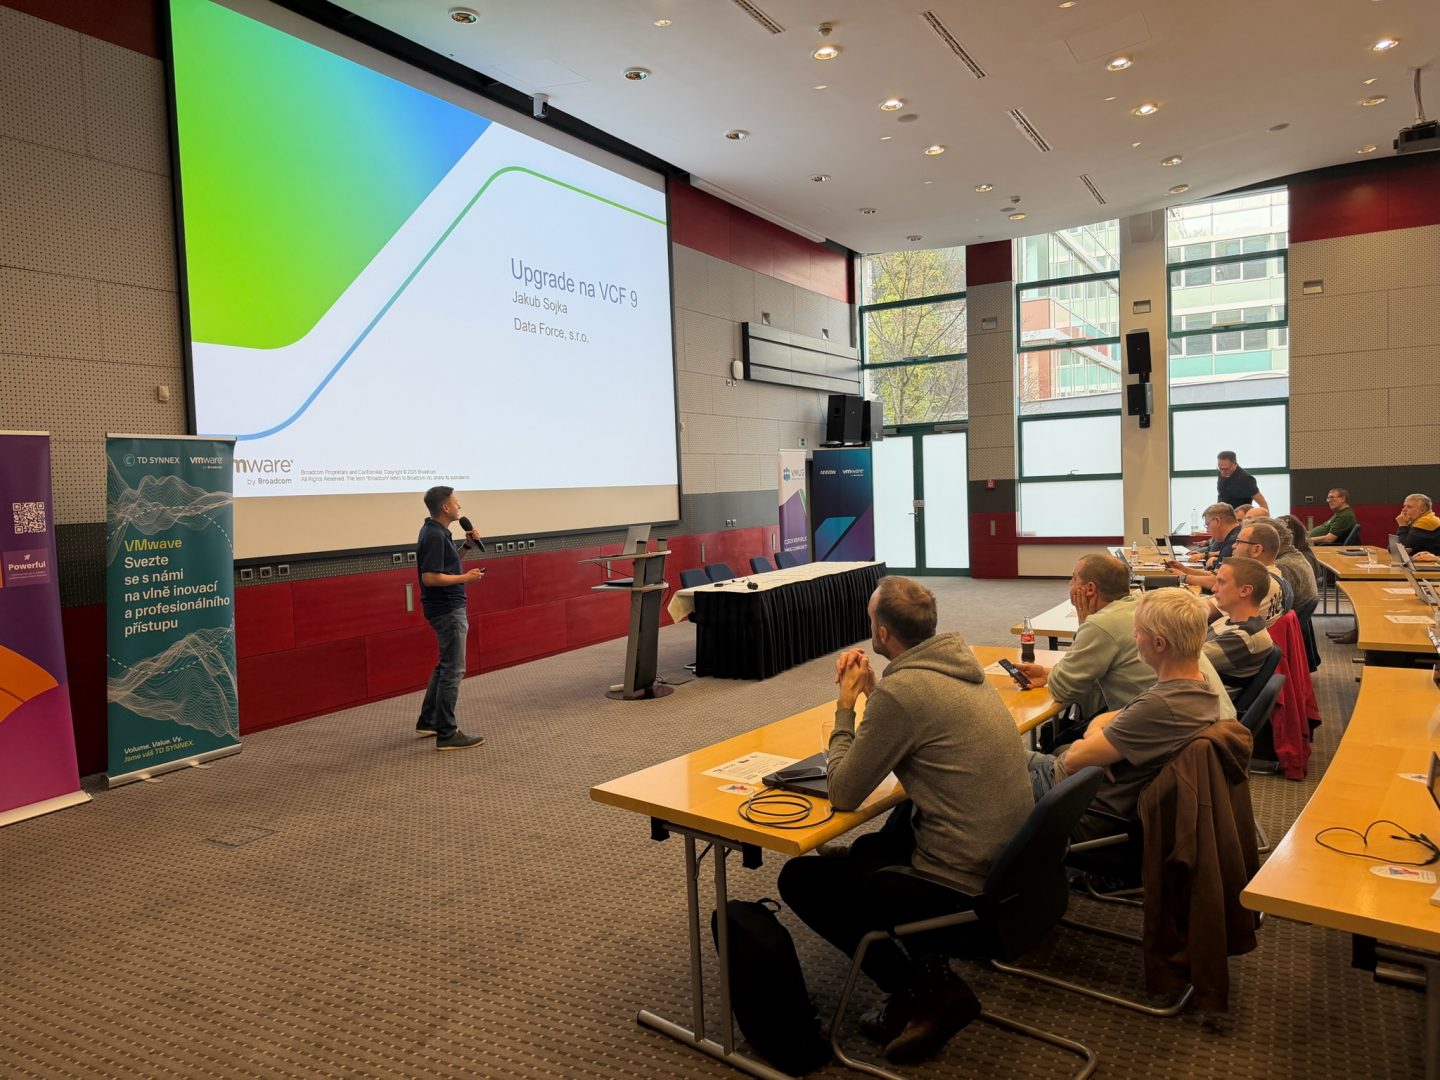
VCF 9 Architecture Whiteboard
Speaker: Karel Novák (Community Session)
Whiteboard-style, visual and easy to follow — a great explainer on what’s coming with VCF 9 design.
Lunch Break
A full hour to recharge, chat, and meet people from all corners of the Czech VMware ecosystem.
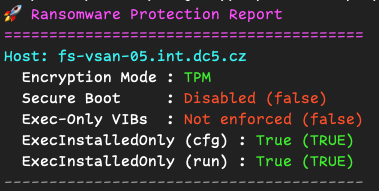
Cybersecurity threats, especially ransomware, are constantly evolving, so it’s important to regularly audit your ESXi hosts to ensure they have the proper protections enabled. Today I want to share a simple but effective PowerCLI script, Get-RansomwareProtectionStatus, that quickly checks your VMware hosts for important ransomware-related security configurations.
🚀 What This Script Does This script focuses on three key settings that enhance protection against ransomware on your ESXi hosts:
Encryption Mode: Checks whether TPM-based encryption is active.
Secure Boot Enforcement: Confirms Secure Boot is enabled.
Exec-Installed-Only Mode (Configured & Runtime): Ensures only binaries from installed VMware VIB packages can execute.
Having these settings properly configured greatly reduces the risk of unauthorized code execution—exactly what you want to fight ransomware!
🔧 How to Use the Script
Here’s how simple it is. First connect to your vCenter and then run a script.
.\Get-RansomwareProtectionStatus.ps1 <HOST>
It generates a clear, colored summary, instantly telling you what’s secure and what needs your attention.
You can integrate this script into your monitoring routines, run it on multiple hosts with automation tools like Ansible Semaphore or GitLab CI, or even schedule regular audits.
⚡ Pro Tip: Save your reports to a file or push results directly to your monitoring dashboard to track security over time!
📦 Get the Script
Check out the script in my GitHub repo [link here] and let me know your thoughts! Direct link to script [here]
Feel free to comment or ping me on social media if you’ve enhanced it further or found a creative use case. Stay secure! 🛡️
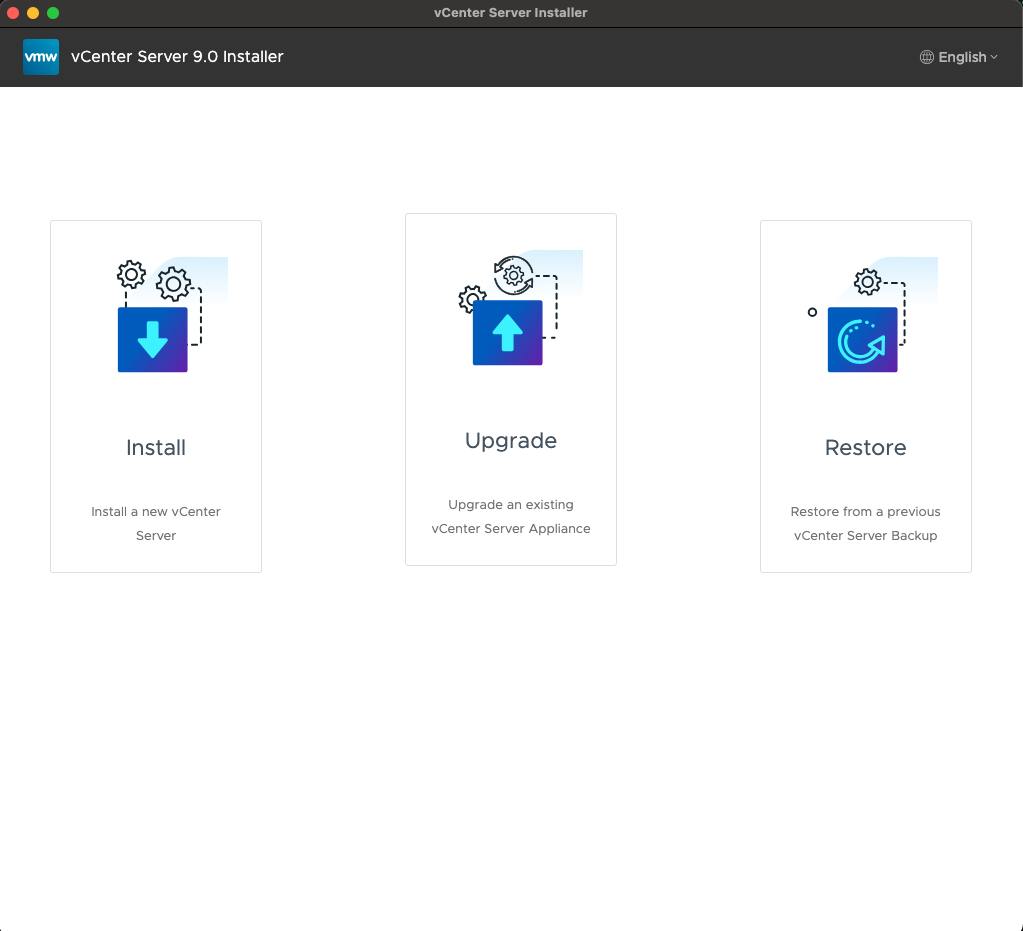
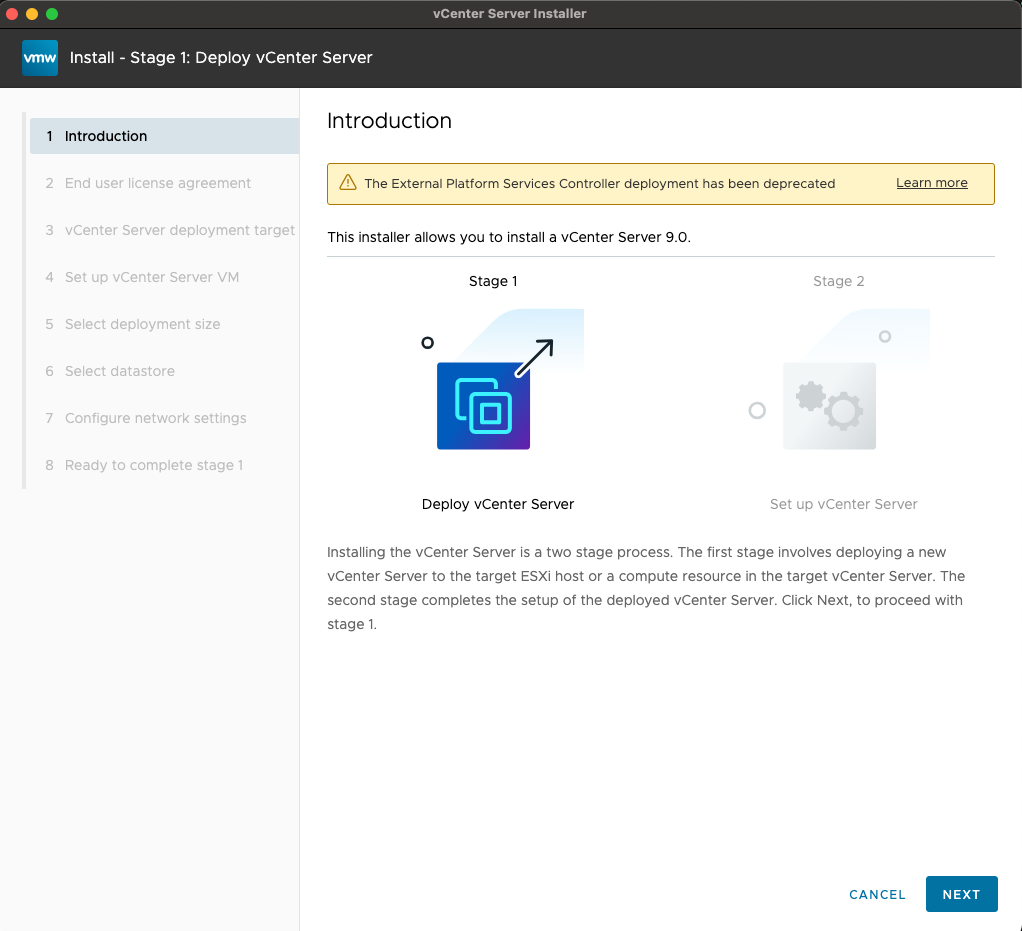
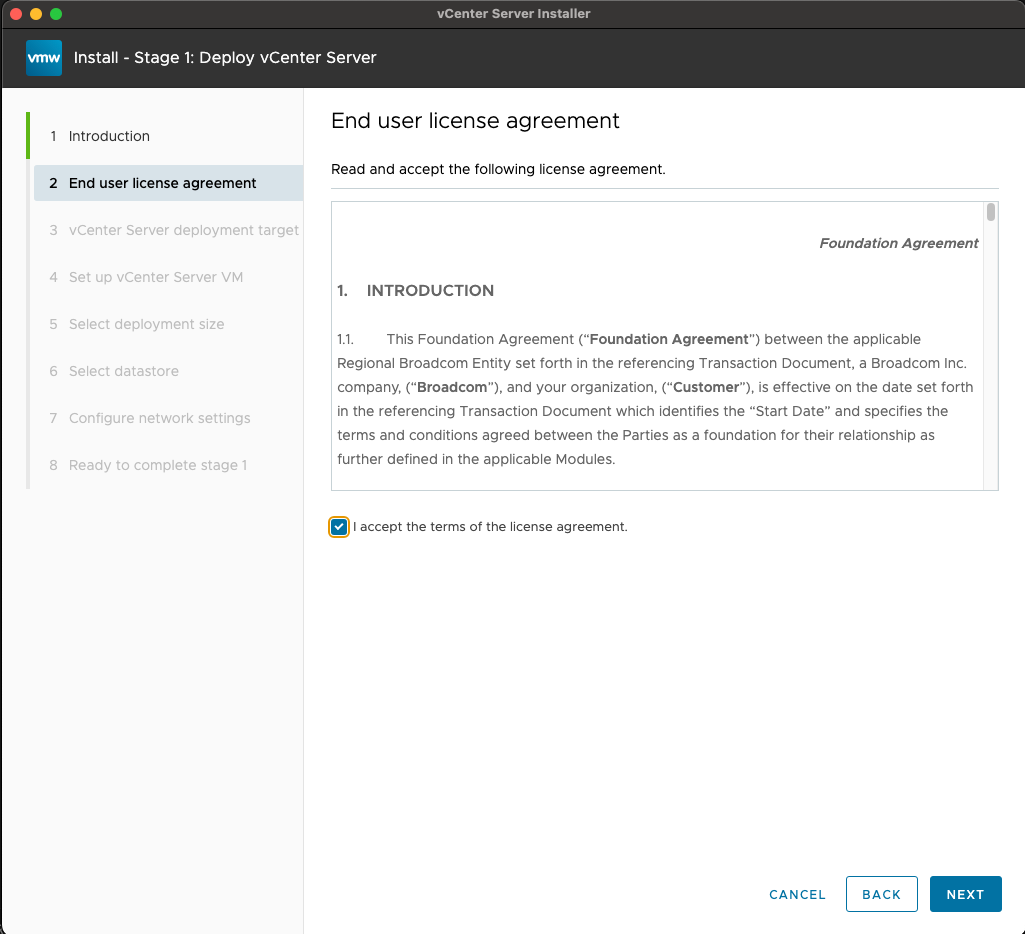
In this post, I’ll walk you through the installation step by step, with screenshots for every important click along the way. Whether you’re setting up a lab or preparing for production, these pictures will make sure you don’t miss a thing. Let’s dive in!
Mount ISO image and run installer
Deploy new vCenter Server
Check “I accept the terms of the license agreement.”
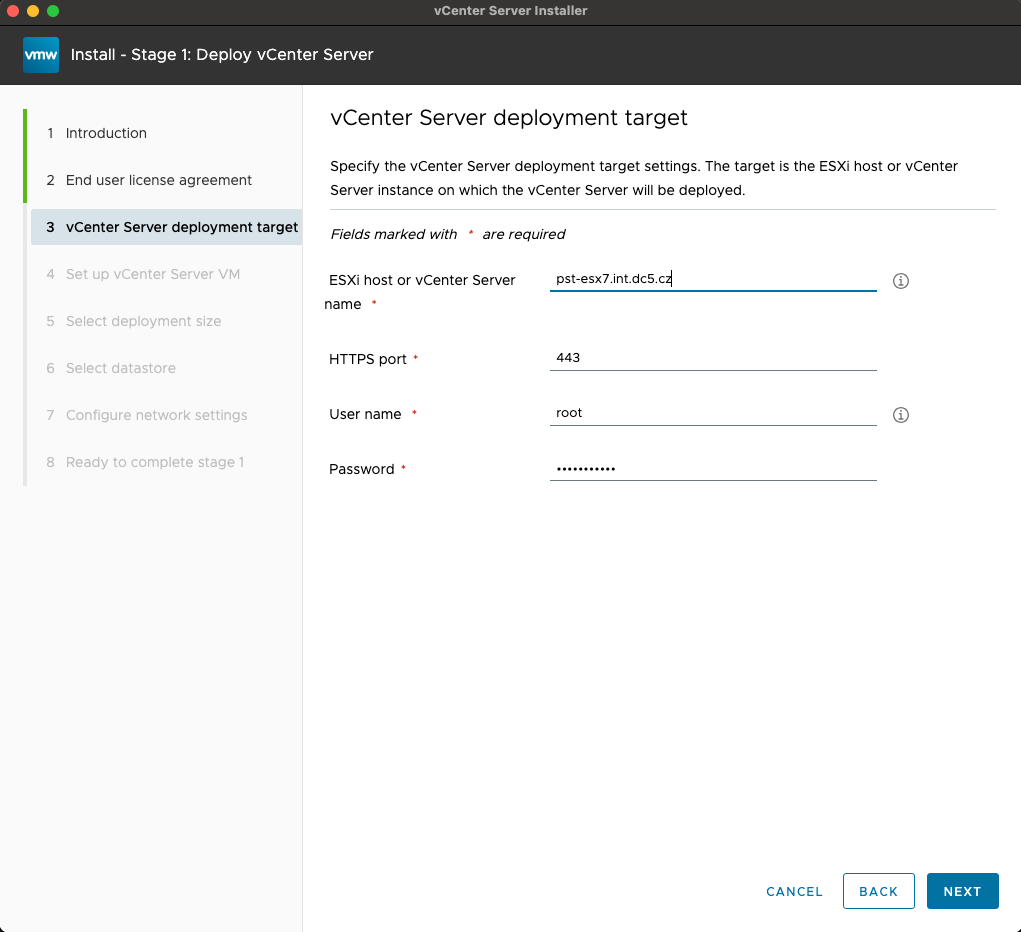
Fill the ESXi host DNS name/IP or vCenter DNS/IP + credentials.
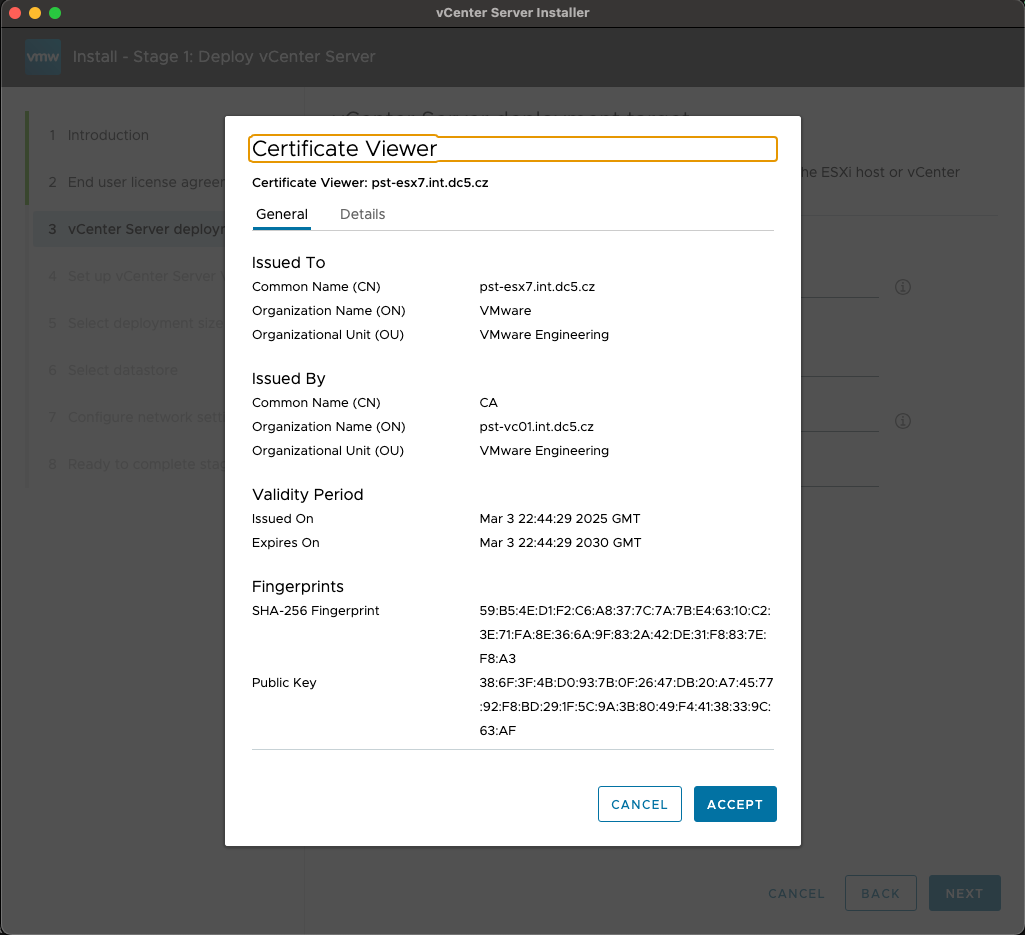
Accept the certificate
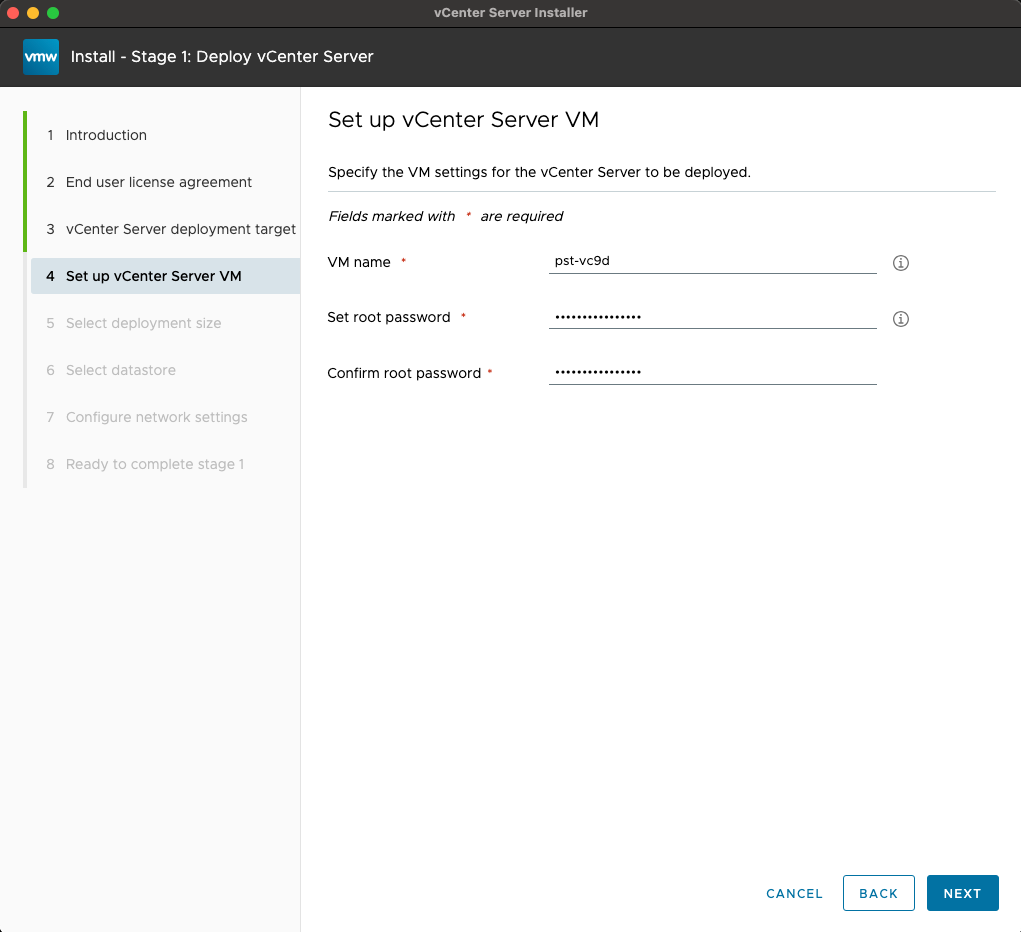
Provide a new vCenter VM Name and root password.
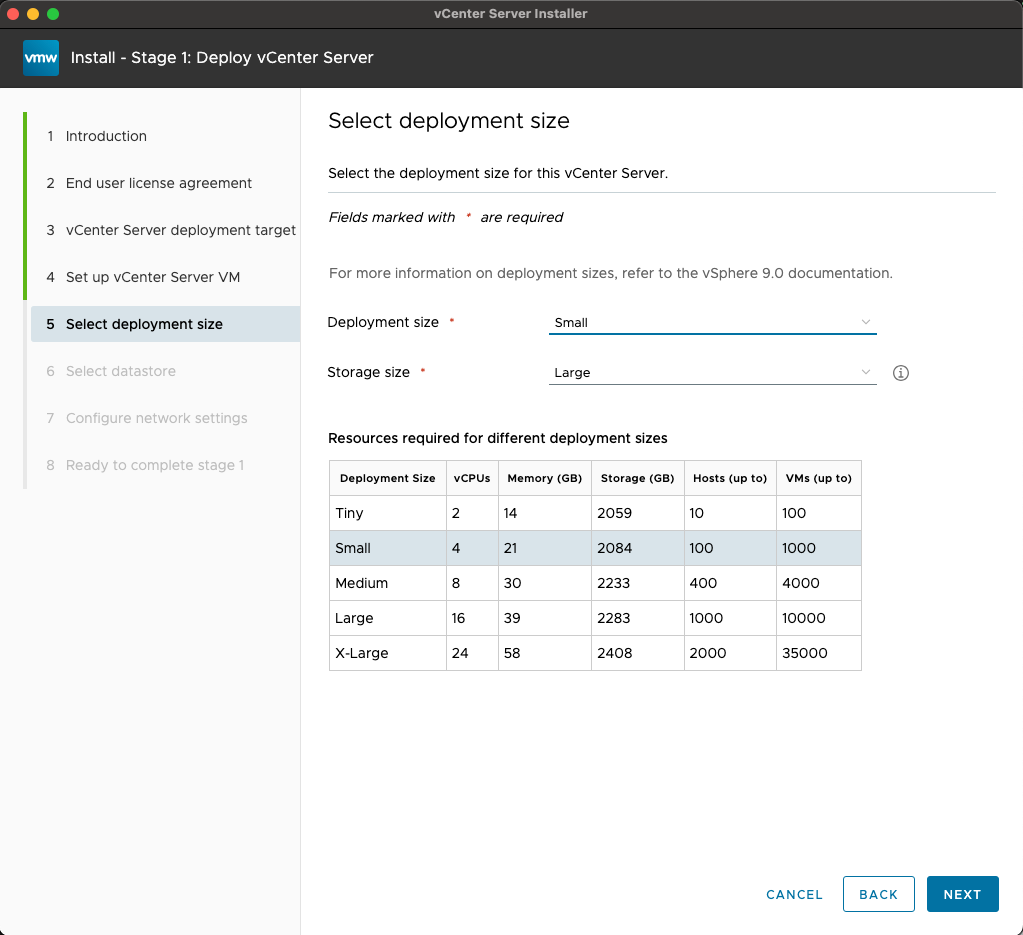
Choose deployment size based on your environment.
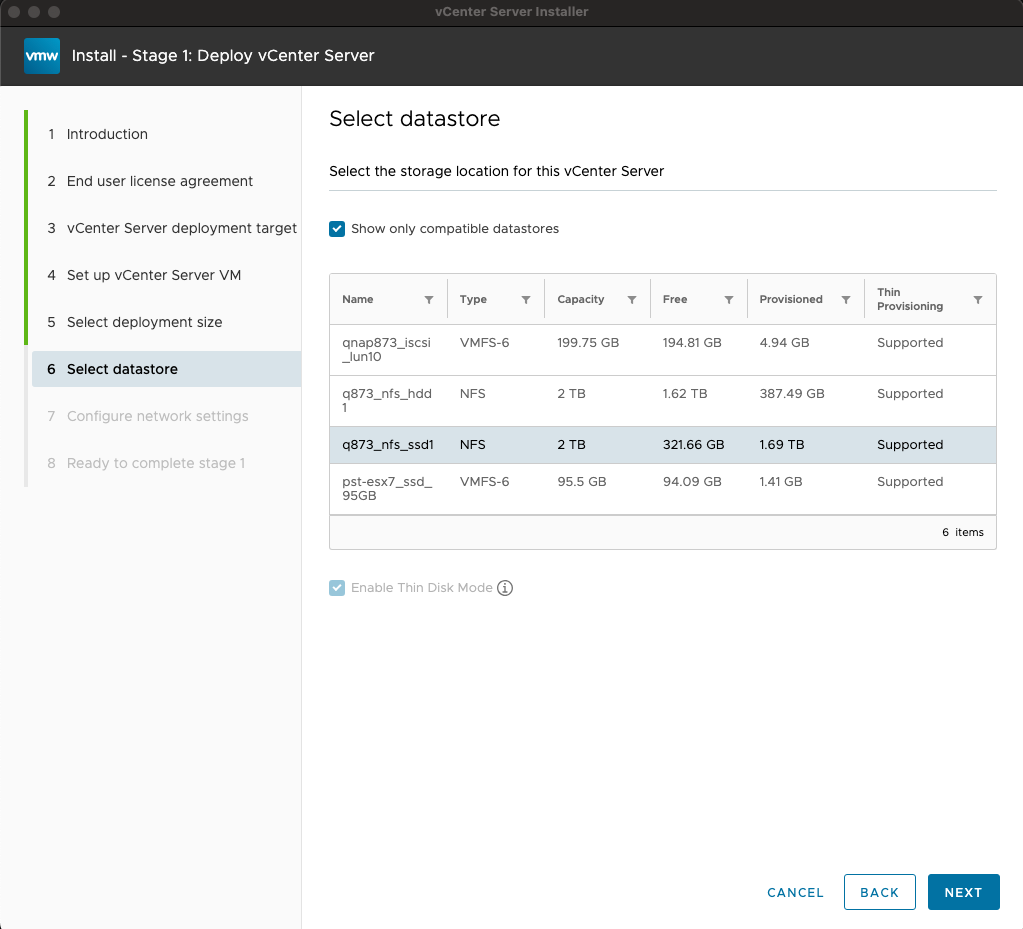
Pick datastore where the new vCenter will be deployed.
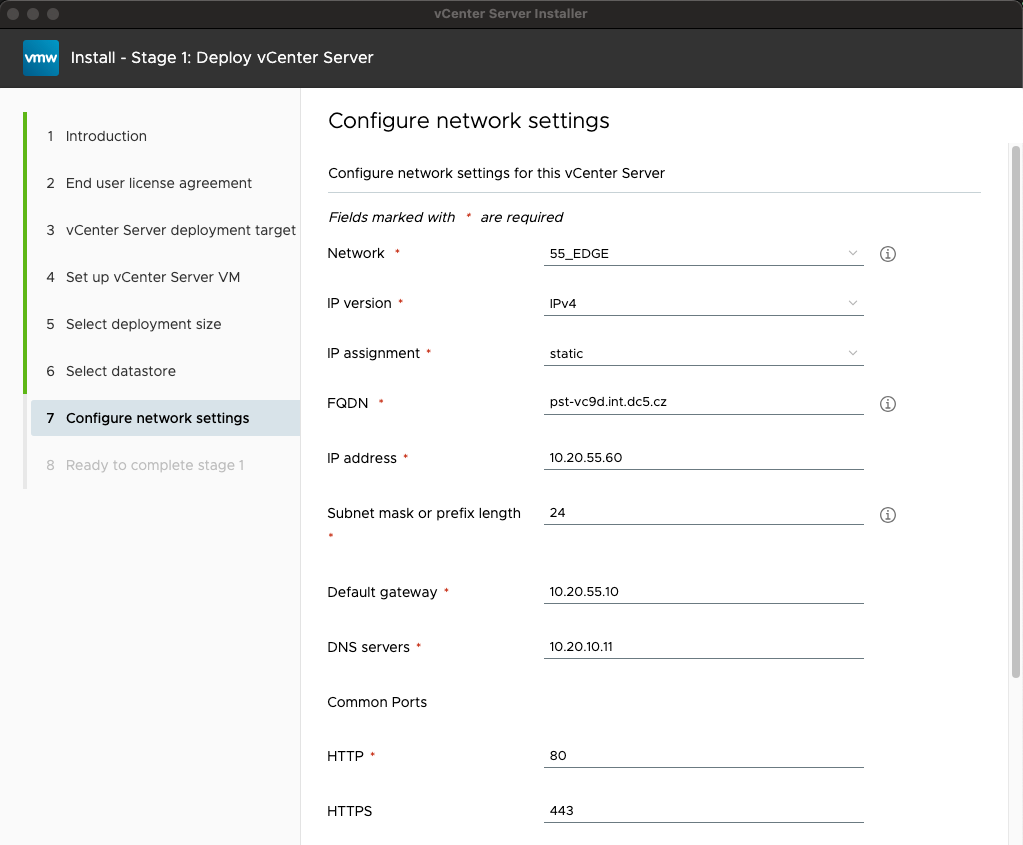
Fill all the netwok details.
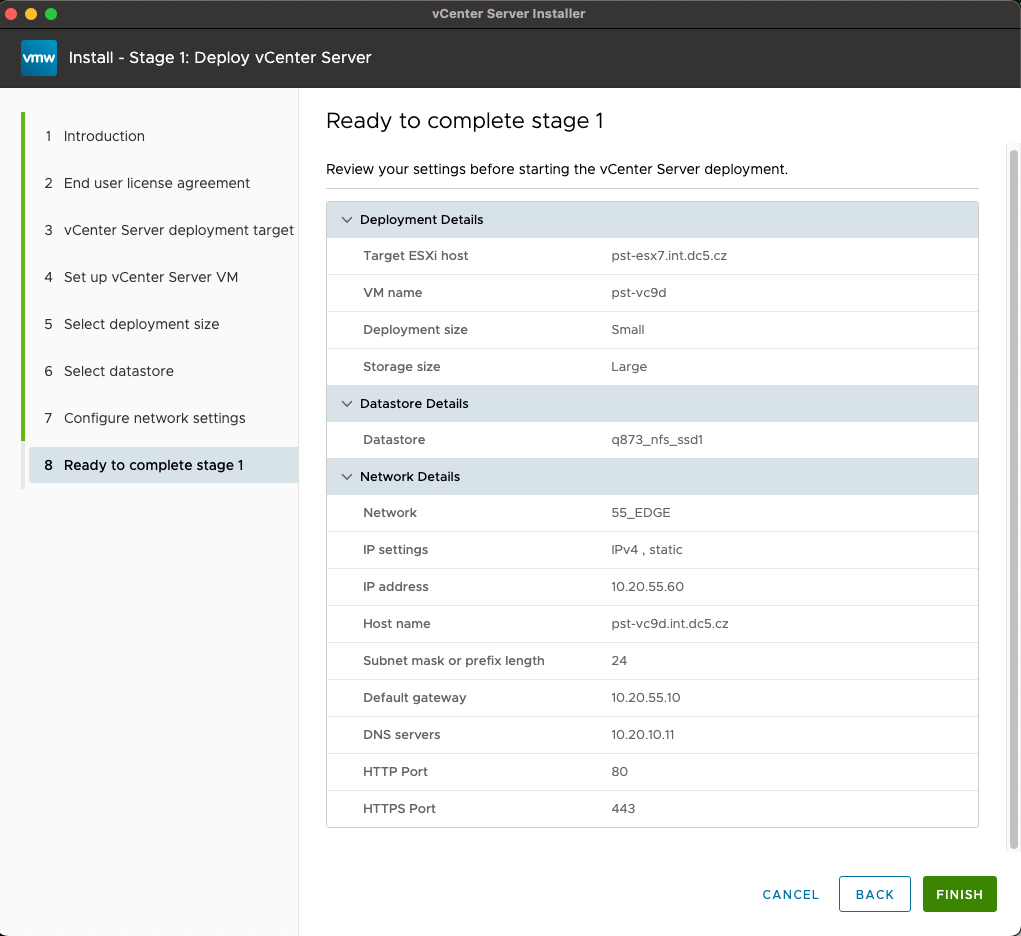
Final review before deployment.
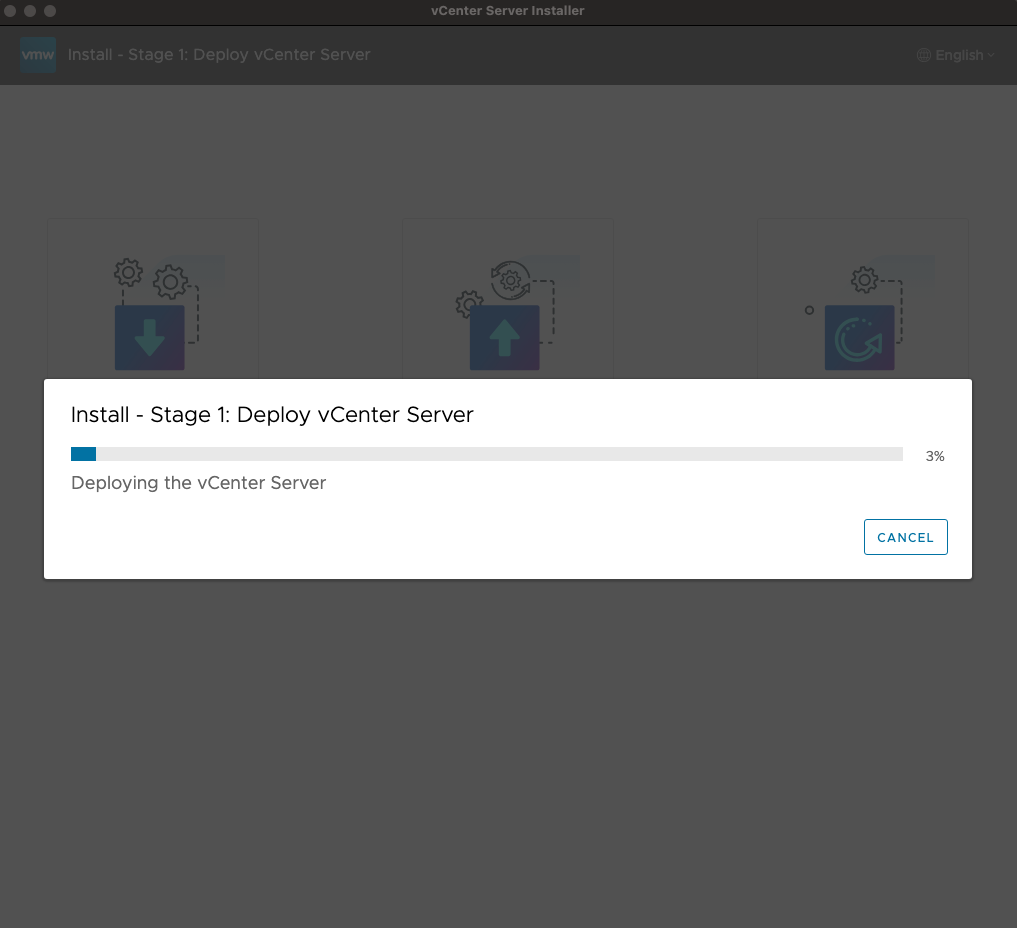
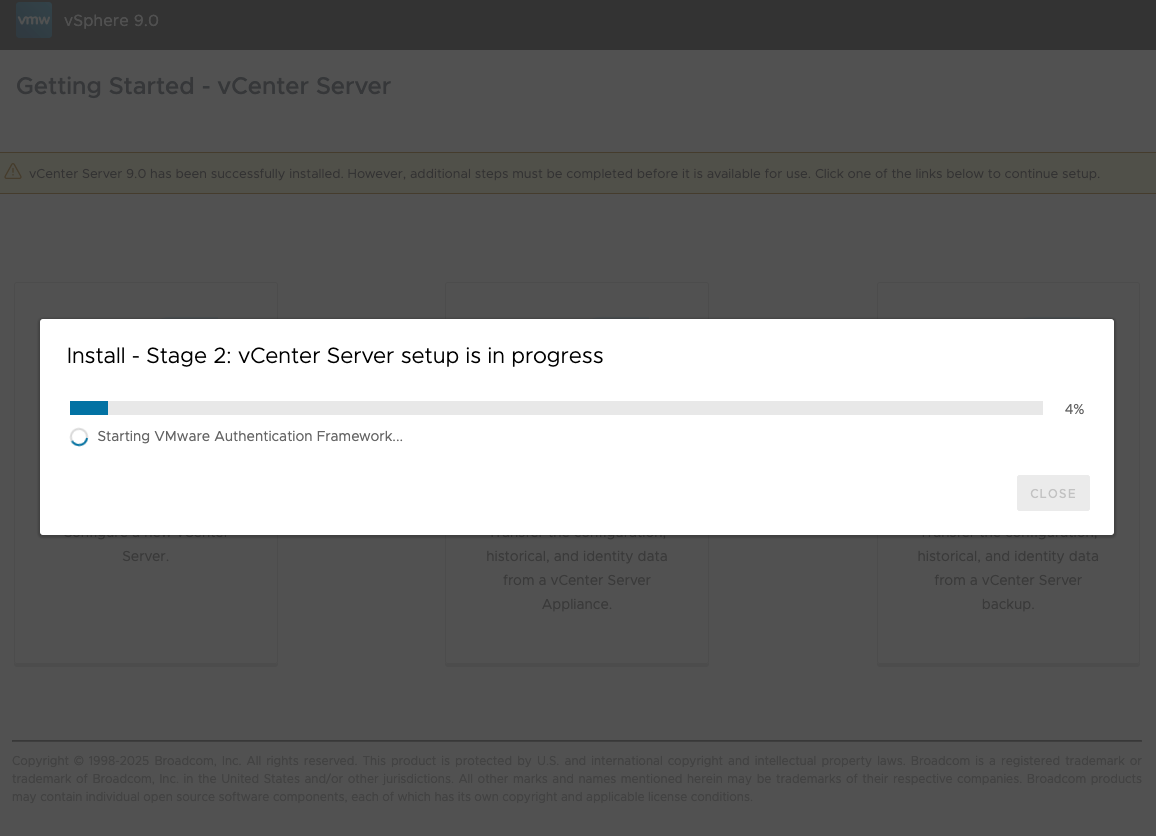
Deployment in progress
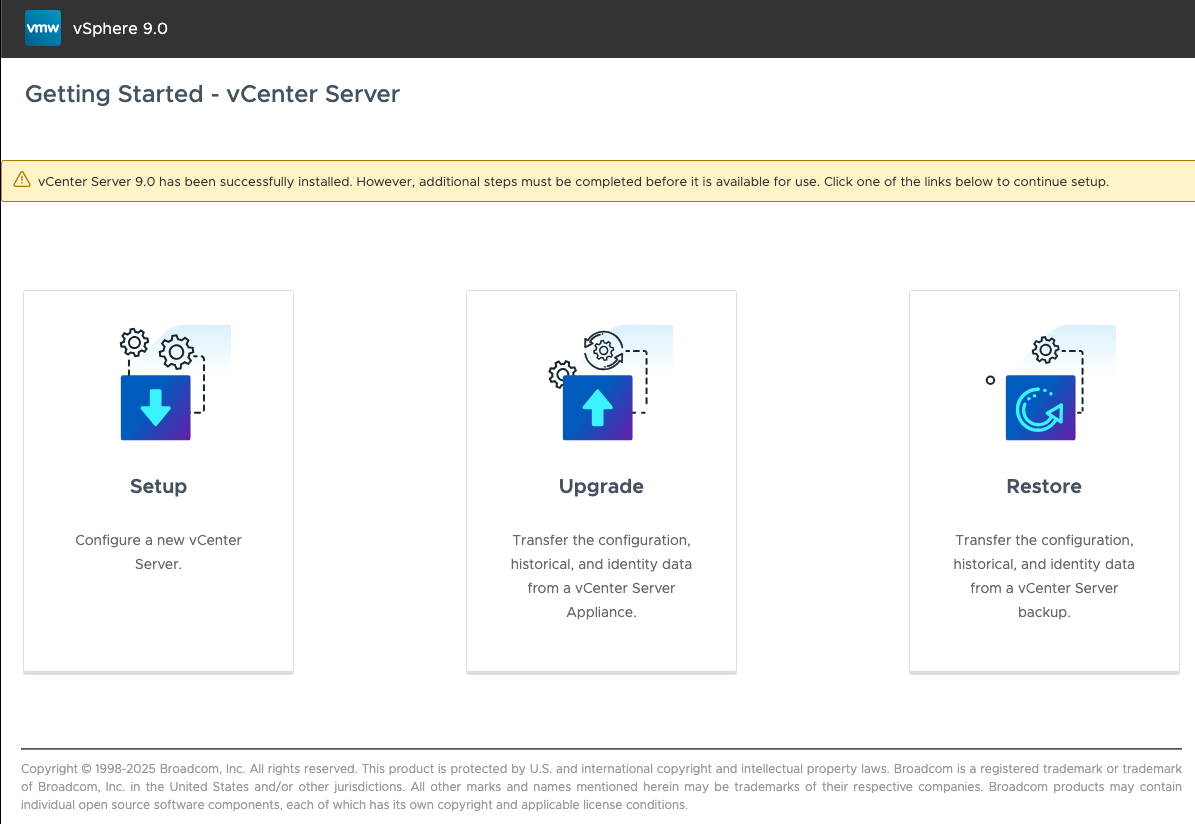
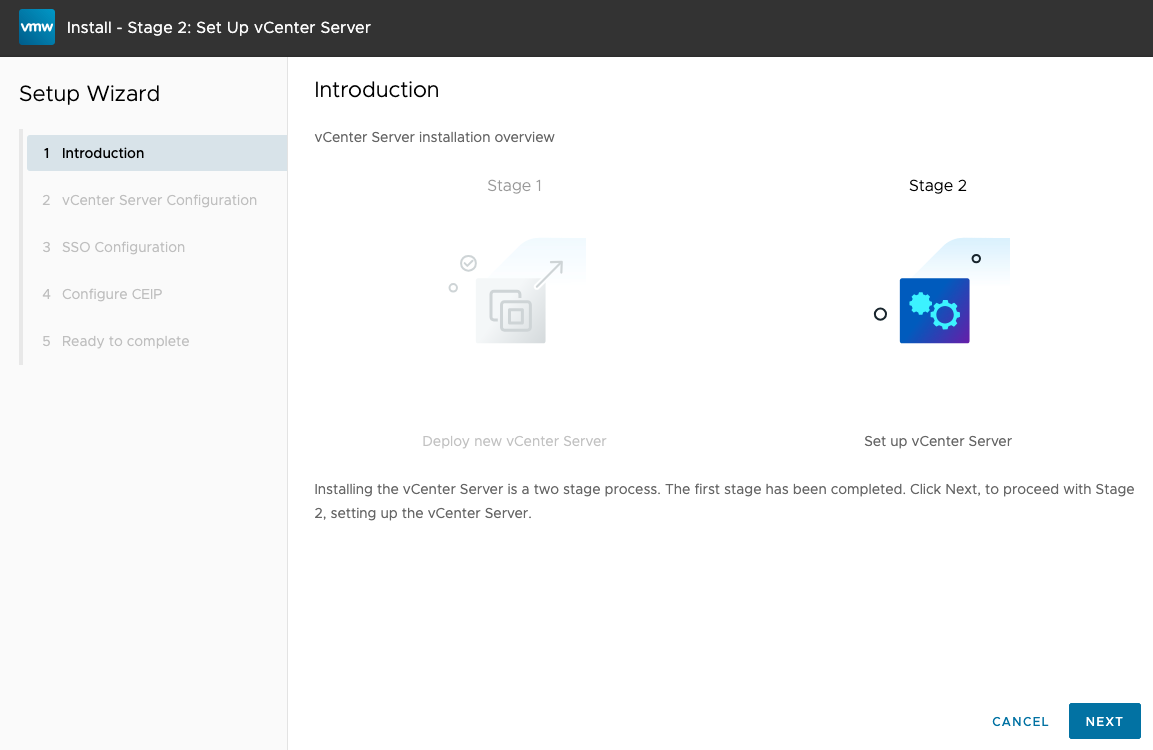
Stage 2
choose “Setup”
Continue with Stage 2
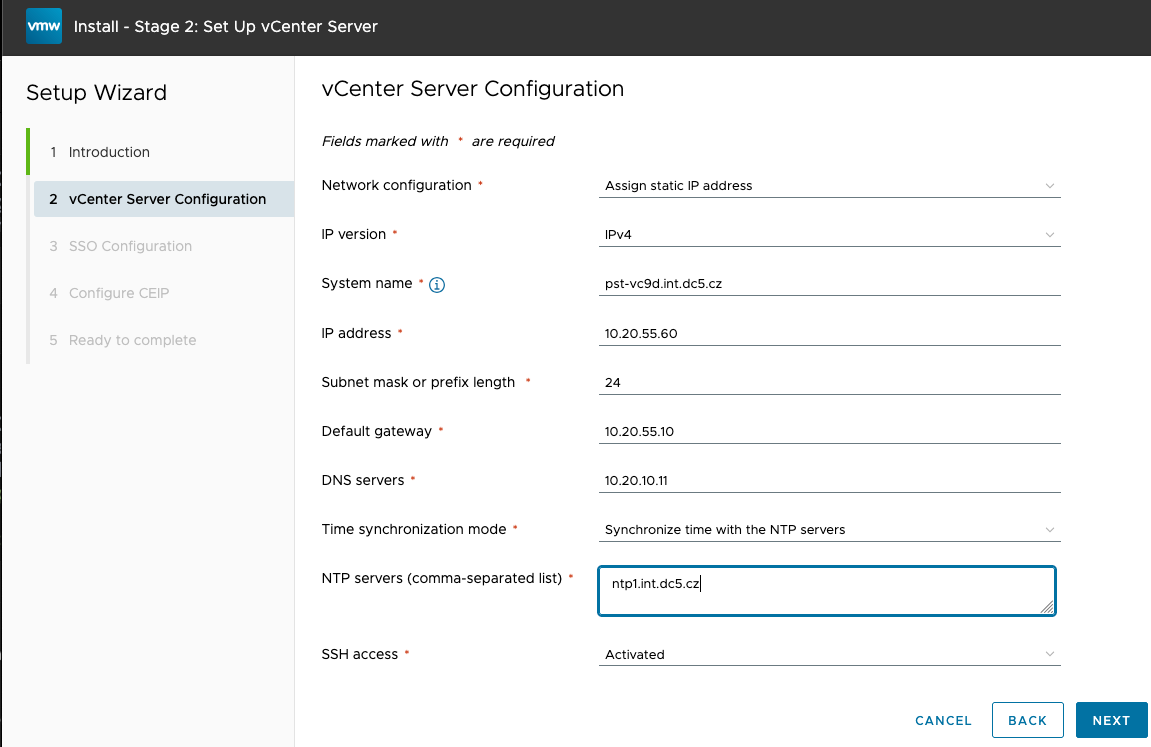
Fill vCenter configuration, DNS servers, NTP’s, Allow/disallow SSH access.
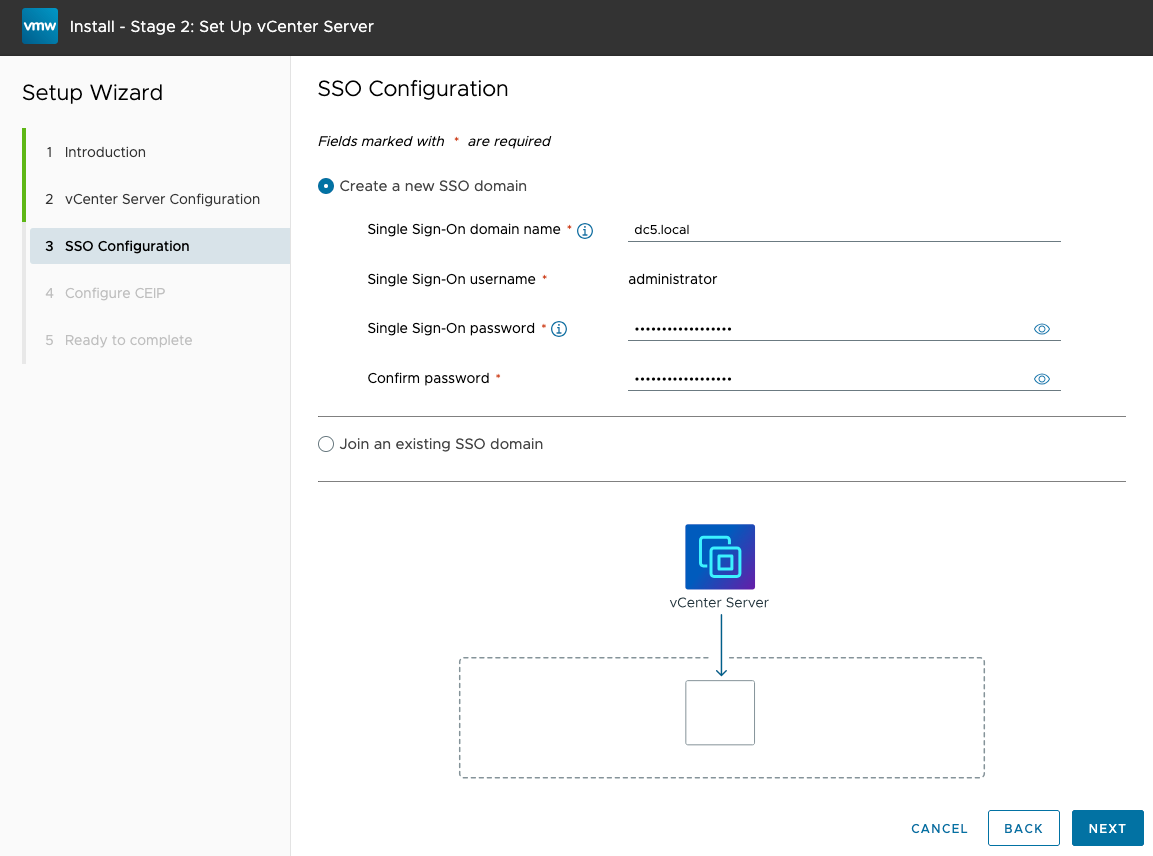
Create new or join existing SSO domain.
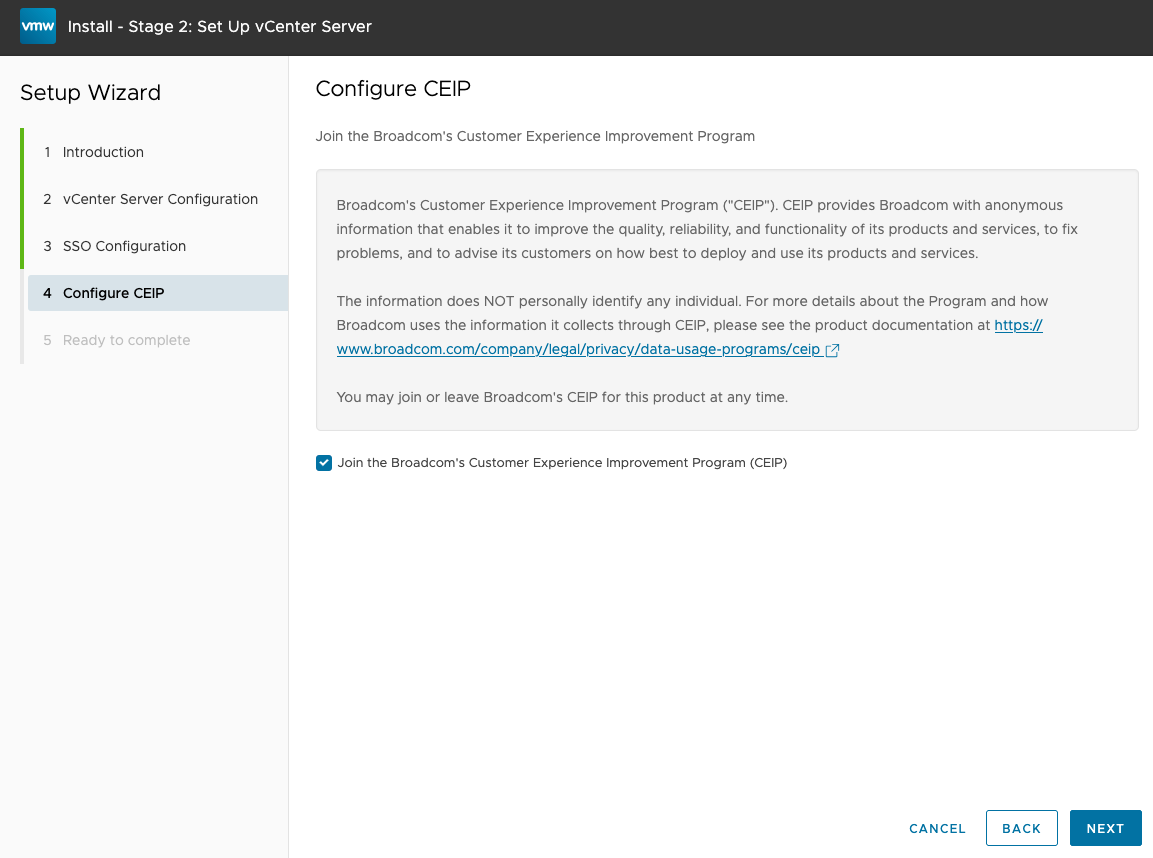
Configure CEIP
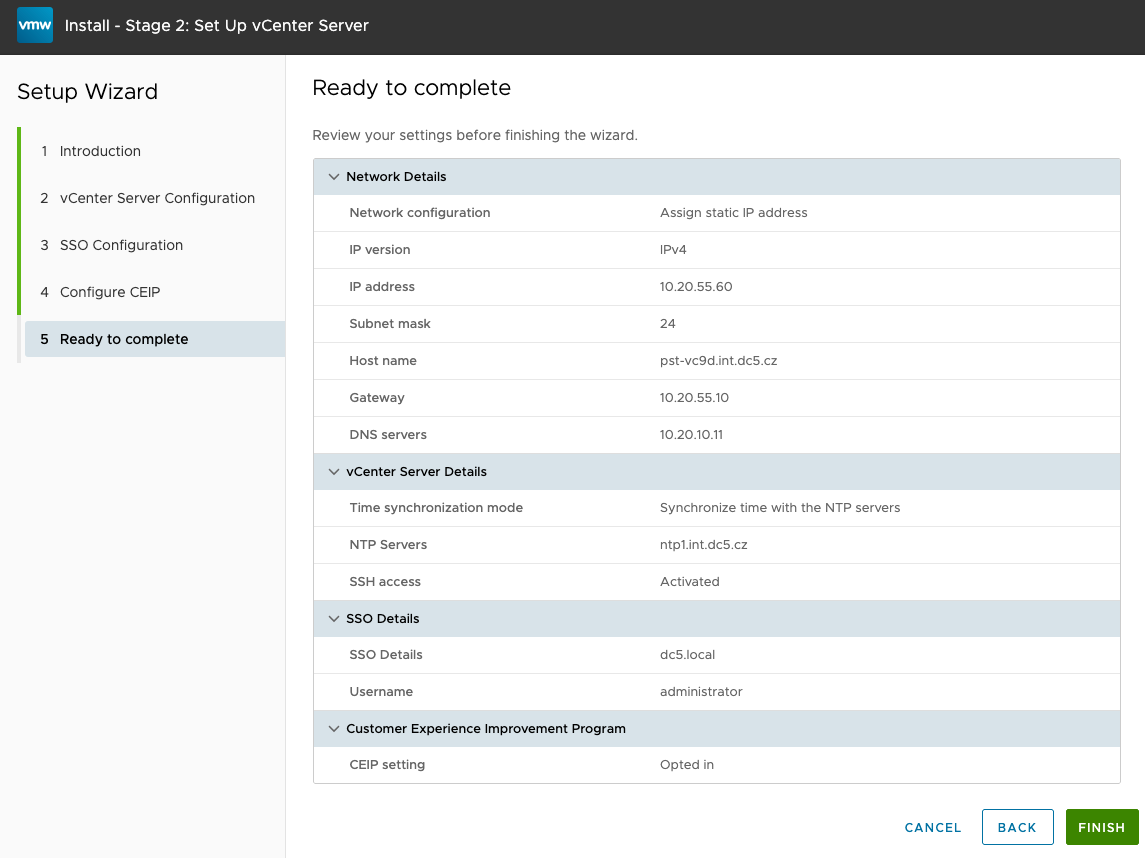
Review
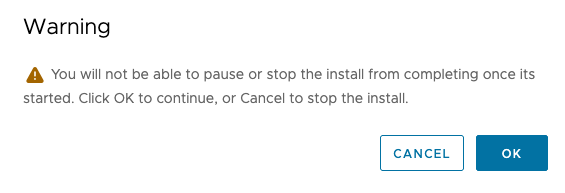
Warning as after this point there is no way back.
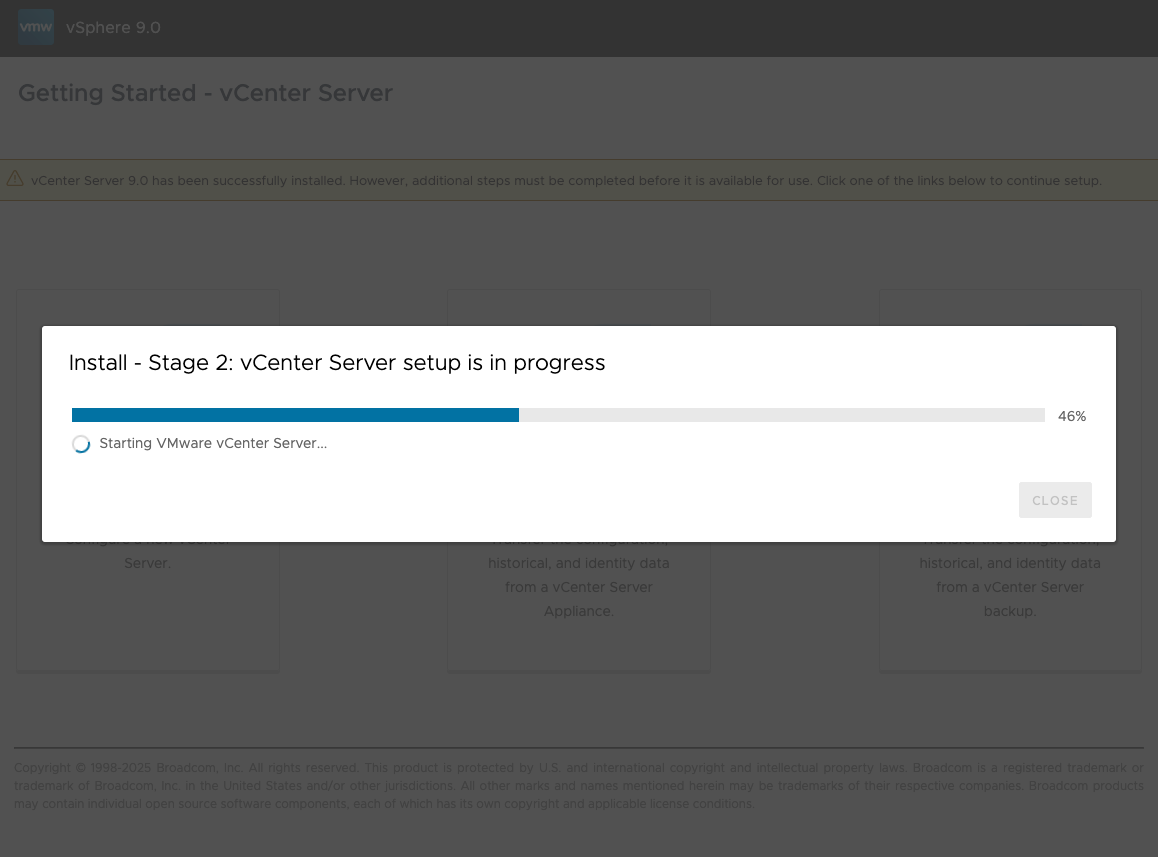
Stage 2 deployment and configuration
Stage 2 progress
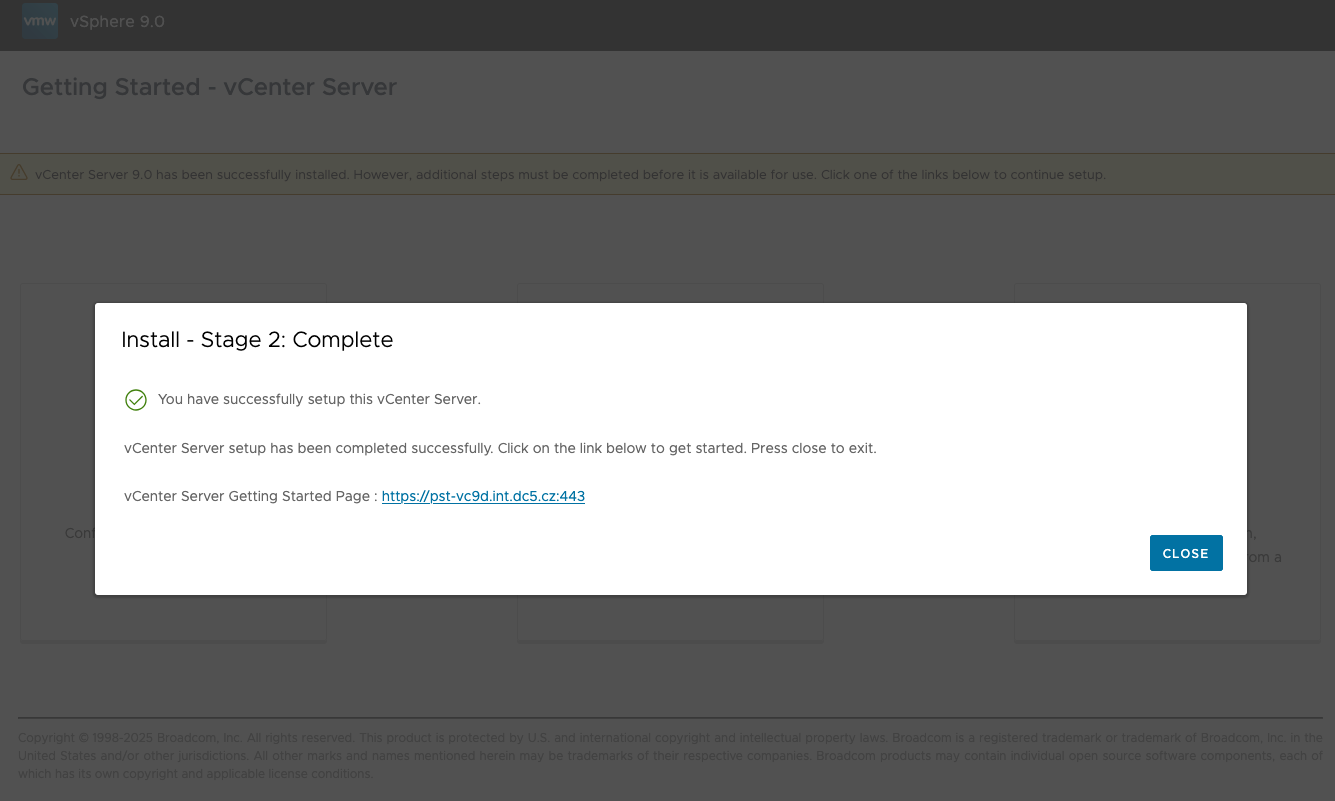
Stage 2 completed. Click on the link…
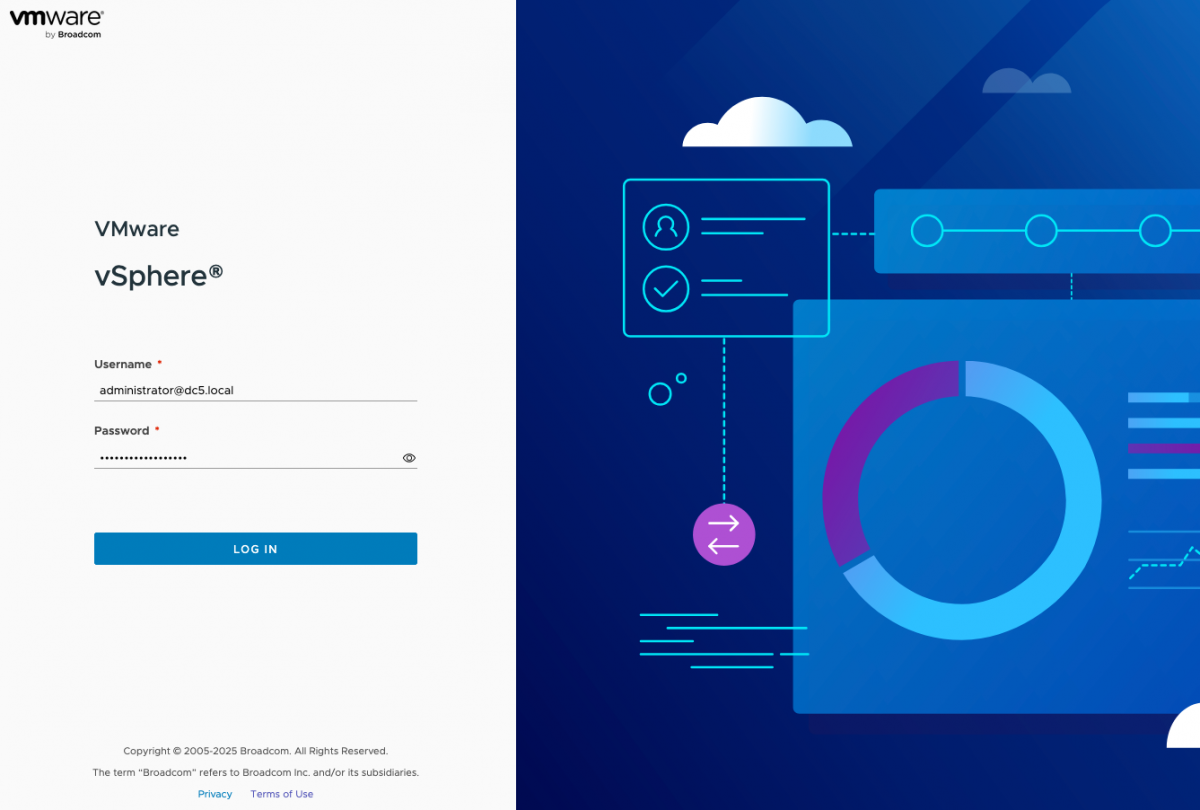
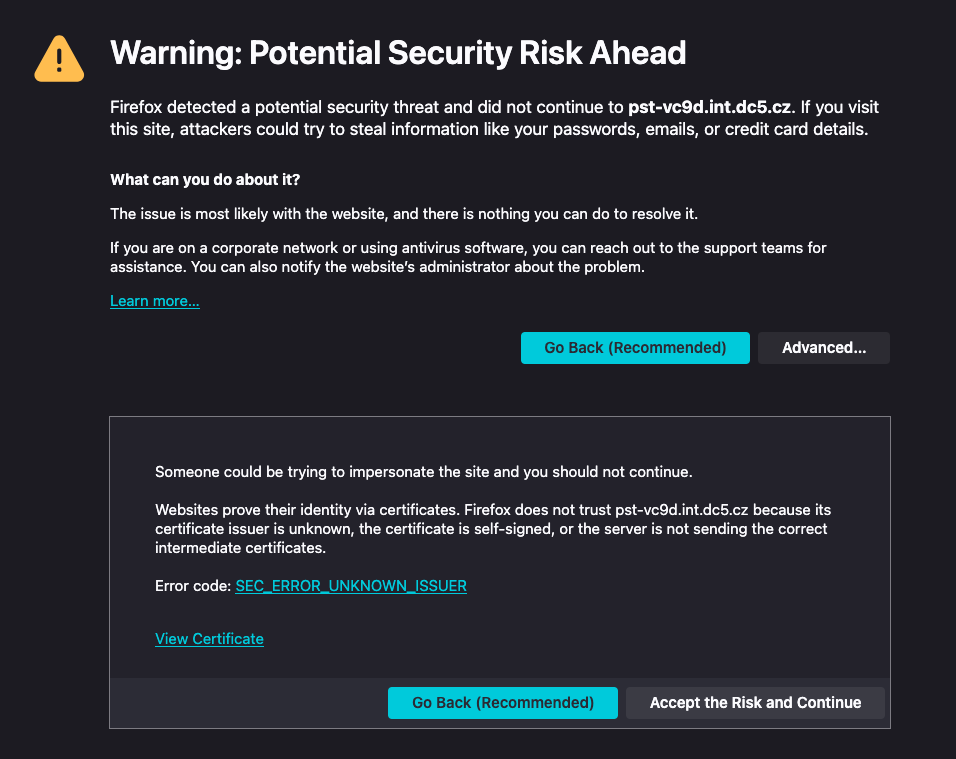
Accept SSL certificate as the initial SSL certificate is self-signed.
The VCF Download Tool is a handy CLI that makes grabbing and managing VMware Cloud Foundation (VCF) bits a breeze. You’ll get commands to download, upload, list, and clean up binaries and metadata for your VCF releases, plus easy setup, teardown, and running of the Update Manager Download Service (UMDS). In short, it’s your one-stop utility for getting VCF artifacts ready and keeping them in shape.
Where to start
Prepare correct download token which belongs to Site ID in Broadcom portal, where is valid VCF licences. Otherwise it fails to download. Save the token to txt file in your home directory for example “downloadtoken.txt”. I am doing all the commands on linux machine. For windows follow official KB https://knowledge.broadcom.com/external/article/401373/vcf-download-tool-under-windows-os.html which will guide how to install WSL (Windows subsystem for Linux) and you can continue with next step.
Download & Extract the VCF Download tool
I created directory in my home folder called “vcfd” ( “mkdir ~/vcfd“. Then I download the VCF Download tool “vcf-download-tool-9.0.0.0.24703747.tar.gz” from broadcom.com website into the “vcfd” folder. Also I moved my “downloadtoken.txt” into the “/data” folder “mv ~/downloadtoken.txt /data“
Extract the tar.gz file
Go to the “vcfd” directory with command “cd ~/vcf” and extract the vcf-download-tool-9.0.0.0.24703747.tar.gz archive.
tar -xf vcf-download-tool-9.0.0.0.24703747.tar.gz
VCF Downlaod Tool CLI usage
to get basic help just run the command “vcf-download-tool” without parameters or with “-h” or “–help”.
./vcf-download-tool -h
*********Welcome to VMware Cloud Foundation Download Tool***********

Version: 9.0.0.0.24703747
Usage:
vcf-download-tool [-hv] [COMMAND]

Description:
The VCF Download Tool is a command-line interface (CLI) utility designed to simplify the management of binaries and metadata for VMware Cloud Foundation (VCF) environments. It provides a suite of
commands for downloading, uploading, listing, and cleaning up binaries, enabling efficient management of software components for VCF releases. The tool also supports the installation,
uninstallation, and execution of the Update Manager Download Service (UMDS). With its comprehensive features, the VCF Download Tool helps streamline the process of preparing, managing, and
maintaining VCF-related artifacts in your environment.

  -h, --help      Displays a help message that provides information about the command and its available options, and then exits the tool.
  -v, --version   Displays the version information of the VCF Download Tool and then exits the tool.

Commands:
  binaries  Management of the binaries files within the system.
  metadata  Management of the metadata files within the system.
  releases  Operations related to the VCF releases.
  umds      Manage the installation and execution of the UMDS (Update Manager Download Service) tool.
More help
pick one of the command “binaries|metadata|releases|umds” and add “-h” at the end. For example:
./vcf-download-tool binaries -h
*********Welcome to VMware Cloud Foundation Download Tool***********

Version: 9.0.0.0.24703747
Usage:
vcf-download-tool binaries [-h] [COMMAND]

Description:
Management of the binaries files within the system.

  -h, --help   Displays a help message that provides information about the command and its available options, and then exits the tool.

Commands:
  download              Download all the necessary files. The command supports filtering to narrow down the selection of binaries based on the customer intent. At least one filter is required. In
                          addition to the binaries, it also downloads all of the needed metadata. However, UMDS binaries are excluded from the download. When executed multiple times with the same
                          output directory, the command’s behavior is cumulative, adding to previously downloaded binaries without overwriting them.
  upload                Uploads the downloaded binaries into the SDDC Manager. In addition to the binaries, it will also upload the necessary metadata, ensuring that all relevant information is
                          properly integrated into the SDDC Manager system. As a prerequisite, the downloaded binaries need to be transferred to the SDDC Manager appliance and the command must be
                          executed from within the SDDC Manager appliance.
  list                  Provides a comprehensive view of all available binaries. Similar to the download binaries command, it supports filtering options to help you narrow down the list based on
                          your specific needs. At least one filter is required. When executed, the command will display detailed information for each binary, including key details such as the
                          component name, version number, release date, size and type. This allows you to quickly assess the contents of the depot, making it easier to identify which binaries are
                          relevant to your requirements before downloading.
  cleanup               This command helps you efficiently manage disk space by removing unwanted or obsolete binaries, while retaining the ones you still need. It ensures that only the selected
                          binaries are deleted, giving you full control over what remains on your system. It is designed to be run on a system where binaries have already been downloaded.
  create-download-spec  Generates a download specification file based on the planned upgrades for a specific domain within the environment. This spec file contains the necessary details to identify
                          which binaries are required for the planned upgrades. Once created, the spec file can be used as an input parameter for the download binaries command, ensuring that only
                          the relevant binaries for the upgrade process are downloaded. The command must be run from within the SDDC Manager appliance, as it relies on the environment's upgrade
                          plan to generate the correct spec file. This streamlines the download process by focusing only on the needed binaries for the upgrade.
1) Downlaod VCF files needed for VCF installer offline depot
2) How to download all VCF files with VCF download tool.
1) Download VCF files for VCF Installer
This will download only files needed by VCF installer for offline depot. To download all skip to next chapter 😉
Be aware that it will download all required files for full VCF 9. installation. In my case it requires around 82GB on disk(folder). And my target destination for the downloaded files will be /data folder where is 100GB free space.
Start downloading VCF 9 files.
You need to specify what you want to do (download) , the version, depot download token and destination. Token needs to be in txt for example “downloadtoken.txt”
cd bin
./vcf-download-tool binaries download --vcf-version 9.0.0 --automated-install --depot-download-token-file=/data/downloadtoken.txt --depot-store=/data
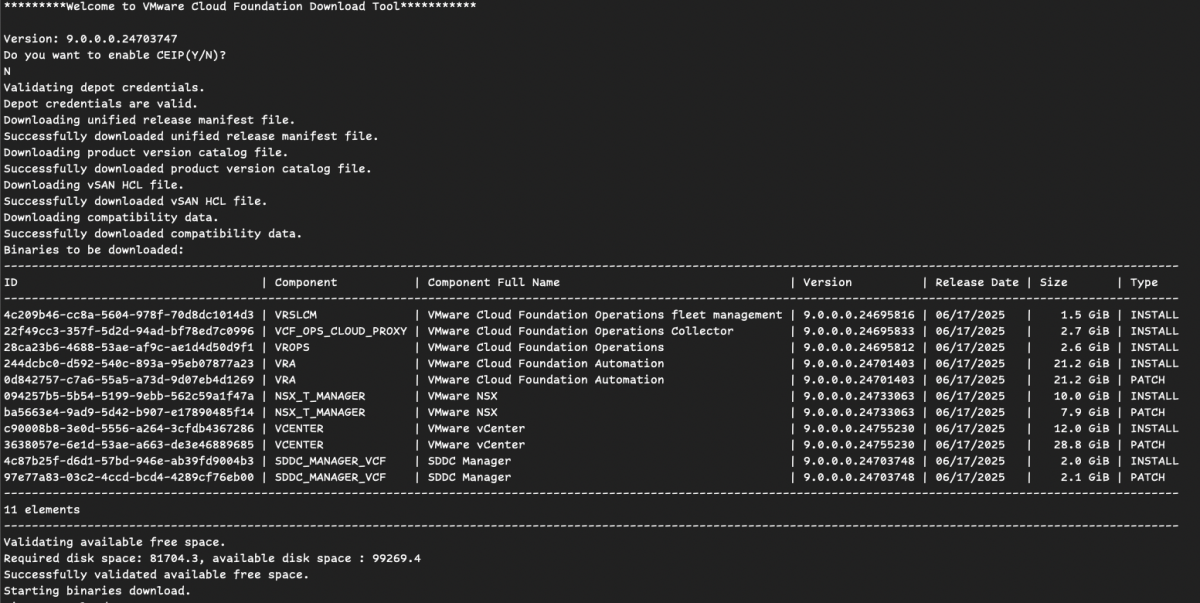
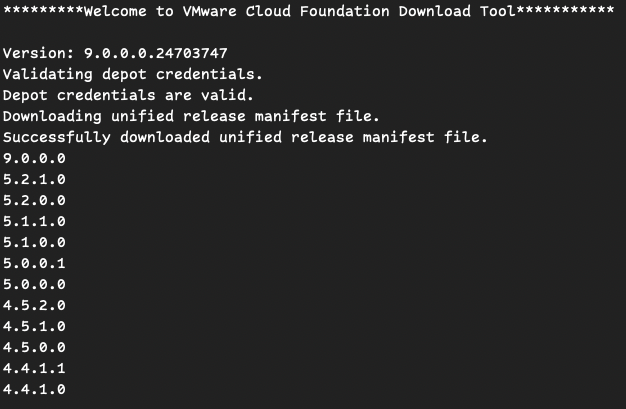
Progress / Output
root@workstation:/data/bin# ./vcf-download-tool binaries download --vcf-version 9.0.0 --automated-install --depot-download-token-file=/data/downloadtoken.txt --depot-store=/data
*********Welcome to VMware Cloud Foundation Download Tool***********

Version: 9.0.0.0.24703747
Validating depot credentials.
Depot credentials are valid.
Downloading unified release manifest file.
Successfully downloaded unified release manifest file.
Downloading product version catalog file.
Successfully downloaded product version catalog file.
Downloading vSAN HCL file.
vSAN HCL file is up to date, no download required.
Downloading compatibility data.
Successfully downloaded compatibility data.
Binaries to be downloaded:
-------------------------------------------------------------------------------------------------------------------------------------------------------------------------
ID                                   | Component           | Component Full Name                                 | Version          | Release Date | Size       | Type
-------------------------------------------------------------------------------------------------------------------------------------------------------------------------
c90008b8-3e0d-5556-a264-3cfdb4367286 | VCENTER             | VMware vCenter                                      | 9.0.0.0.24755230 | 06/17/2025   |   12.0 GiB | INSTALL
3638057e-6e1d-53ae-a663-de3e46889685 | VCENTER             | VMware vCenter                                      | 9.0.0.0.24755230 | 06/17/2025   |   28.8 GiB | PATCH
094257b5-5b54-5199-9ebb-562c59a1f47a | NSX_T_MANAGER       | VMware NSX                                          | 9.0.0.0.24733063 | 06/17/2025   |   10.0 GiB | INSTALL
ba5663e4-9ad9-5d42-b907-e17890485f14 | NSX_T_MANAGER       | VMware NSX                                          | 9.0.0.0.24733063 | 06/17/2025   |    7.9 GiB | PATCH
4c87b25f-d6d1-57bd-946e-ab39fd9004b3 | SDDC_MANAGER_VCF    | SDDC Manager                                        | 9.0.0.0.24703748 | 06/17/2025   |    2.0 GiB | INSTALL
97e77a83-03c2-4ccd-bcd4-4289cf76eb00 | SDDC_MANAGER_VCF    | SDDC Manager                                        | 9.0.0.0.24703748 | 06/17/2025   |    2.1 GiB | PATCH
22f49cc3-357f-5d2d-94ad-bf78ed7c0996 | VCF_OPS_CLOUD_PROXY | VMware Cloud Foundation Operations Collector        | 9.0.0.0.24695833 | 06/17/2025   |    2.7 GiB | INSTALL
244dcbc0-d592-540c-893a-95eb07877a23 | VRA                 | VMware Cloud Foundation Automation                  | 9.0.0.0.24701403 | 06/17/2025   |   21.2 GiB | INSTALL
0d842757-c7a6-55a5-a73d-9d07eb4d1269 | VRA                 | VMware Cloud Foundation Automation                  | 9.0.0.0.24701403 | 06/17/2025   |   21.2 GiB | PATCH
28ca23b6-4688-53ae-af9c-ae1d4d50d9f1 | VROPS               | VMware Cloud Foundation Operations                  | 9.0.0.0.24695812 | 06/17/2025   |    2.6 GiB | INSTALL
4c209b46-cc8a-5604-978f-70d8dc1014d3 | VRSLCM              | VMware Cloud Foundation Operations fleet management | 9.0.0.0.24695816 | 06/17/2025   |    1.5 GiB | INSTALL
-------------------------------------------------------------------------------------------------------------------------------------------------------------------------
11 elements
-------------------------------------------------------------------------------------------------------------------------------------------------------------------------
Validating available free space.
Required disk space: 81704.3, available disk space : 99269.4
Successfully validated available free space.
Starting binaries download.
Download Progress of : VMware-VCSA-all-9.0.0.0.24755230.iso : 0.3 MB, Average Speed: 1.98 Mbps
Download Progress of : nsx-unified-appliance-9.0.0.0.24733065.ova : 0.2 MB, Average Speed: 2.17 Mbps
Download Progress of : VMware-vCenter-Server-Appliance-9.0.0.0.24755230-updaterepo.zip : 0.0 MB, Average Speed: 0.00 Mbps
Download Progress of : VMware-VCSA-all-9.0.0.0.24755230.iso : 27.7 MB, Average Speed: 12.84 Mbps
Download Progress of : nsx-unified-appliance-9.0.0.0.24733065.ova : 20.0 MB, Average Speed: 9.60 Mbps
Download Progress of : VMware-vCenter-Server-Appliance-9.0.0.0.24755230-updaterepo.zip : 21.1 MB, Average Speed: 10.54 Mbps
Download Progress of : VMware-VCSA-all-9.0.0.0.24755230.iso : 86.5 MB, Average Speed: 14.03 Mbps
Download Progress of : nsx-unified-appliance-9.0.0.0.24733065.ova : 79.8 MB, Average Speed: 13.11 Mbps
Download Progress of : VMware-vCenter-Server-Appliance-9.0.0.0.24755230-updaterepo.zip : 81.0 MB, Average Speed: 13.45 Mbps
Download Progress of : VMware-VCSA-all-9.0.0.0.24755230.iso : 211.5 MB, Average Speed: 14.93 Mbps
Download Progress of : nsx-unified-appliance-9.0.0.0.24733065.ova : 211.6 MB, Average Speed: 15.02 Mbps
Download Progress of : VMware-vCenter-Server-Appliance-9.0.0.0.24755230-updaterepo.zip : 210.7 MB, Average Speed: 15.03 Mbps
Download Progress of : VMware-VCSA-all-9.0.0.0.24755230.iso : 471.5 MB, Average Speed: 15.63 Mbps
Download Progress of : nsx-unified-appliance-9.0.0.0.24733065.ova : 473.4 MB, Average Speed: 15.73 Mbps
Download Progress of : VMware-vCenter-Server-Appliance-9.0.0.0.24755230-updaterepo.zip : 470.8 MB, Average Speed: 15.68 Mbps
Download Progress of : VMware-VCSA-all-9.0.0.0.24755230.iso : 998.5 MB, Average Speed: 16.06 Mbps
Download Progress of : nsx-unified-appliance-9.0.0.0.24733065.ova : 1003.5 MB, Average Speed: 16.16 Mbps
Download Progress of : VMware-vCenter-Server-Appliance-9.0.0.0.24755230-updaterepo.zip : 981.7 MB, Average Speed: 15.83 Mbps
Download Progress of : VMware-VCSA-all-9.0.0.0.24755230.iso : 1982.1 MB, Average Speed: 16.22 Mbps
Download Progress of : nsx-unified-appliance-9.0.0.0.24733065.ova : 1991.1 MB, Average Speed: 16.31 Mbps
Download Progress of : VMware-vCenter-Server-Appliance-9.0.0.0.24755230-updaterepo.zip : 1955.9 MB, Average Speed: 16.03 Mbps
Download Progress of : VMware-VCSA-all-9.0.0.0.24755230.iso : 2987.5 MB, Average Speed: 16.40 Mbps
Download Progress of : nsx-unified-appliance-9.0.0.0.24733065.ova : 2996.0 MB, Average Speed: 16.45 Mbps
Download Progress of : VMware-vCenter-Server-Appliance-9.0.0.0.24755230-updaterepo.zip : 2942.7 MB, Average Speed: 16.17 Mbps
Download Progress of : VMware-VCSA-all-9.0.0.0.24755230.iso : 3957.0 MB, Average Speed: 16.34 Mbps
Download Progress of : nsx-unified-appliance-9.0.0.0.24733065.ova : 3980.7 MB, Average Speed: 16.44 Mbps
Download Progress of : VMware-vCenter-Server-Appliance-9.0.0.0.24755230-updaterepo.zip : 3922.6 MB, Average Speed: 16.21 Mbps
Download Progress of : VMware-VCSA-all-9.0.0.0.24755230.iso : 4966.1 MB, Average Speed: 16.43 Mbps
Download Progress of : nsx-unified-appliance-9.0.0.0.24733065.ova : 4996.1 MB, Average Speed: 16.54 Mbps
Download Progress of : VMware-vCenter-Server-Appliance-9.0.0.0.24755230-updaterepo.zip : 4938.3 MB, Average Speed: 16.35 Mbps
Download Progress of : VMware-VCSA-all-9.0.0.0.24755230.iso : 5978.9 MB, Average Speed: 16.51 Mbps
Download Progress of : nsx-unified-appliance-9.0.0.0.24733065.ova : 6023.9 MB, Average Speed: 16.64 Mbps
Download Progress of : VMware-vCenter-Server-Appliance-9.0.0.0.24755230-updaterepo.zip : 5962.4 MB, Average Speed: 16.47 Mbps
Download Progress of : VMware-VCSA-all-9.0.0.0.24755230.iso : 6977.3 MB, Average Speed: 16.53 Mbps
Download Progress of : nsx-unified-appliance-9.0.0.0.24733065.ova : 7017.1 MB, Average Speed: 16.62 Mbps
Download Progress of : VMware-vCenter-Server-Appliance-9.0.0.0.24755230-updaterepo.zip : 6956.7 MB, Average Speed: 16.48 Mbps
Download Progress of : nsx-unified-appliance-9.0.0.0.24733065.ova : 8020.6 MB, Average Speed: 16.64 Mbps
Download Progress of : VMware-VCSA-all-9.0.0.0.24755230.iso : 7974.7 MB, Average Speed: 16.54 Mbps
Download Progress of : VMware-vCenter-Server-Appliance-9.0.0.0.24755230-updaterepo.zip : 7892.1 MB, Average Speed: 16.37 Mbps
Download Progress of : VMware-VCSA-all-9.0.0.0.24755230.iso : 8548.4 MB, Average Speed: 64273.71 Mbps
Download Progress of : VMware-VCSA-all-9.0.0.0.24755230.iso : 8582.8 MB, Average Speed: 4014.38 Mbps
Download Progress of : VMware-VCSA-all-9.0.0.0.24755230.iso : 8653.6 MB, Average Speed: 1409.61 Mbps
Download Progress of : VMware-VCSA-all-9.0.0.0.24755230.iso : 8791.1 MB, Average Speed: 621.19 Mbps
Download Progress of : VMware-VCSA-all-9.0.0.0.24755230.iso : 8949.4 MB, Average Speed: 16.50 Mbps
Download Progress of : nsx-unified-appliance-9.0.0.0.24733065.ova : 8994.9 MB, Average Speed: 16.59 Mbps
Download Progress of : VMware-VCSA-all-9.0.0.0.24755230.iso : 9062.2 MB, Average Speed: 300.37 Mbps
Download Progress of : VMware-VCSA-all-9.0.0.0.24755230.iso : 9589.9 MB, Average Speed: 154.25 Mbps
Download Progress of : VMware-VCSA-all-9.0.0.0.24755230.iso : 9913.6 MB, Average Speed: 16.46 Mbps
Download Progress of : nsx-unified-appliance-9.0.0.0.24733065.ova : 9976.1 MB, Average Speed: 16.57 Mbps
Download Progress of : VMware-VCSA-all-9.0.0.0.24755230.iso : 10593.2 MB, Average Speed: 86.70 Mbps
Download Progress of : VMware-VCSA-all-9.0.0.0.24755230.iso : 11003.1 MB, Average Speed: 16.61 Mbps
Download Progress of : VMware-VCSA-all-9.0.0.0.24755230.iso : 11747.6 MB, Average Speed: 64.48 Mbps
Download Progress of : VMware-VCSA-all-9.0.0.0.24755230.iso : 12140.7 MB, Average Speed: 16.81 Mbps
Download Progress of : VMware-vCenter-Server-Appliance-9.0.0.0.24755230_OVF10.ova : 0.0 MB, Average Speed: 0.00 Mbps
Download Progress of : VMware-vCenter-Server-Appliance-9.0.0.0.24755230_OVF10.ova : 82.8 MB, Average Speed: 41.13 Mbps
Download Progress of : VMware-vCenter-Server-Appliance-9.0.0.0.24755230_OVF10.ova : 298.1 MB, Average Speed: 49.56 Mbps
Download Progress of : VMware-vCenter-Server-Appliance-9.0.0.0.24755230_OVF10.ova : 724.8 MB, Average Speed: 51.67 Mbps
Download Progress of : VMware-vCenter-Server-Appliance-9.0.0.0.24755230_OVF10.ova : 1540.8 MB, Average Speed: 51.30 Mbps
Download Progress of : VMware-vCenter-Server-Appliance-9.0.0.0.24755230_OVF10.ova : 3238.1 MB, Average Speed: 52.19 Mbps
Download Progress of : VMware-NSX-upgrade-bundle-9.0.0.0.0.24733063.mub : 0.5 MB, Average Speed: 2.20 Mbps
Download Progress of : VMware-NSX-upgrade-bundle-9.0.0.0.0.24733063.mub : 59.3 MB, Average Speed: 26.44 Mbps
Download Progress of : VMware-NSX-upgrade-bundle-9.0.0.0.0.24733063.mub : 189.8 MB, Average Speed: 30.37 Mbps
Download Progress of : VMware-NSX-upgrade-bundle-9.0.0.0.0.24733063.mub : 412.6 MB, Average Speed: 28.93 Mbps
Download Progress of : VMware-NSX-upgrade-bundle-9.0.0.0.0.24733063.mub : 665.8 MB, Average Speed: 22.00 Mbps
Download Progress of : VMware-vCenter-Server-Appliance-9.0.0.0.24755230_OVF10.ova : 4566.0 MB, Average Speed: 37.41 Mbps
Download Progress of : VMware-NSX-upgrade-bundle-9.0.0.0.0.24733063.mub : 1208.5 MB, Average Speed: 19.41 Mbps
Download Progress of : VMware-vCenter-Server-Appliance-9.0.0.0.24755230_OVF10.ova : 5609.7 MB, Average Speed: 30.81 Mbps
Download Progress of : VMware-NSX-upgrade-bundle-9.0.0.0.0.24733063.mub : 2268.2 MB, Average Speed: 18.55 Mbps
Download Progress of : VCF-SDDC-Manager-Appliance-9.0.0.0.24703748.ova : 0.1 MB, Average Speed: 1.45 Mbps
Download Progress of : VCF-SDDC-Manager-Appliance-9.0.0.0.24703748.ova : 30.9 MB, Average Speed: 14.61 Mbps
Download Progress of : VCF-SDDC-Manager-Appliance-9.0.0.0.24703748.ova : 105.7 MB, Average Speed: 17.26 Mbps
Download Progress of : VMware-vCenter-Server-Appliance-9.0.0.0.24755230_OVF10.ova : 6677.8 MB, Average Speed: 27.59 Mbps
Download Progress of : VCF-SDDC-Manager-Appliance-9.0.0.0.24703748.ova : 255.4 MB, Average Speed: 18.08 Mbps
Download Progress of : VMware-NSX-upgrade-bundle-9.0.0.0.0.24733063.mub : 3355.3 MB, Average Speed: 18.41 Mbps
Download Progress of : VCF-SDDC-Manager-Appliance-9.0.0.0.24703748.ova : 571.2 MB, Average Speed: 18.96 Mbps
Download Progress of : VCF-SDDC-Manager-Appliance-9.0.0.0.24703748.ova : 1161.7 MB, Average Speed: 18.70 Mbps
Download Progress of : VMware-vCenter-Server-Appliance-9.0.0.0.24755230_OVF10.ova : 7861.2 MB, Average Speed: 26.02 Mbps
Download Progress of : VMware-NSX-upgrade-bundle-9.0.0.0.0.24733063.mub : 4574.6 MB, Average Speed: 18.88 Mbps
Download Progress of : VMware-NSX-upgrade-bundle-9.0.0.0.0.24733063.mub : 6247.1 MB, Average Speed: 20.67 Mbps
Download Progress of bundle tar : VCF-SDDC-Manager-Appliance-Upgrade-9.0.0.0.24703748.tar : 0.2 MB, Average Speed: 2.41 Mbps, Total Size:  : 2133.4 MB
Download Progress of bundle tar : VCF-SDDC-Manager-Appliance-Upgrade-9.0.0.0.24703748.tar : 47.2 MB, Average Speed: 22.24 Mbps, Total Size:  : 2133.4 MB
Download Progress of bundle tar : VCF-SDDC-Manager-Appliance-Upgrade-9.0.0.0.24703748.tar : 162.6 MB, Average Speed: 26.54 Mbps, Total Size:  : 2133.4 MB
Download Progress of bundle tar : VCF-SDDC-Manager-Appliance-Upgrade-9.0.0.0.24703748.tar : 403.2 MB, Average Speed: 28.52 Mbps, Total Size:  : 2133.4 MB
Download Progress of : VMware-NSX-upgrade-bundle-9.0.0.0.0.24733063-pre-check.pub : 0.4 MB, Average Speed: 1.80 Mbps
Download Progress of : VMware-NSX-upgrade-bundle-9.0.0.0.0.24733063-pre-check.pub : 30.7 MB, Average Speed: 13.71 Mbps
Download Progress of : VMware-NSX-upgrade-bundle-9.0.0.0.0.24733063-pre-check.pub : 102.6 MB, Average Speed: 16.41 Mbps
Download Progress of bundle tar : VCF-SDDC-Manager-Appliance-Upgrade-9.0.0.0.24703748.tar : 689.3 MB, Average Speed: 22.86 Mbps, Total Size:  : 2133.4 MB
Download Progress of : VMware-NSX-upgrade-bundle-9.0.0.0.0.24733063-pre-check.pub : 243.1 MB, Average Speed: 17.05 Mbps
Download Progress of : VMware-NSX-upgrade-bundle-9.0.0.0.0.24733063-pre-check.pub : 541.2 MB, Average Speed: 17.88 Mbps
Download Progress of bundle tar : VCF-SDDC-Manager-Appliance-Upgrade-9.0.0.0.24703748.tar : 1297.9 MB, Average Speed: 20.88 Mbps, Total Size:  : 2133.4 MB
Download Progress of : Operations-Cloud-Proxy-9.0.0.0.24695833.ova : 5.9 MB, Average Speed: 32.48 Mbps
Download Progress of : Operations-Cloud-Proxy-9.0.0.0.24695833.ova : 92.5 MB, Average Speed: 42.14 Mbps
Download Progress of : Operations-Cloud-Proxy-9.0.0.0.24695833.ova : 285.7 MB, Average Speed: 46.02 Mbps
Download Progress of : Operations-Cloud-Proxy-9.0.0.0.24695833.ova : 641.9 MB, Average Speed: 45.18 Mbps
Download Progress of : Operations-Cloud-Proxy-9.0.0.0.24695833.ova : 1418.0 MB, Average Speed: 46.94 Mbps
Download Progress of bundle tar : vmsp-vcfa-combined-9.0.0.0.24701403.tar : 0.0 MB, Average Speed: 9.50 Mbps, Total Size:  : 21678.1 MB
Download Progress of bundle tar : vmsp-vcfa-combined-9.0.0.0.24701403.tar : 22.0 MB, Average Speed: 10.98 Mbps, Total Size:  : 21678.1 MB
Download Progress of bundle tar : vmsp-vcfa-combined-9.0.0.0.24701403.tar : 117.0 MB, Average Speed: 19.48 Mbps, Total Size:  : 21678.1 MB
Download Progress of bundle tar : vmsp-vcfa-combined-9.0.0.0.24701403.tar : 345.9 MB, Average Speed: 411.78 Mbps, Total Size:  : 21678.1 MB
Download Progress of bundle tar : vmsp-vcfa-combined-9.0.0.0.24701403.tar : 411.2 MB, Average Speed: 144.39 Mbps, Total Size:  : 21678.1 MB
Download Progress of bundle tar : vmsp-vcfa-combined-9.0.0.0.24701403.tar : 452.1 MB, Average Speed: 32.28 Mbps, Total Size:  : 21678.1 MB
Download Progress of bundle tar : vmsp-vcfa-combined-9.0.0.0.24701403.tar : 545.4 MB, Average Speed: 79.62 Mbps, Total Size:  : 21678.1 MB
Download Progress of bundle tar : vmsp-vcfa-combined-9.0.0.0.24701403.tar : 808.5 MB, Average Speed: 54.42 Mbps, Total Size:  : 21678.1 MB
Download Progress of bundle tar : vmsp-vcfa-combined-9.0.0.0.24701403.tar : 964.9 MB, Average Speed: 32.16 Mbps, Total Size:  : 21678.1 MB
Download Progress of bundle tar : vmsp-vcfa-combined-9.0.0.0.24701403.tar : 1285.6 MB, Average Speed: 41.66 Mbps, Total Size:  : 21678.1 MB
Download Progress of bundle tar : vmsp-vcfa-combined-9.0.0.0.24701403.tar : 1960.3 MB, Average Speed: 31.61 Mbps, Total Size:  : 21678.1 MB
Download Progress of bundle tar : vmsp-vcfa-combined-9.0.0.0.24701403.tar : 2316.7 MB, Average Speed: 36.85 Mbps, Total Size:  : 21678.1 MB
Download Progress of bundle tar : vmsp-vcfa-combined-9.0.0.0.24701403.tar : 3869.8 MB, Average Speed: 31.71 Mbps, Total Size:  : 21678.1 MB
Download Progress of bundle tar : vmsp-vcfa-combined-9.0.0.0.24701403.tar : 4218.5 MB, Average Speed: 34.33 Mbps, Total Size:  : 21678.1 MB
Download Progress of : Operations-Appliance-9.0.0.0.24695812.ova : 0.0 MB, Average Speed: 0.00 Mbps
Download Progress of : Operations-Appliance-9.0.0.0.24695812.ova : 33.2 MB, Average Speed: 16.33 Mbps
Download Progress of : Operations-Appliance-9.0.0.0.24695812.ova : 116.0 MB, Average Speed: 19.21 Mbps
Download Progress of : Operations-Appliance-9.0.0.0.24695812.ova : 277.3 MB, Average Speed: 19.74 Mbps
Download Progress of bundle tar : vmsp-vcfa-combined-9.0.0.0.24701403.tar : 5557.4 MB, Average Speed: 30.52 Mbps, Total Size:  : 21678.1 MB
Download Progress of bundle tar : vmsp-vcfa-combined-9.0.0.0.24701403.tar : 5776.2 MB, Average Speed: 31.59 Mbps, Total Size:  : 21678.1 MB
Download Progress of : Operations-Appliance-9.0.0.0.24695812.ova : 592.8 MB, Average Speed: 19.73 Mbps
Download Progress of : Operations-Appliance-9.0.0.0.24695812.ova : 1239.9 MB, Average Speed: 19.98 Mbps
Download Progress of bundle tar : vmsp-vcfa-combined-9.0.0.0.24701403.tar : 6776.9 MB, Average Speed: 28.00 Mbps, Total Size:  : 21678.1 MB
Download Progress of bundle tar : vmsp-vcfa-combined-9.0.0.0.24701403.tar : 6990.6 MB, Average Speed: 28.78 Mbps, Total Size:  : 21678.1 MB
Download Progress of : Operations-Appliance-9.0.0.0.24695812.ova : 2406.9 MB, Average Speed: 19.72 Mbps
Download Progress of bundle tar : vmsp-vcfa-combined-9.0.0.0.24701403.tar : 7961.3 MB, Average Speed: 26.36 Mbps, Total Size:  : 21678.1 MB
Download Progress of bundle tar : vmsp-vcfa-combined-9.0.0.0.24701403.tar : 8296.8 MB, Average Speed: 27.39 Mbps, Total Size:  : 21678.1 MB
Download Progress of : VCF-OPS-Lifecycle-Manager-Appliance-9.0.0.0.24695816.ova : 3.1 MB, Average Speed: 19.28 Mbps
Download Progress of : VCF-OPS-Lifecycle-Manager-Appliance-9.0.0.0.24695816.ova : 38.7 MB, Average Speed: 17.84 Mbps
Download Progress of : VCF-OPS-Lifecycle-Manager-Appliance-9.0.0.0.24695816.ova : 107.6 MB, Average Speed: 17.40 Mbps
Download Progress of : VCF-OPS-Lifecycle-Manager-Appliance-9.0.0.0.24695816.ova : 265.6 MB, Average Speed: 18.71 Mbps
Download Progress of : VCF-OPS-Lifecycle-Manager-Appliance-9.0.0.0.24695816.ova : 568.0 MB, Average Speed: 18.81 Mbps
Download Progress of bundle tar : vmsp-vcfa-combined-9.0.0.0.24701403.tar : 9516.1 MB, Average Speed: 26.28 Mbps, Total Size:  : 21678.1 MB
Download Progress of bundle tar : vmsp-vcfa-combined-9.0.0.0.24701403.tar : 9717.6 MB, Average Speed: 26.78 Mbps, Total Size:  : 21678.1 MB
Download Progress of : VCF-OPS-Lifecycle-Manager-Appliance-9.0.0.0.24695816.ova : 1180.9 MB, Average Speed: 18.98 Mbps
Download Progress of bundle tar : vmsp-vcfa-combined-9.0.0.0.24701403.tar : 10804.5 MB, Average Speed: 25.60 Mbps, Total Size:  : 21678.1 MB
Download Progress of bundle tar : vmsp-vcfa-combined-9.0.0.0.24701403.tar : 11118.5 MB, Average Speed: 26.29 Mbps, Total Size:  : 21678.1 MB
Download Progress of bundle tar : vmsp-vcfa-combined-9.0.0.0.24701403.tar : 12676.2 MB, Average Speed: 26.29 Mbps, Total Size:  : 21678.1 MB
Download Progress of bundle tar : vmsp-vcfa-combined-9.0.0.0.24701403.tar : 12980.3 MB, Average Speed: 26.88 Mbps, Total Size:  : 21678.1 MB
Download Progress of bundle tar : vmsp-vcfa-combined-9.0.0.0.24701403.tar : 14540.9 MB, Average Speed: 26.82 Mbps, Total Size:  : 21678.1 MB
Download Progress of bundle tar : vmsp-vcfa-combined-9.0.0.0.24701403.tar : 14824.0 MB, Average Speed: 27.31 Mbps, Total Size:  : 21678.1 MB
Download Progress of bundle tar : vmsp-vcfa-combined-9.0.0.0.24701403.tar : 16408.7 MB, Average Speed: 27.25 Mbps, Total Size:  : 21678.1 MB
Download Progress of bundle tar : vmsp-vcfa-combined-9.0.0.0.24701403.tar : 16680.1 MB, Average Speed: 27.67 Mbps, Total Size:  : 21678.1 MB
Download Progress of bundle tar : vmsp-vcfa-combined-9.0.0.0.24701403.tar : 18274.9 MB, Average Speed: 27.60 Mbps, Total Size:  : 21678.1 MB
Download Progress of bundle tar : vmsp-vcfa-combined-9.0.0.0.24701403.tar : 18571.9 MB, Average Speed: 28.02 Mbps, Total Size:  : 21678.1 MB
Download Progress of bundle tar : vmsp-vcfa-combined-9.0.0.0.24701403.tar : 20149.9 MB, Average Speed: 27.90 Mbps, Total Size:  : 21678.1 MB
Download Progress of bundle tar : vmsp-vcfa-combined-9.0.0.0.24701403.tar : 20452.6 MB, Average Speed: 28.29 Mbps, Total Size:  : 21678.1 MB
Binary Download Summary:
-------------------------------------------------------------------------------------------------------------------
Component           | Component Full Name                                 | Version          | Image Type | Status
-------------------------------------------------------------------------------------------------------------------
NSX_T_MANAGER       | VMware NSX                                          | 9.0.0.0.24733063 | INSTALL    | SUCCESS
VCENTER             | VMware vCenter                                      | 9.0.0.0.24755230 | INSTALL    | SUCCESS
SDDC_MANAGER_VCF    | SDDC Manager                                        | 9.0.0.0.24703748 | INSTALL    | SUCCESS
SDDC_MANAGER_VCF    | SDDC Manager                                        | 9.0.0.0.24703748 | PATCH      | SUCCESS
NSX_T_MANAGER       | VMware NSX                                          | 9.0.0.0.24733063 | PATCH      | SUCCESS
VCF_OPS_CLOUD_PROXY | VMware Cloud Foundation Operations Collector        | 9.0.0.0.24695833 | INSTALL    | SUCCESS
VCENTER             | VMware vCenter                                      | 9.0.0.0.24755230 | PATCH      | SUCCESS
VROPS               | VMware Cloud Foundation Operations                  | 9.0.0.0.24695812 | INSTALL    | SUCCESS
VRSLCM              | VMware Cloud Foundation Operations fleet management | 9.0.0.0.24695816 | INSTALL    | SUCCESS
VRA                 | VMware Cloud Foundation Automation                  | 9.0.0.0.24701403 | INSTALL    | SUCCESS
VRA                 | VMware Cloud Foundation Automation                  | 9.0.0.0.24701403 | PATCH      | SUCCESS
-------------------------------------------------------------------------------------------------------------------
11 SUCCESS | 0 FAILED | 0 ALREADY_DOWNLOADED
-------------------------------------------------------------------------------------------------------------------
Successfully downloaded 11 binaries.

Log file: /data/log/vdt.log
At the end you should see “11 SUCCESS | 0 FAILED | 0 ALREADY_DOWNLOADED“.
And now you have all your downloded files in one place (/data).
2) Download all VCF 9 installation files
to download all the VCF related files you will need much more space. Currently it’s required 134GB available space. Otherwise you will receive this error
Validating available free space.
Required disk space: 133797.2, available disk space : 100316.1
ERROR:
Available disk space on user specified directory: /data2 is 100316.1 MB, Required disk space to download bundles 133797.2 MB.
So I added another 200GB disk and mounted it under /data2 folder.
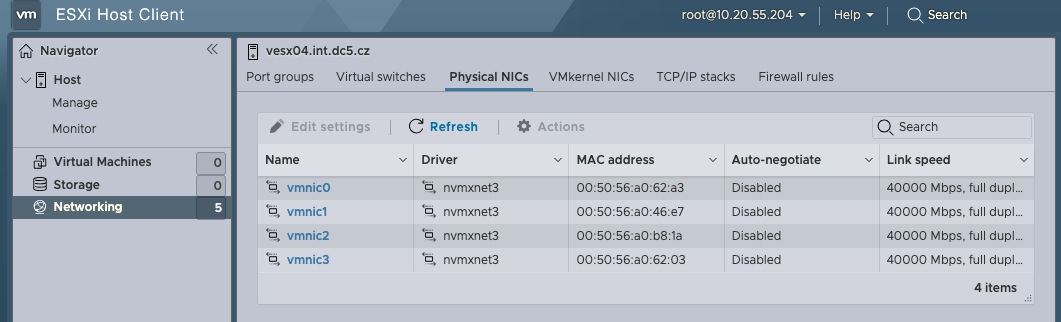
Managing virtual network interfaces (vNICs) effectively is crucial for VMware administrators who want to optimize their virtual infrastructure. It’s important to note that modifying a VM’s in-guest virtual networking adapter link speed addresses OS or application-level limitations related to the default detected 10Gb speed of the vmxnet3 adapter. However, keep in mind that the actual network speed available to the VM is still limited by the physical hardware components, such as the host CPU and physical NICs.
Introducing the vNIC Link Speed PowerShell Script
I’ve developed a straightforward PowerShell script leveraging VMware’s PowerCLI to automate setting vNIC link speeds for your virtual machines.
How It Works
This script allows you to:
Select your virtual machine by name.
Choose the desired link speed (10,000 Mbps, 25,000 Mbps, 40,000 Mbps, or 65,000 Mbps). You can modify this script and set the speed between 10,000 Mbs and 65,000 Mbs.
Verify the power state of the VM and optionally power it off safely.
Automatically apply the new link speed settings to all vNICs of type vmxnet3.
Check and confirm the applied settings.
Requirements
Before you begin, ensure you have:
VMware PowerCLI installed and connected to your vCenter server.
Administrative privileges on vCenter and your VMs.
Usage Example
Here’s how easy it is to run the script:
PS> .\vNIC-LinkSpeed.ps1
The script will prompt you to enter the VM name and select your desired link speed from a simple menu. Verify the power state of the VM, prompting you to shut it down if necessary. If you choose not to power off the VM, the script will exit.
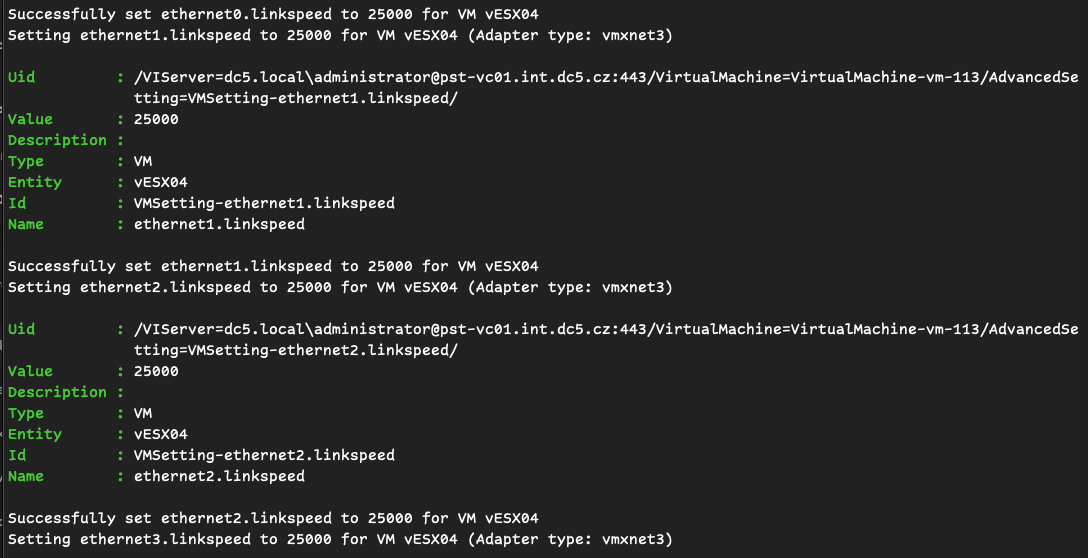
script output
In my case I change the link speed for my virtual ESXi.
Why Use This Script?
Efficiency: Automates repetitive tasks, saving you valuable time.
Reliability: Ensures consistent configuration across all vNICs.
Flexibility: Easily adaptable to any environment and extendable for future requirements.
Download and Customize
You can download and customize the script from my GitHub repository https://github.com/musil/vSphere_scripts (direct link to file -> vNIC-LinkSpeed.ps1 ), or copy it directly from this blog post and adapt it according to your specific needs.
<#
.SYNOPSIS
    This script sets the link speed for all vNICs of a specified VM to a user-selected value.

.DESCRIPTION
    This script modifies the advanced settings of the specified VM's vNICs to set a new link speed.

.AUTHOR
    Stanislav Musil

.VERSION
    1.0

.DATE
    2024-06-28

.PARAMETER vmName
    The name of the virtual machine.

.PARAMETER linkSpeed
    The desired link speed for the virtual machine's vNICs.
    This parameter specifies the speed (in Mbps) to set for each vNIC.

.NOTES
    Requirements: PowerCLI module installed and connected to vCenter.
    KB: https://knowledge.broadcom.com/external/article/368812/how-to-change-the-vmxnet3-link-speed-of.html

.EXAMPLE
    Show how to run the script, e.g.:
    PS> .\vNIC-LinkSpeed.ps1

#>

# Variables
$vmName = Read-Host "Enter the name of the VM"
$options = @(10000, 25000, 40000, 65000)
Write-Host "Select a link speed from the options below:"
for ($i = 0; $i -lt $options.Count; $i++) {
    Write-Host "$($i+1)): $($options[$i])"
}
$selected = Read-Host "Enter the number for your desired link speed"
if (($selected -as [int]) -and ($selected -ge 1) -and ($selected -le $options.Count)) {
    $linkSpeed = $options[$selected - 1]
    Write-Host "You selected: $linkSpeed"
} else {
    Write-Host "Invalid selection. Exiting."
    exit
}

# Get the VM object
$vm = Get-VM -Name $vmName

# Check VM PowerState
if ($vm.PowerState -ne "PoweredOff") {
    Write-Host "VM '$vmName' is currently $($vm.PowerState)."
    $response = Read-Host "Do you want to shut down the VM now? (y/n)"
    if ($response -eq 'y') {
        Stop-VM -VM $vm -Confirm:$false
        Write-Host "Waiting for VM to power off..."
        while ((Get-VM -Name $vmName).PowerState -ne "PoweredOff") {
            Start-Sleep -Seconds 5
            Write-Host "Still waiting for VM to power off..."
        }
        Write-Host "VM is now powered off."
    } else {
        Write-Host "Please power off the VM and run the script again."
        break
    }
}

# Get all network adapters (NICs) on the VM
$nics = Get-NetworkAdapter -VM $vm

# Loop through each NIC and set the corresponding advanced setting
for ($i = 0; $i -lt $nics.Count; $i++) {
    $nic = $nics[$i]
    $settingKey = "ethernet$($i).linkspeed"
    if ($nic.Type -eq "Vmxnet3") {
        Write-Host "Setting $settingKey to $linkSpeed for VM $vmName (Adapter type: vmxnet3)"
        New-AdvancedSetting -Entity $vm -Name $settingKey -Value $linkSpeed -Force -Confirm:$false
        Write-Host "Successfully set $settingKey to $linkSpeed for VM $vmName"
    } else {
        Write-Host "Skipping $settingKey (Adapter type: $($nic.Type) is not vmxnet3)"
    }
}


Write-Host "Checking what is set for each vNIC:"

# Check what is set for each vNIC
for ($i = 0; $i -lt $nics.Count; $i++) {
    $settingKey = "ethernet$($i).linkspeed"
    $currentSetting = Get-AdvancedSetting -Entity $vm -Name $settingKey -ErrorAction SilentlyContinue
    if ($currentSetting) {
        Write-Host "$settingKey : $($currentSetting.Value)"
    } else {
        Write-Host "$settingKey : Not set"
    }
}
# Final confirmation message
Write-Host "`nAll vNIC link speeds have been set to $linkSpeed."
Write-Host "`nAdvanced settings updated for all NICs.`n"
Additional Resources
For more detailed information on managing vNIC link speeds and advanced settings, refer to this VMware knowledge base article: KB 368812
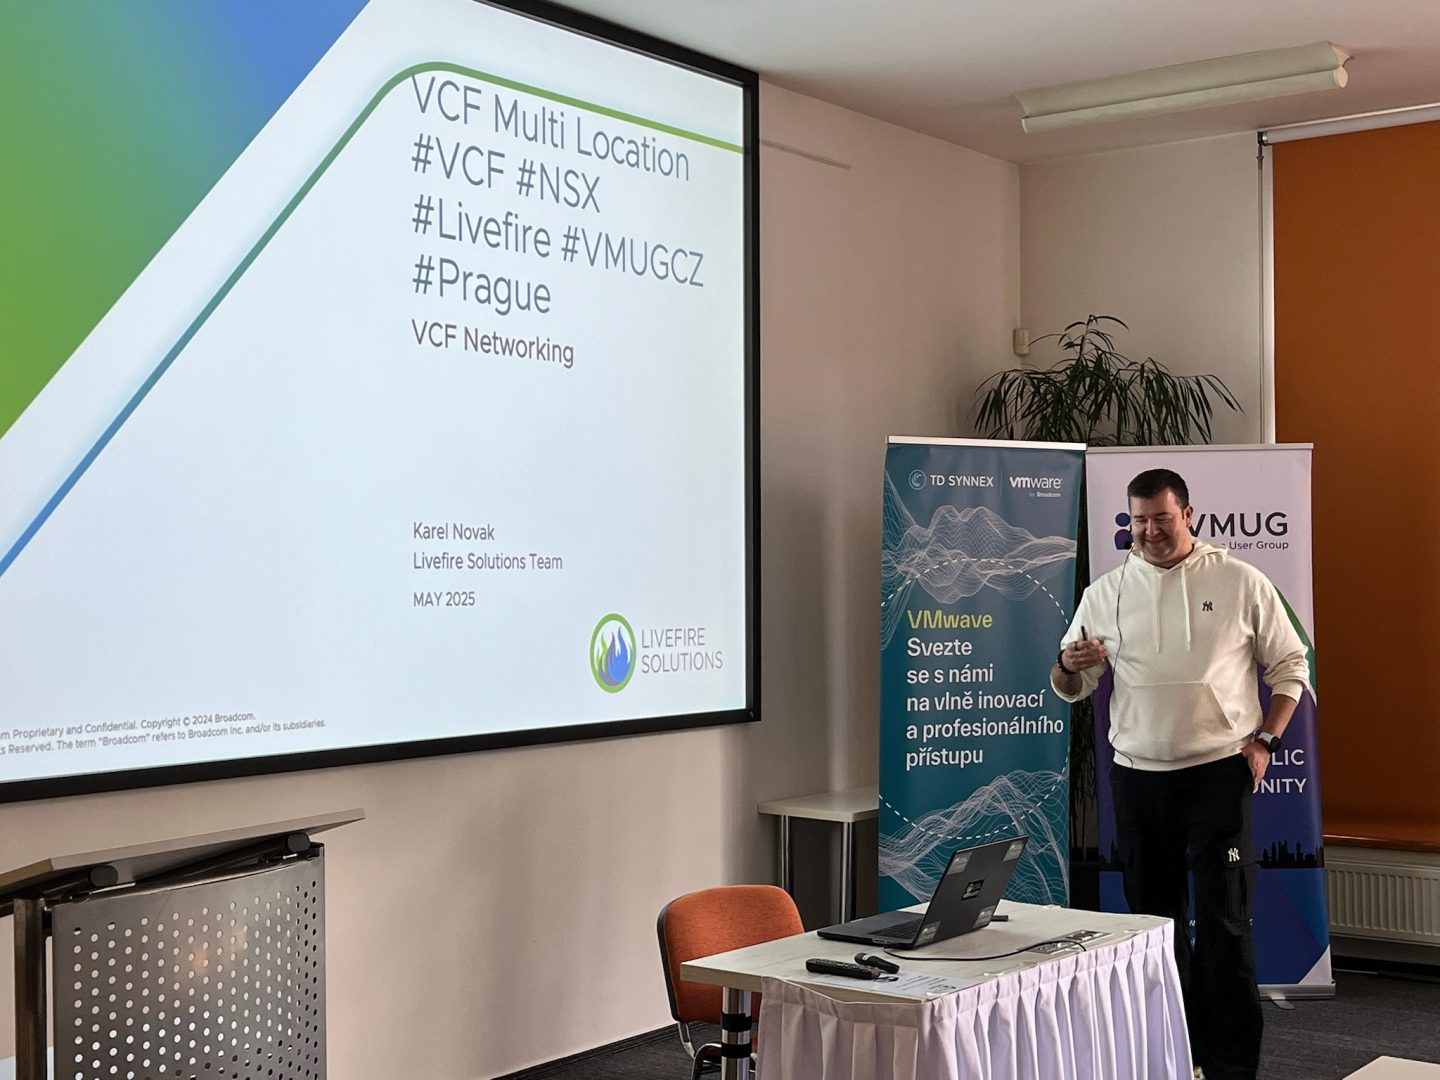
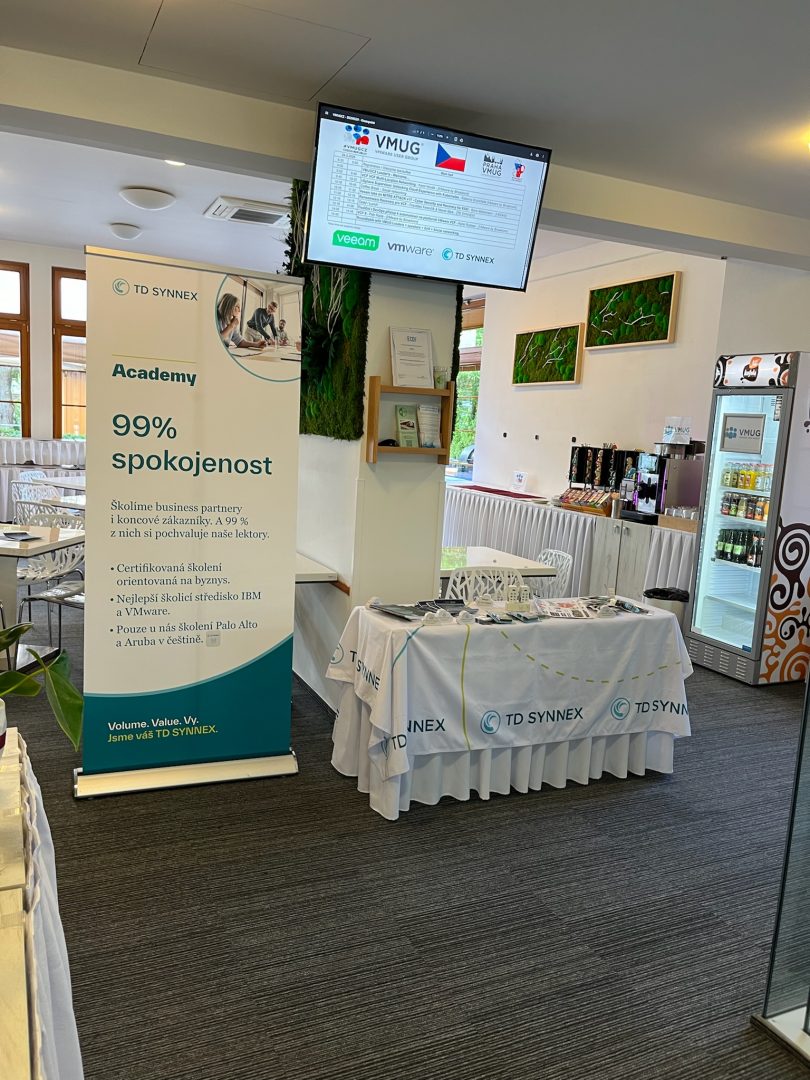
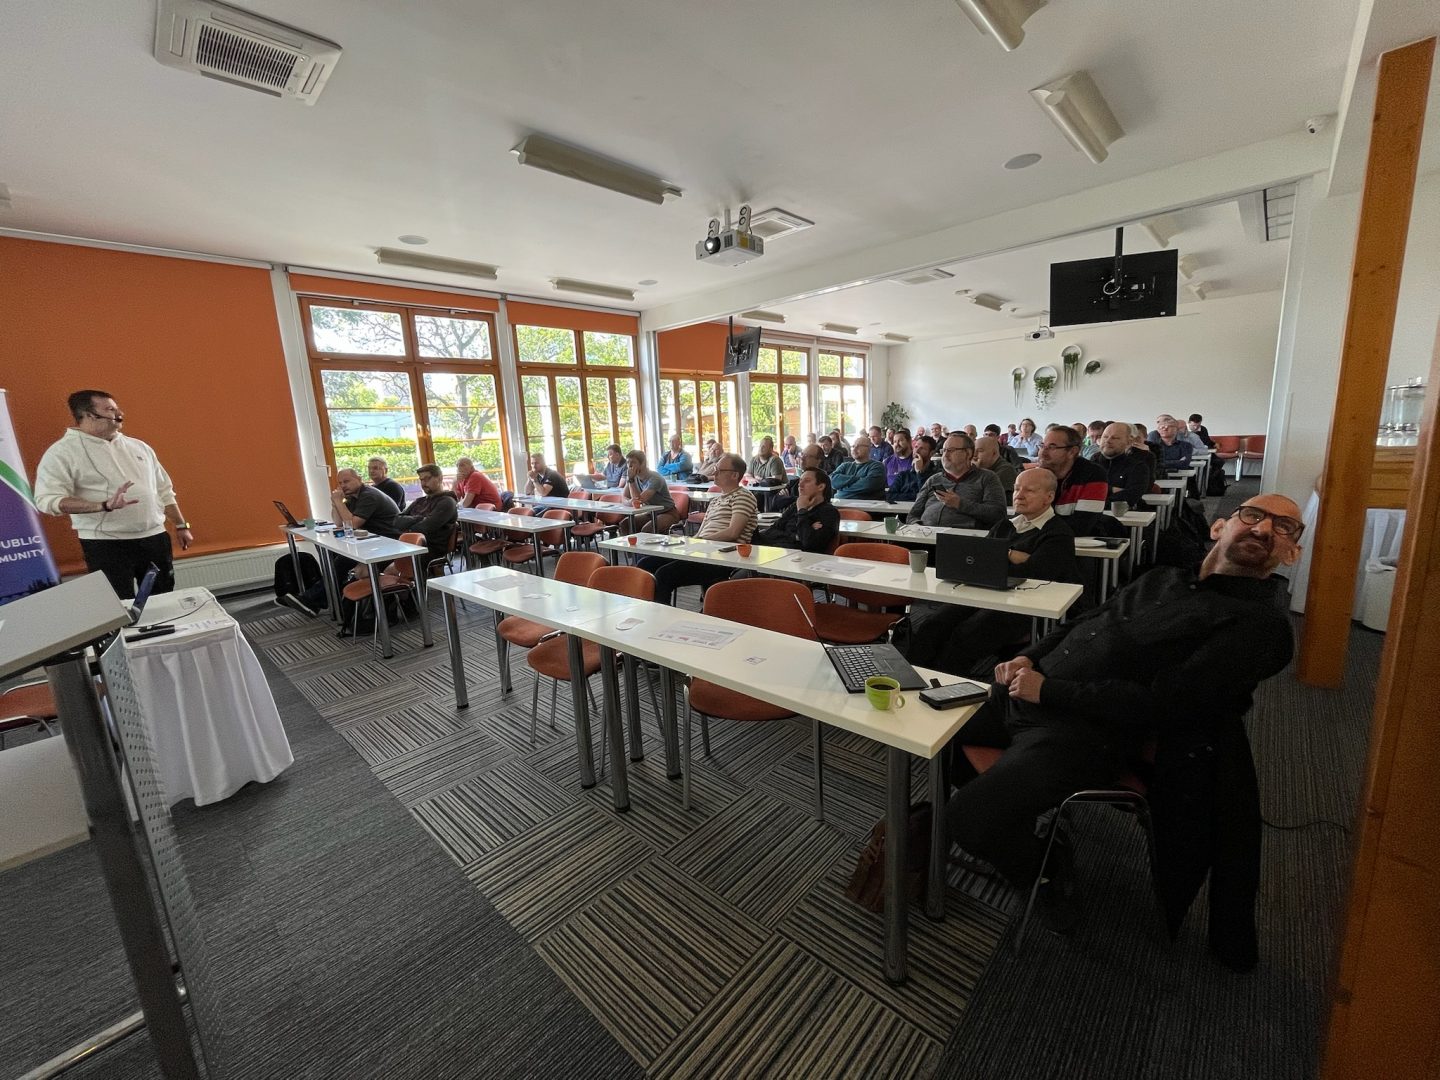
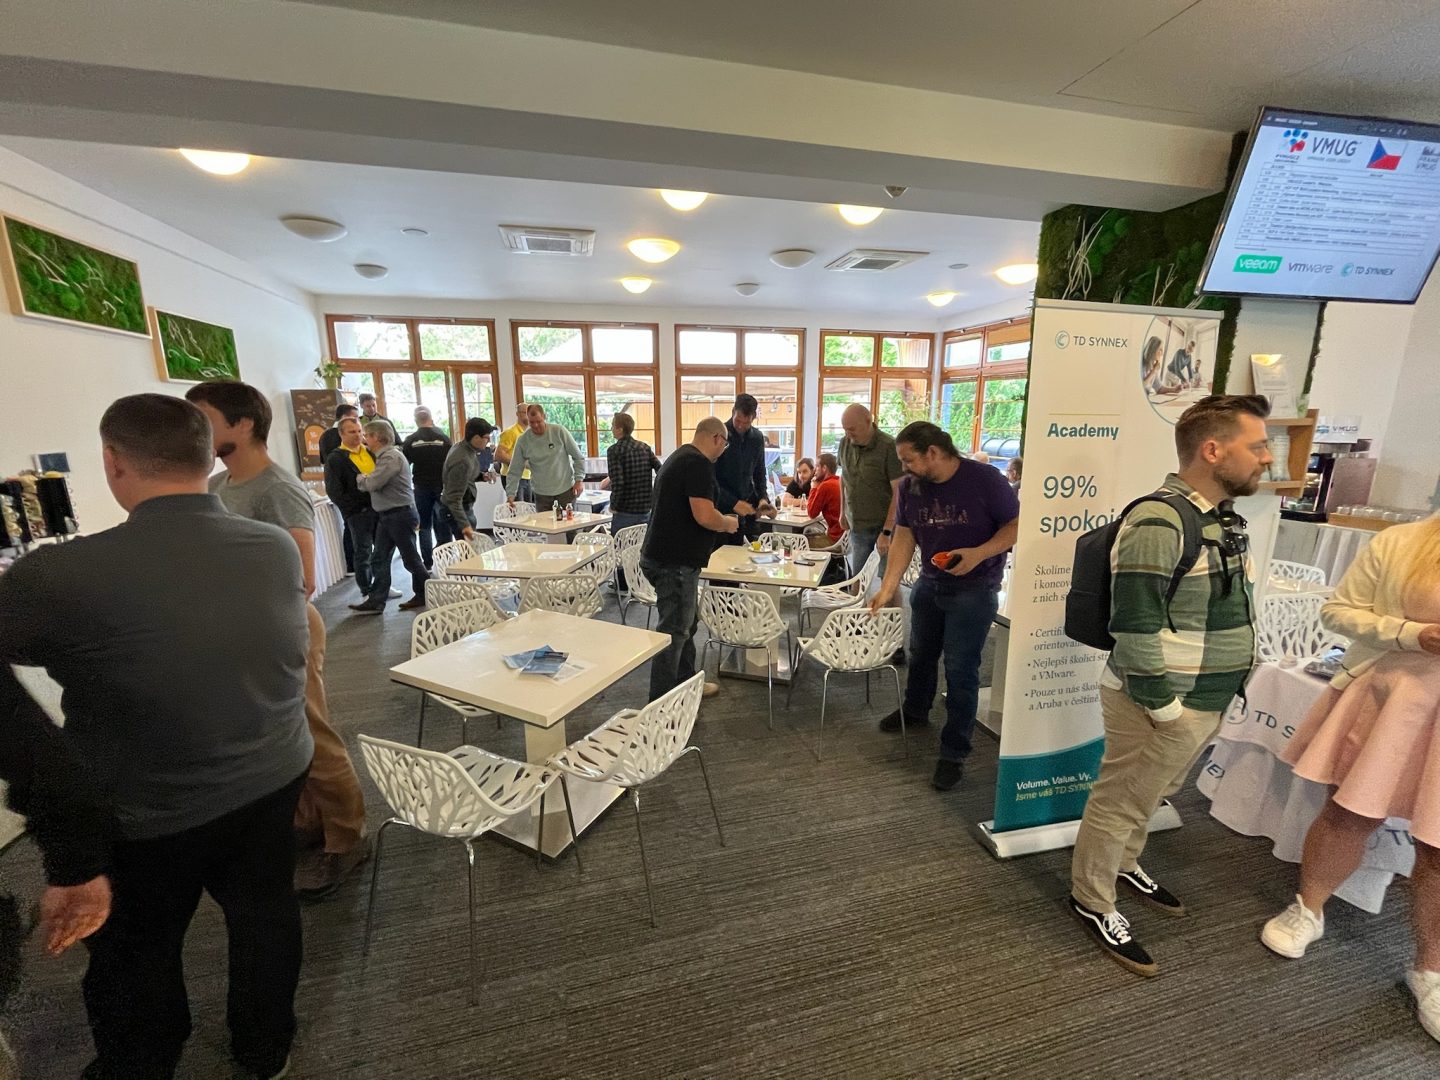
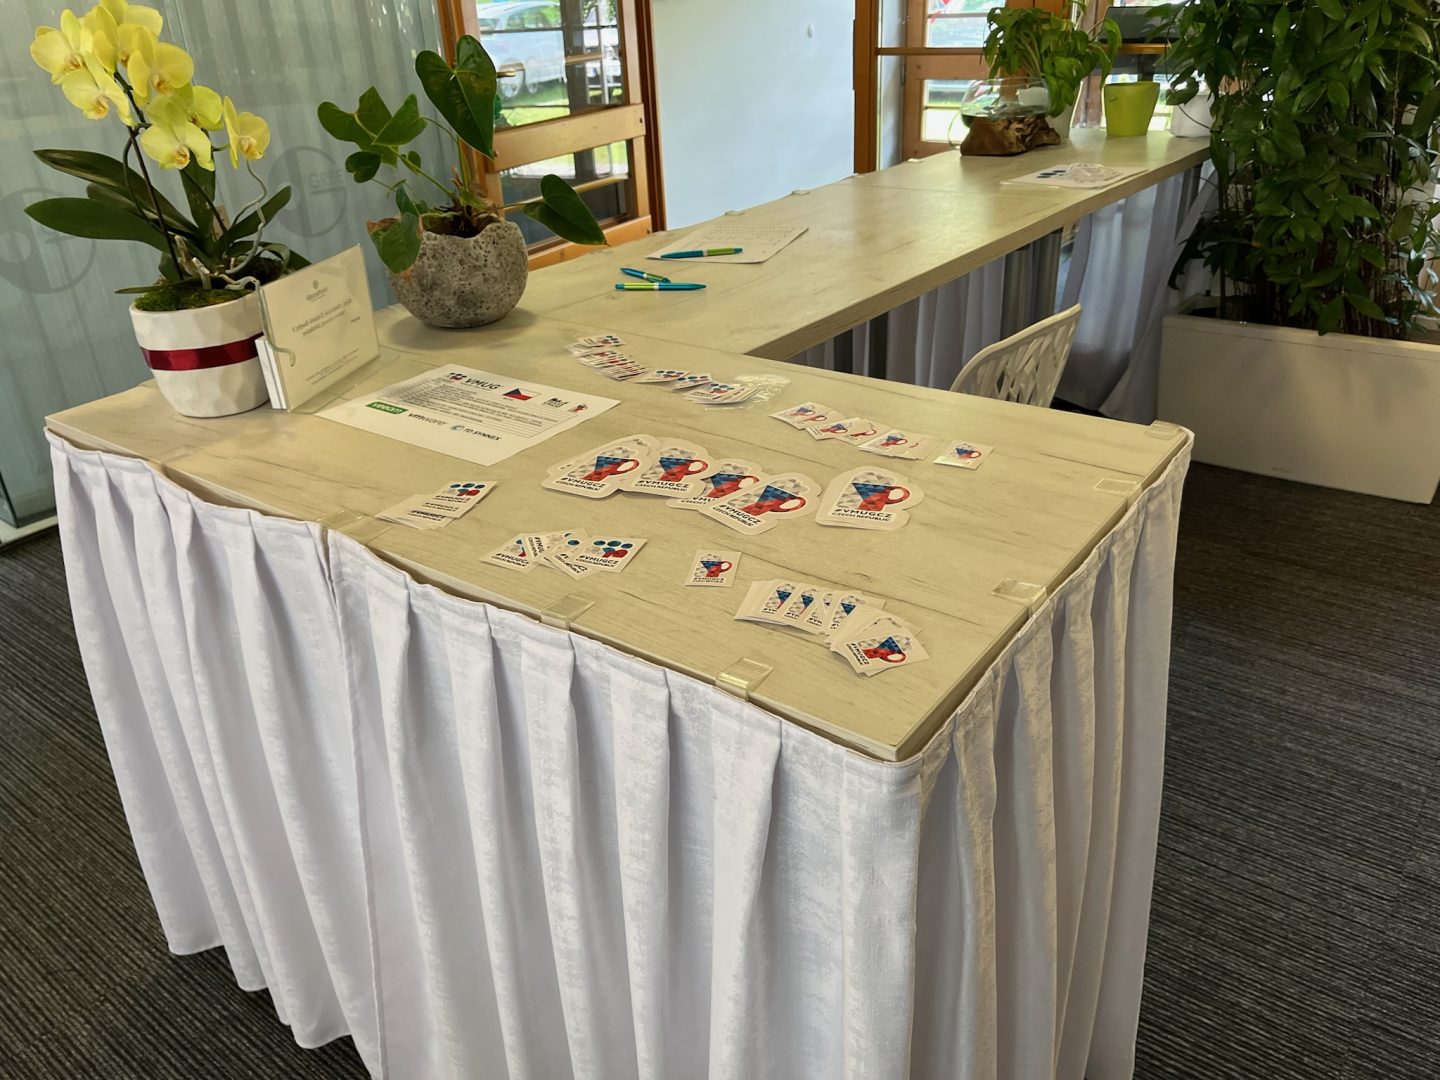
On an inspiring day at Greenpoint Prague, we gathered for the VMware User Group (VMUG) Czech Republic event, which I had the pleasure of organizing alongside Josef Zach. The venue buzzed with energy as we eagerly anticipated a day filled with insightful sessions and vibrant networking.
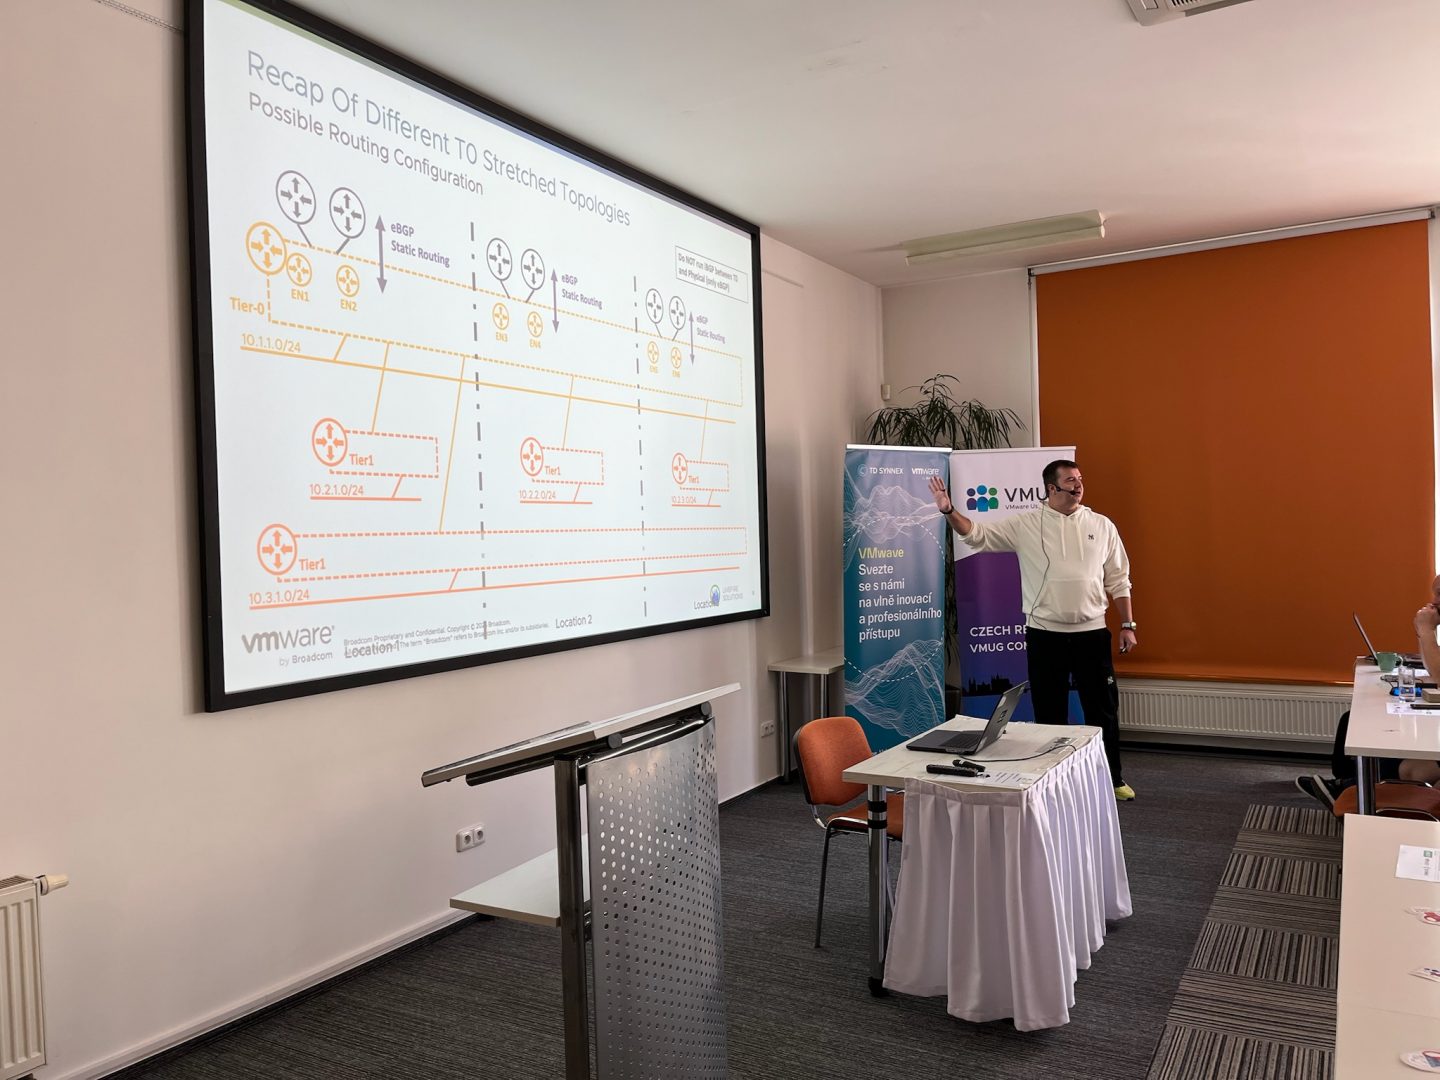
The day started strong with Karel Novak‘s compelling session, “VCF Multi-Location Networking.” Karel captivated us all by diving deep into the complexities of VMware Cloud Foundation, especially advanced networking across multiple locations, providing valuable insights to manage complex infrastructures effectively.
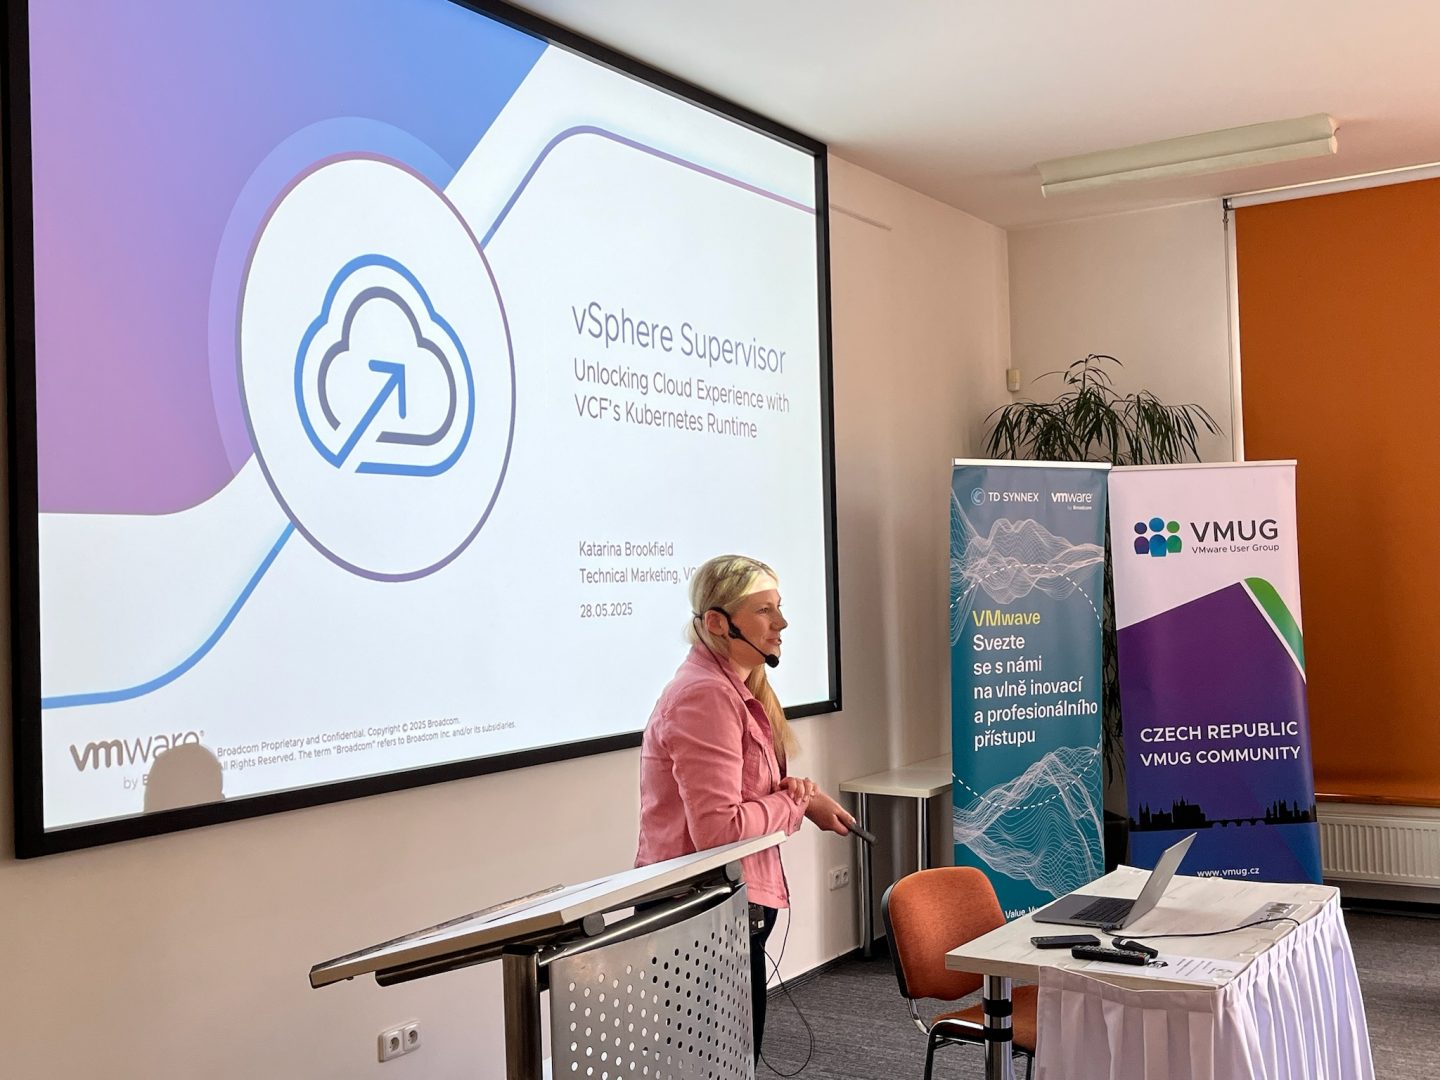
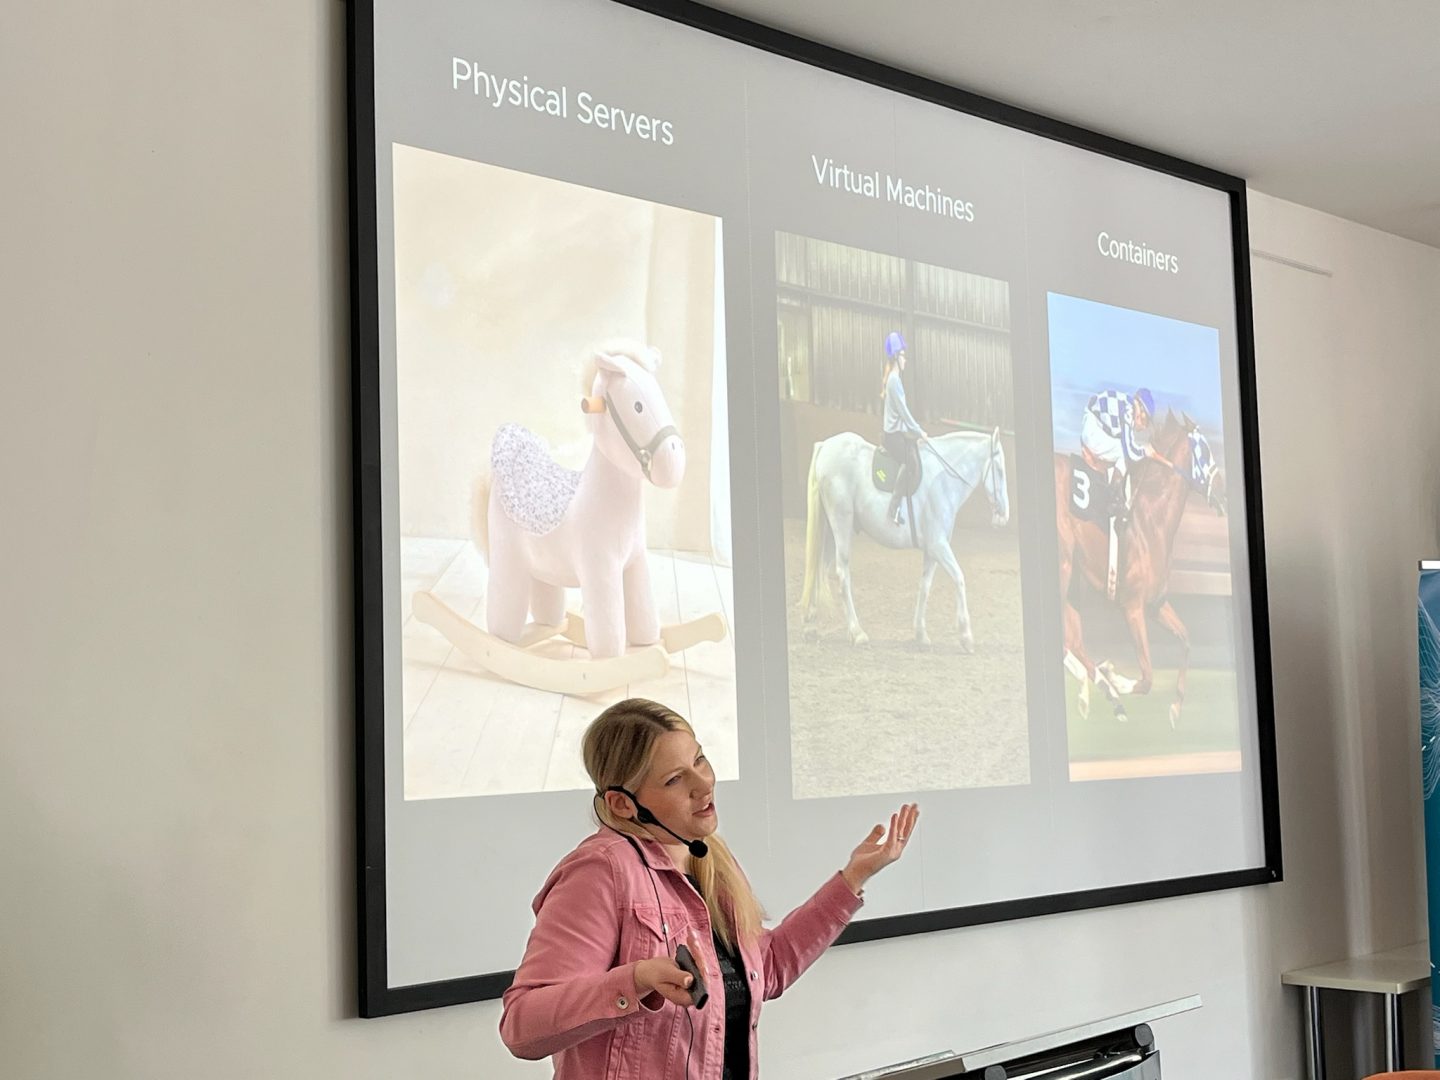
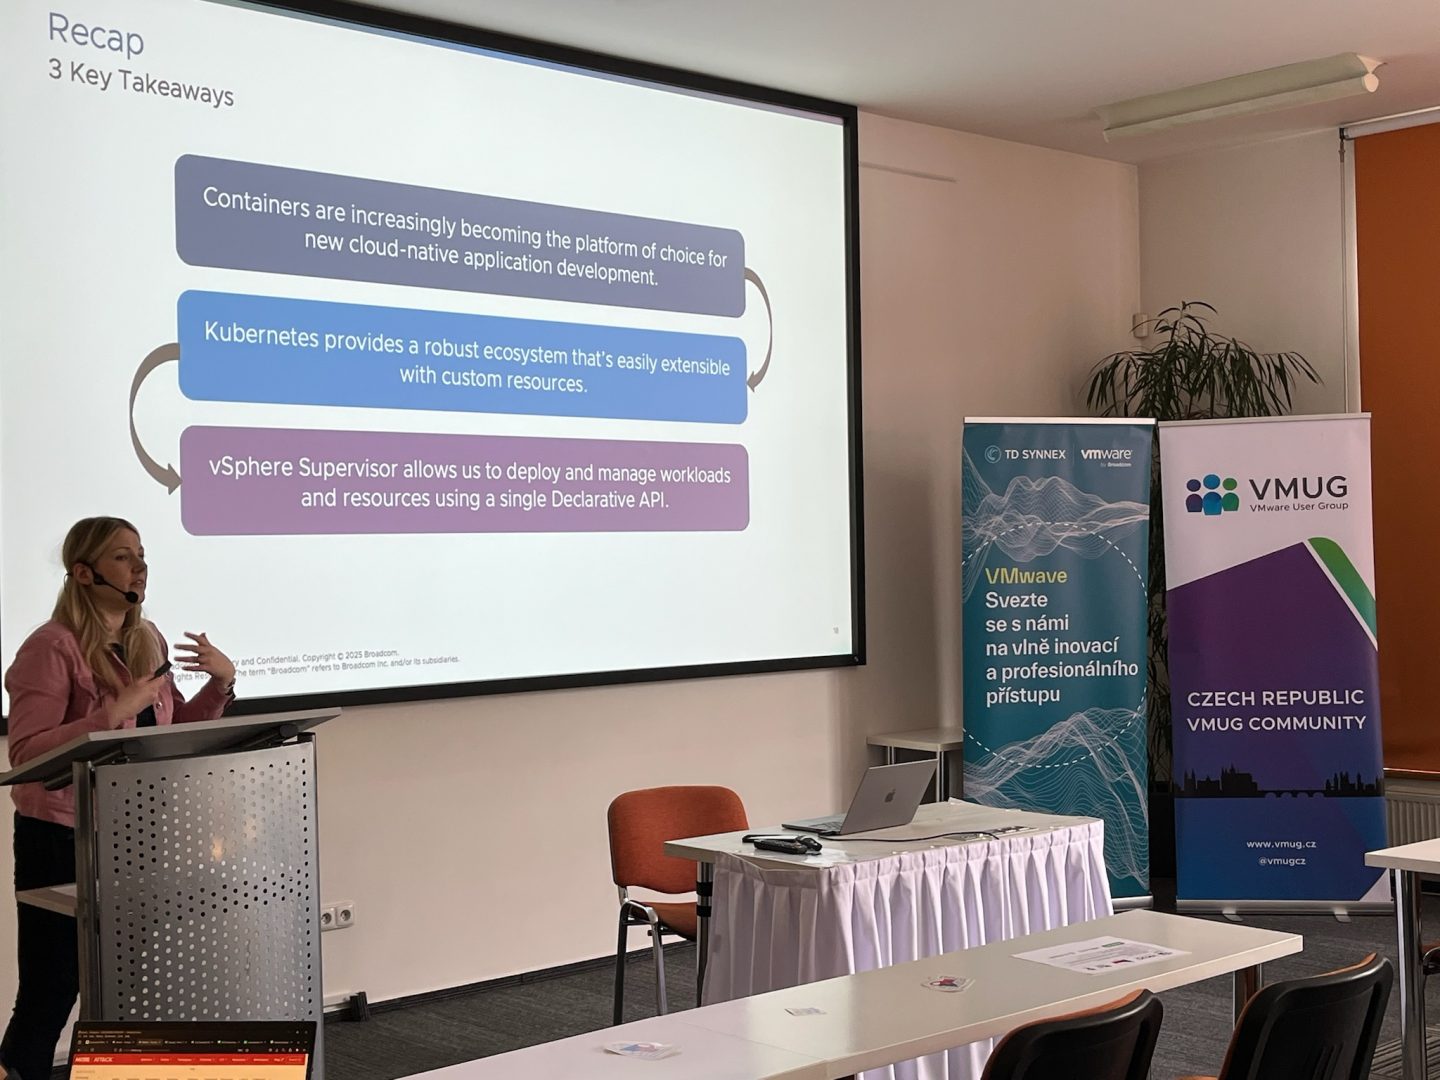
Next up, Katarina Brookfield delivered an excellent presentation, “vSphere Supervisor – Unlocking Cloud Experience with Kubernetes.” She skillfully showed how vSphere bridges the gap between traditional IT and modern cloud-native applications, leaving us with plenty to think about in terms of operational agility and Kubernetes integration.
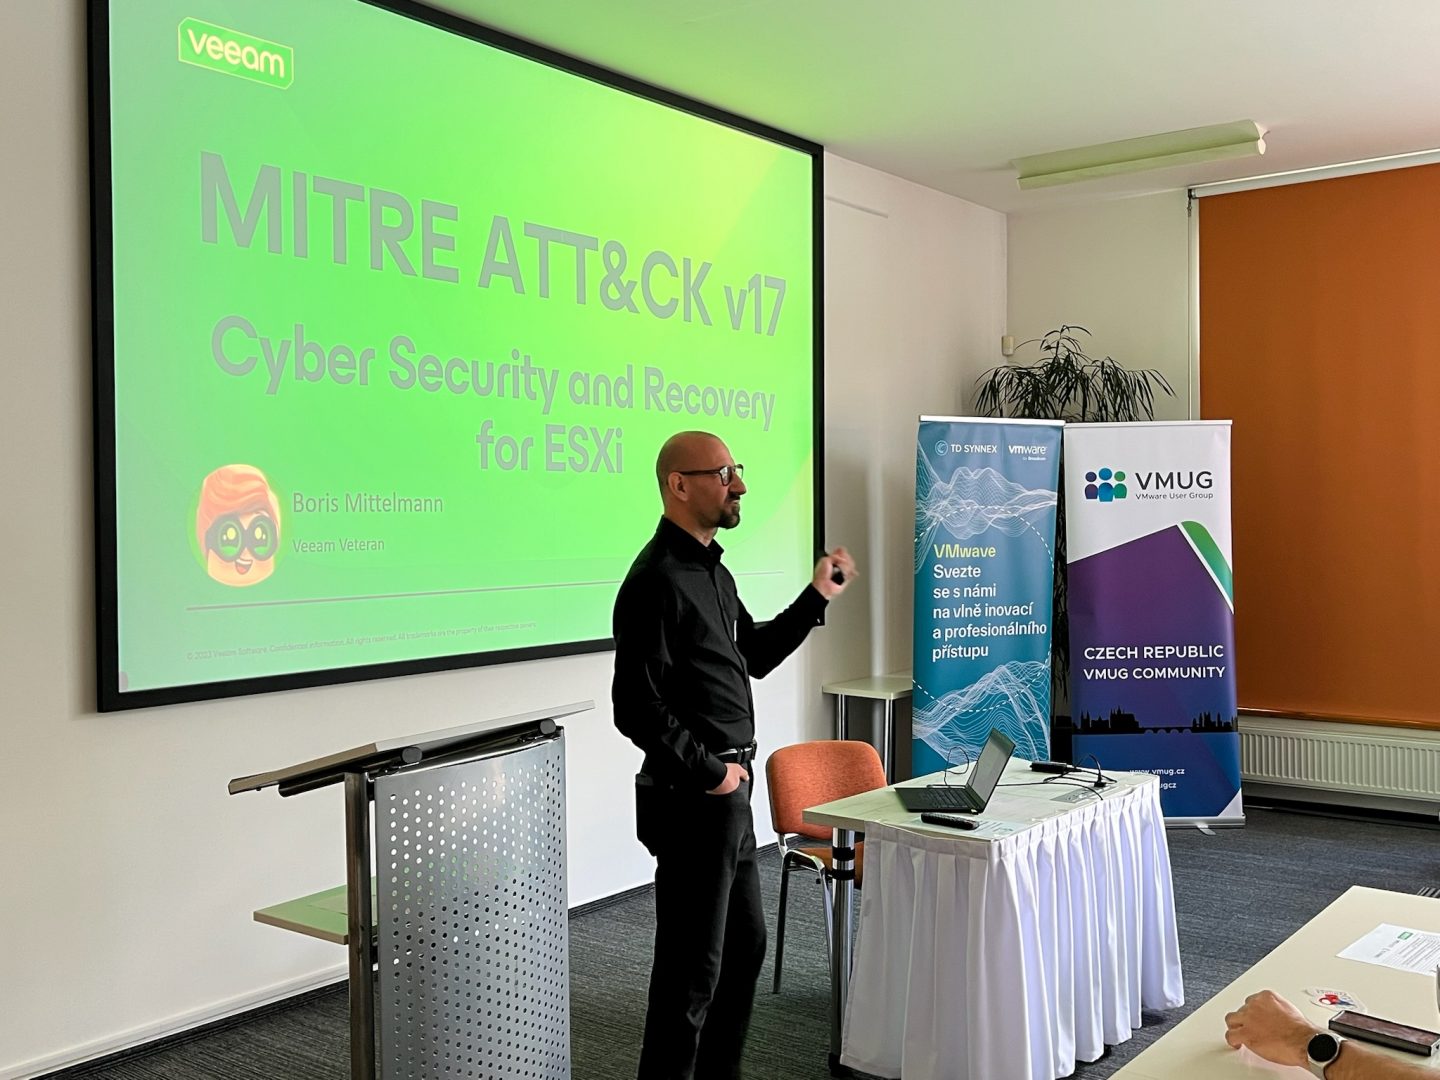
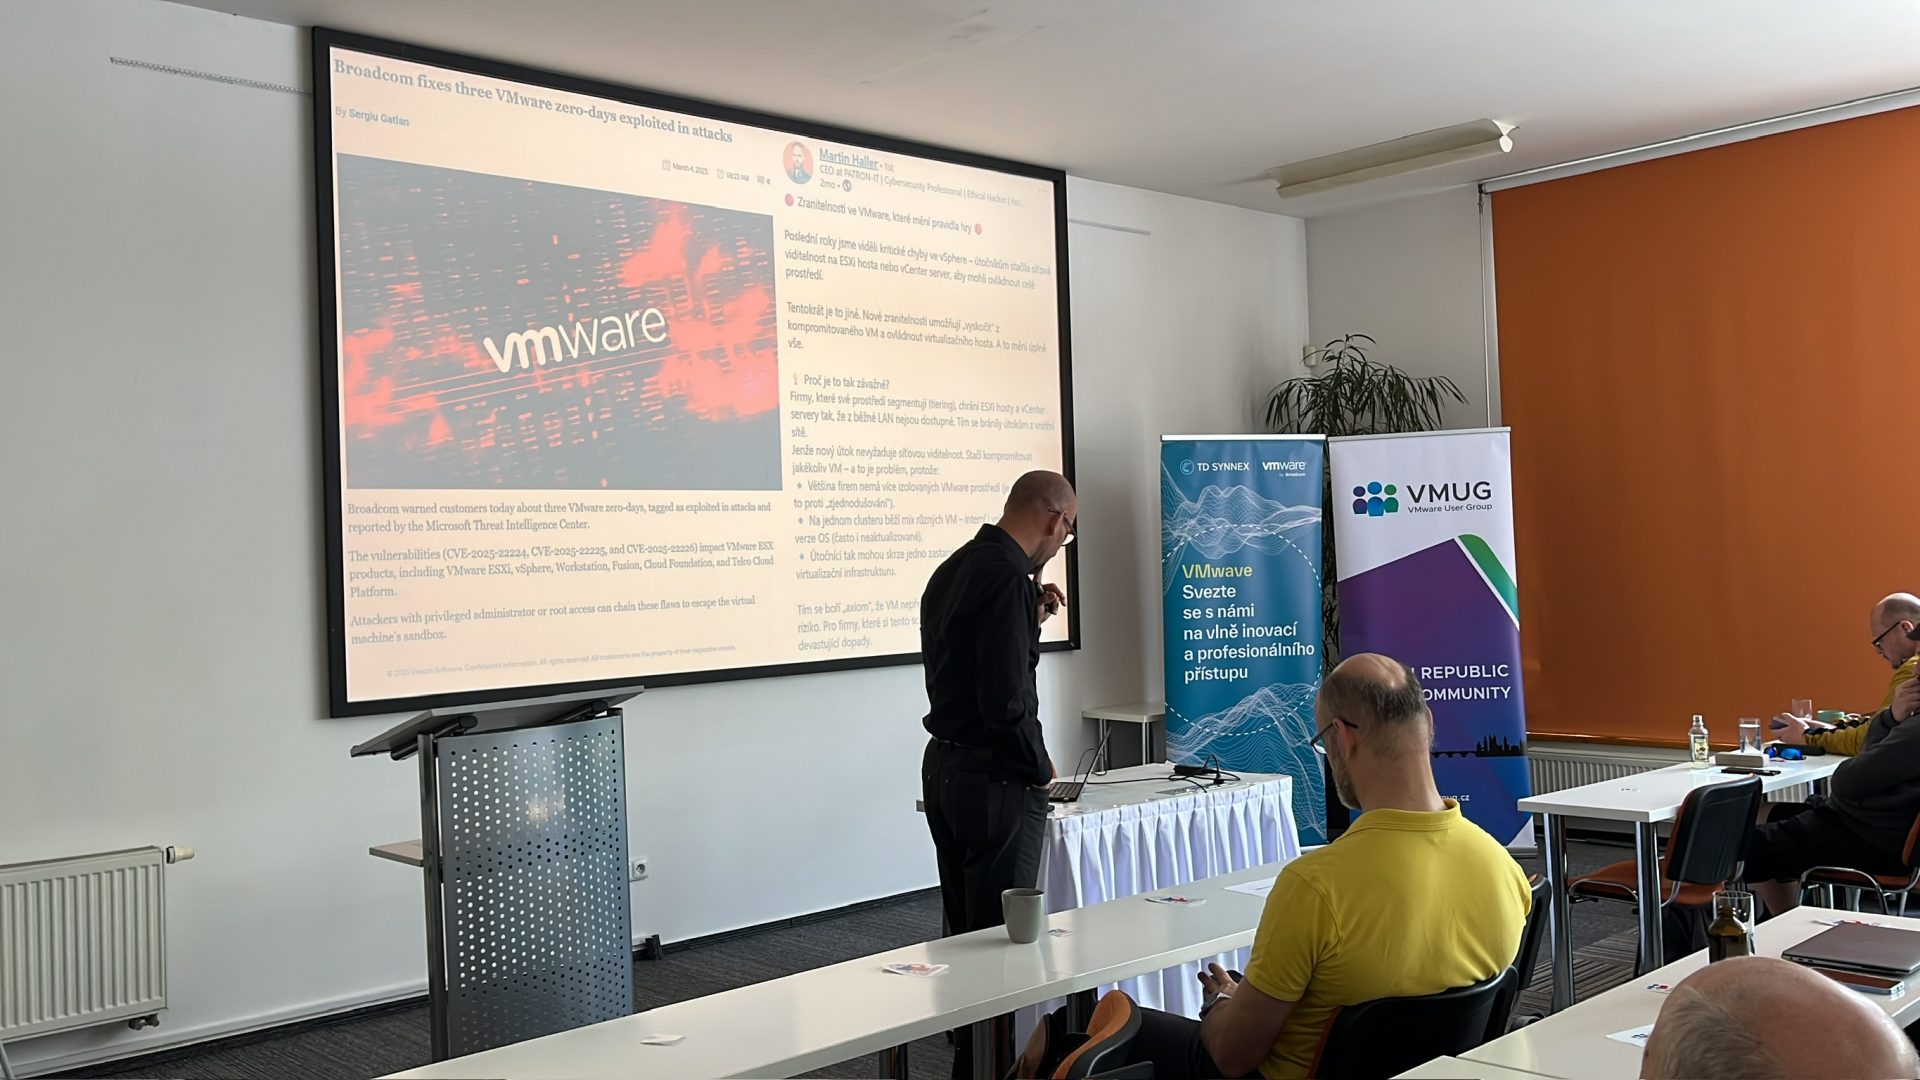
Boris Mittelmann then brought cybersecurity front and center with his essential session, “Veeam on MITRE ATT&CK v17 – Cyber Security and Recovery for ESXi.” Boris offered actionable tips and real-world insights on securing virtual environments, highlighting the importance of cyber resilience and preparedness.
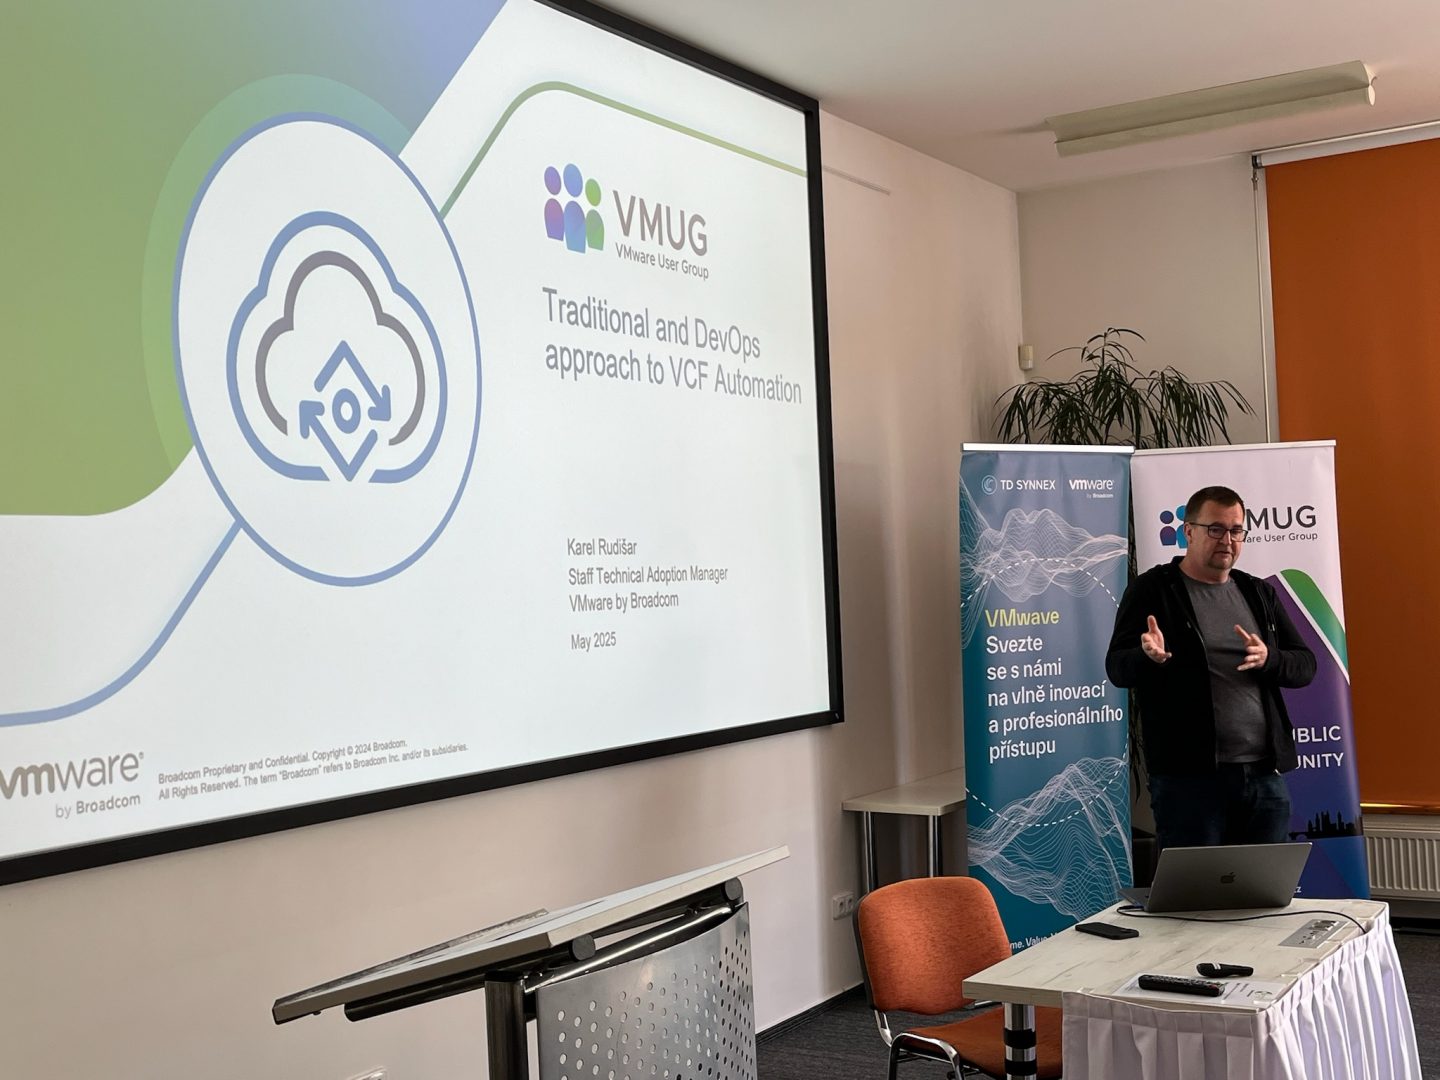
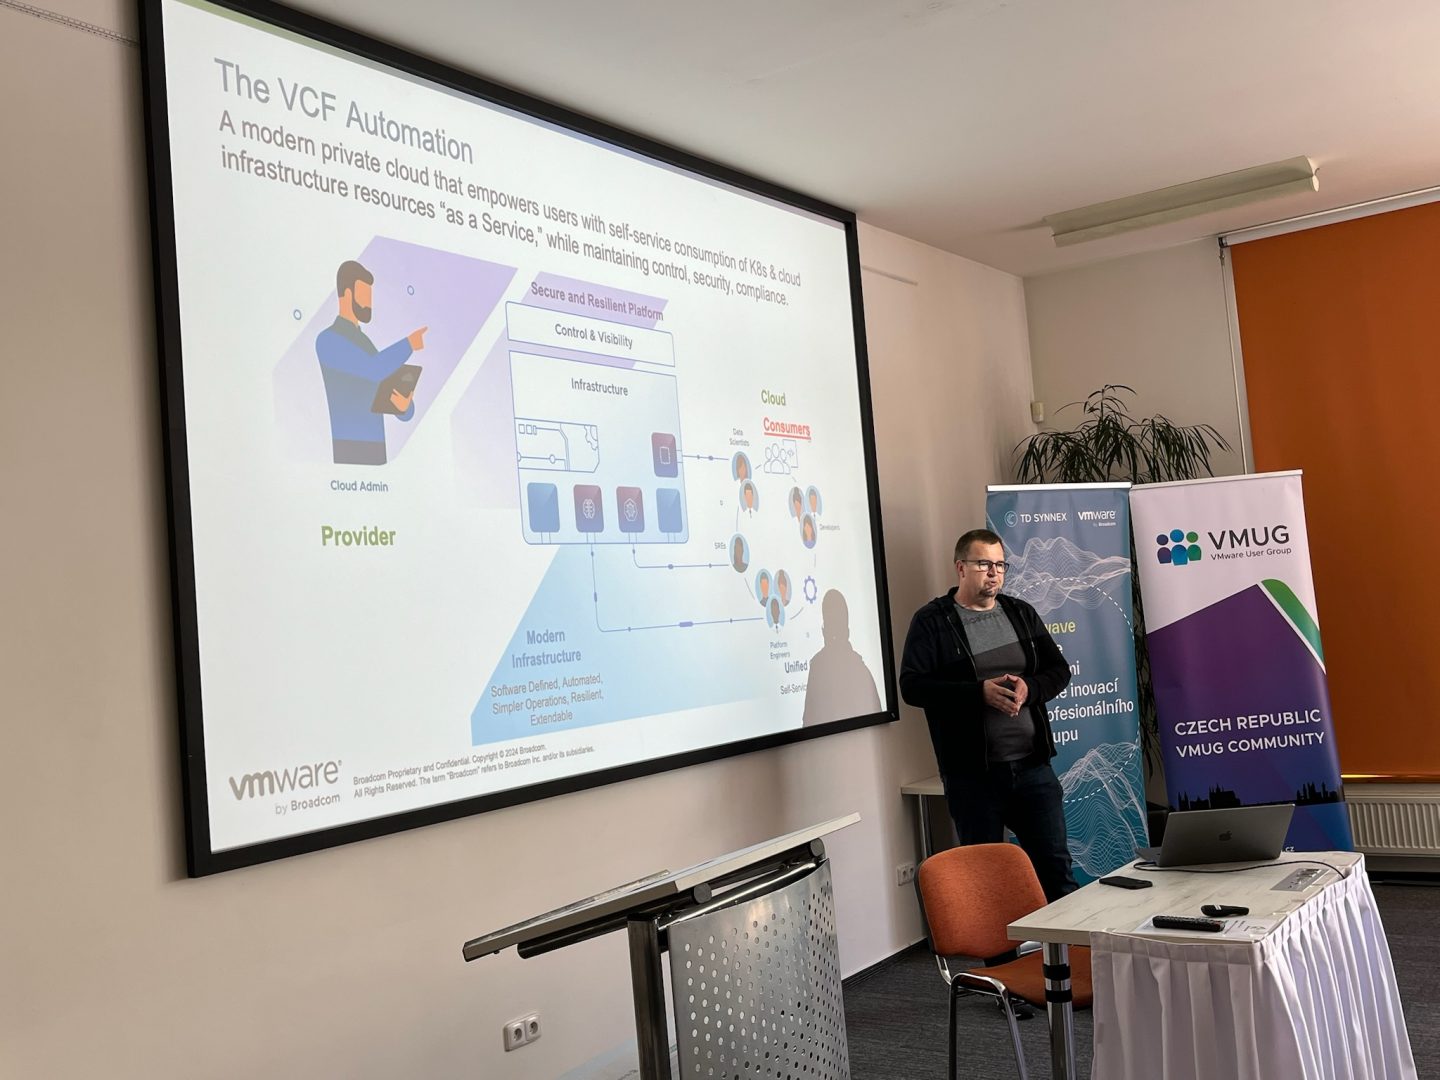
In the afternoon, Karel Rudišar provided valuable perspectives in his talk, “Traditional and DevOps Approach and Automation in VCF.” He effectively illustrated the advantages of combining traditional IT practices with DevOps methodologies to streamline automation within VMware Cloud Foundation.
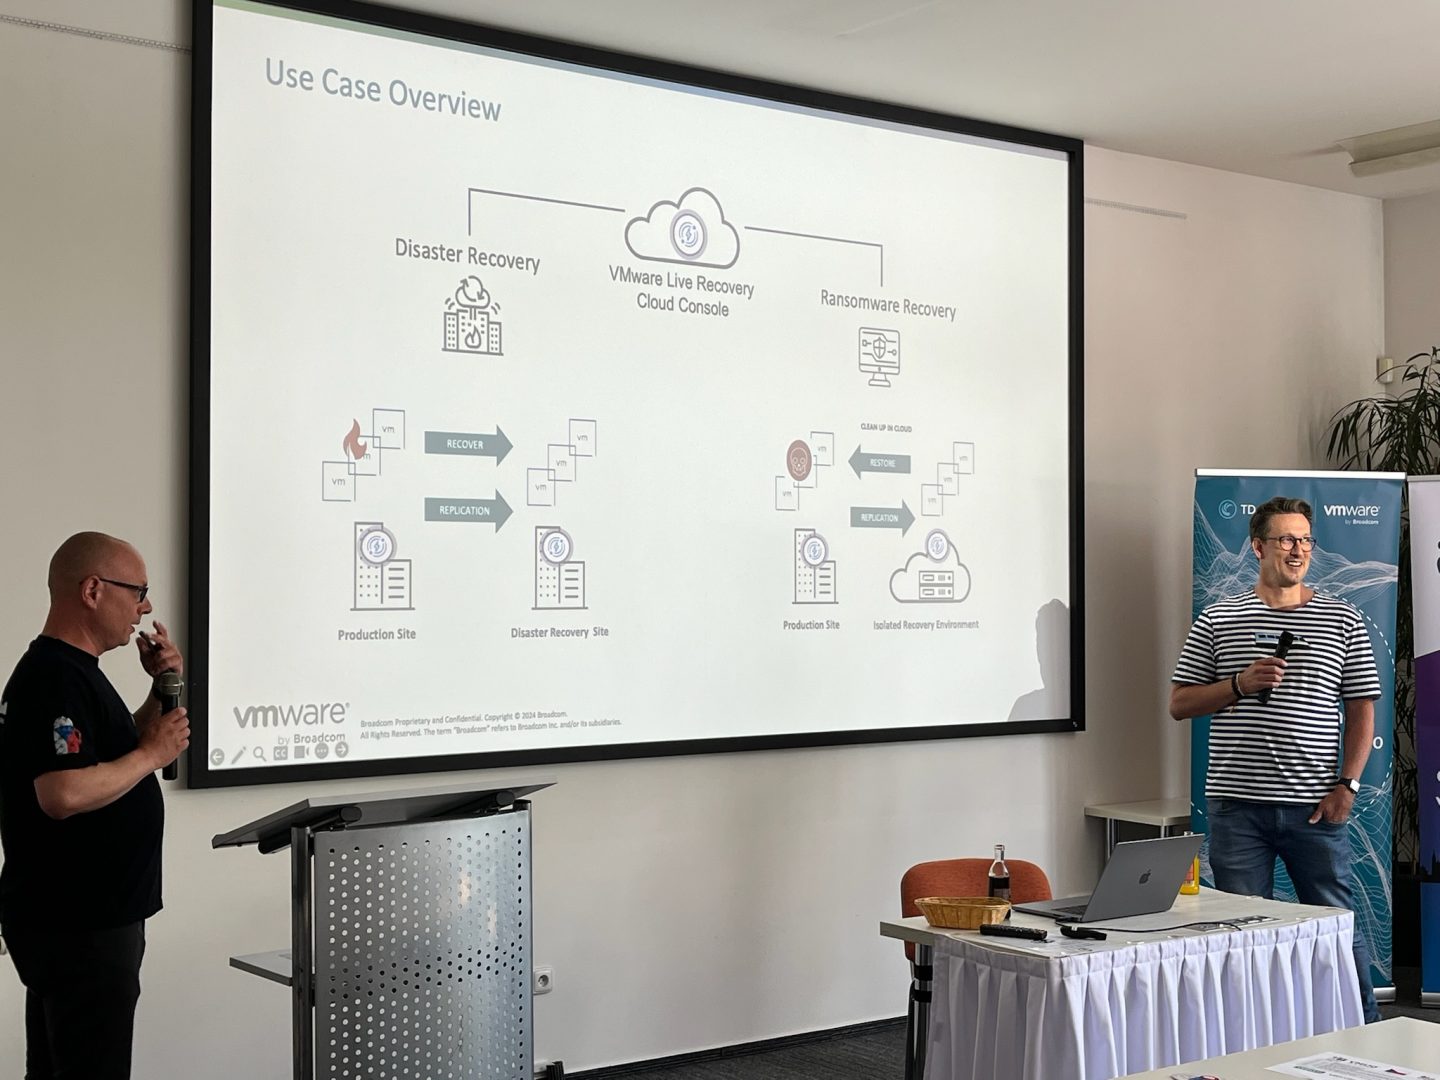
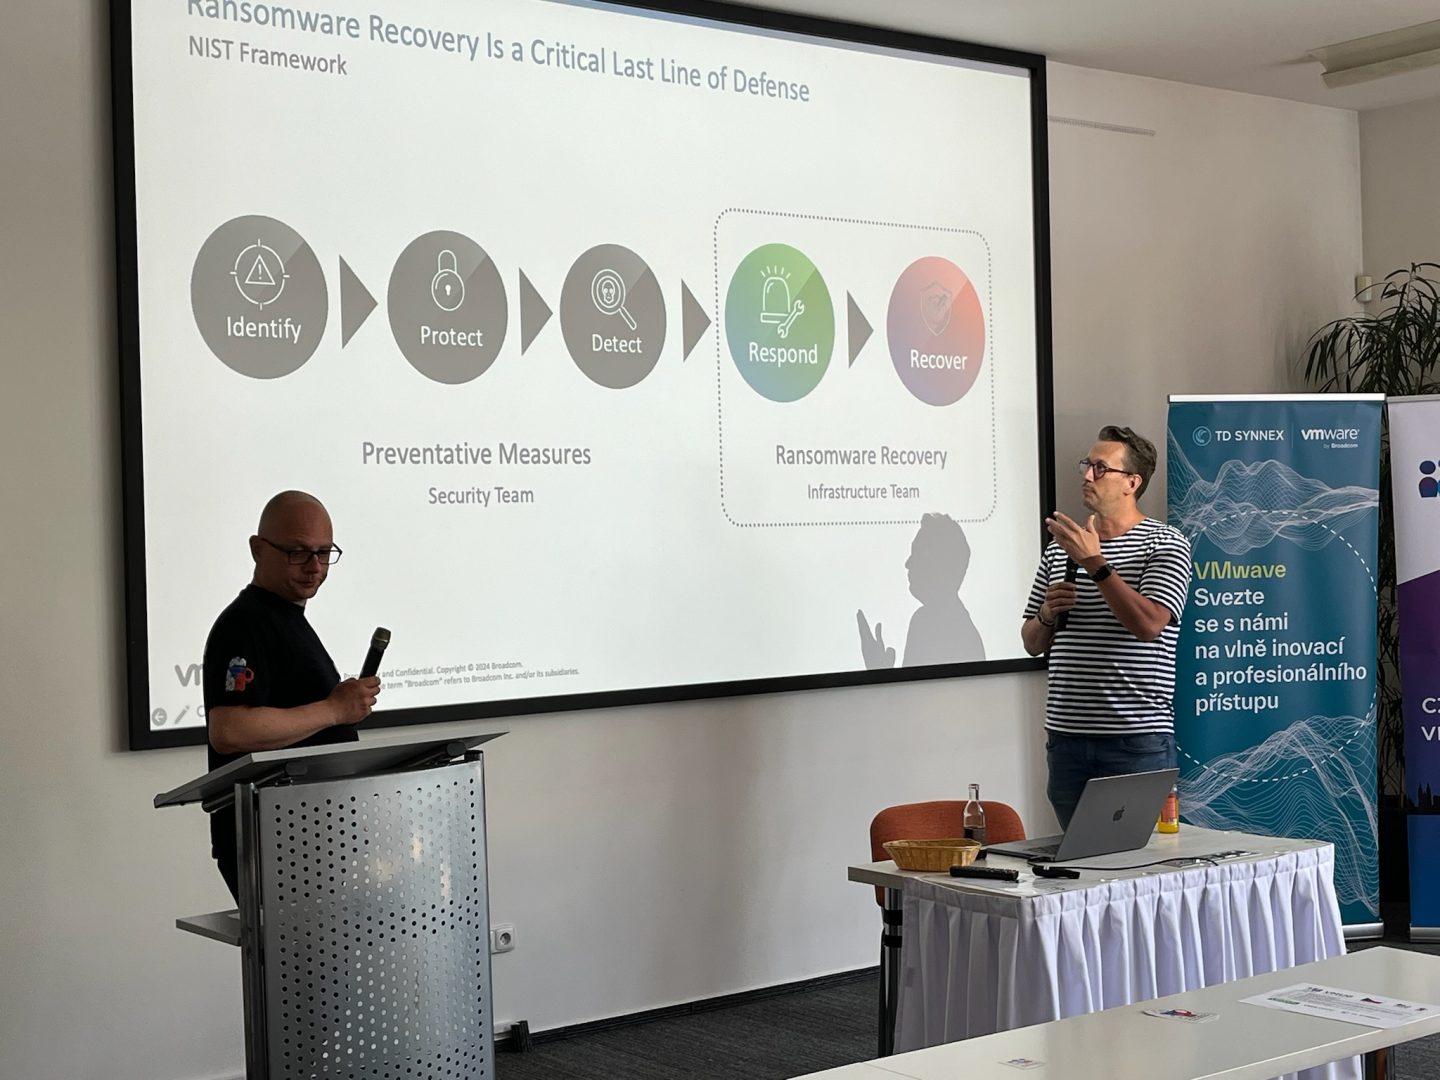
The critical topic of ransomware was expertly covered by František Ferenčík and Marek Ištok, whose session, “Ransomware Recovery for VCF,” offered practical strategies to mitigate ransomware threats and ensure robust recovery methods, essential for maintaining a secure VMware Cloud Foundation environment.
Petr Rada contributed further with insights into VMware Cloud Foundation, helping to deepen our collective understanding of key operational practices.
We wrapped up the informative sessions with an engaging roundtable discussion featuring VMUG Leaders and all session speakers. This interactive segment allowed us to share experiences and exchange valuable ideas.
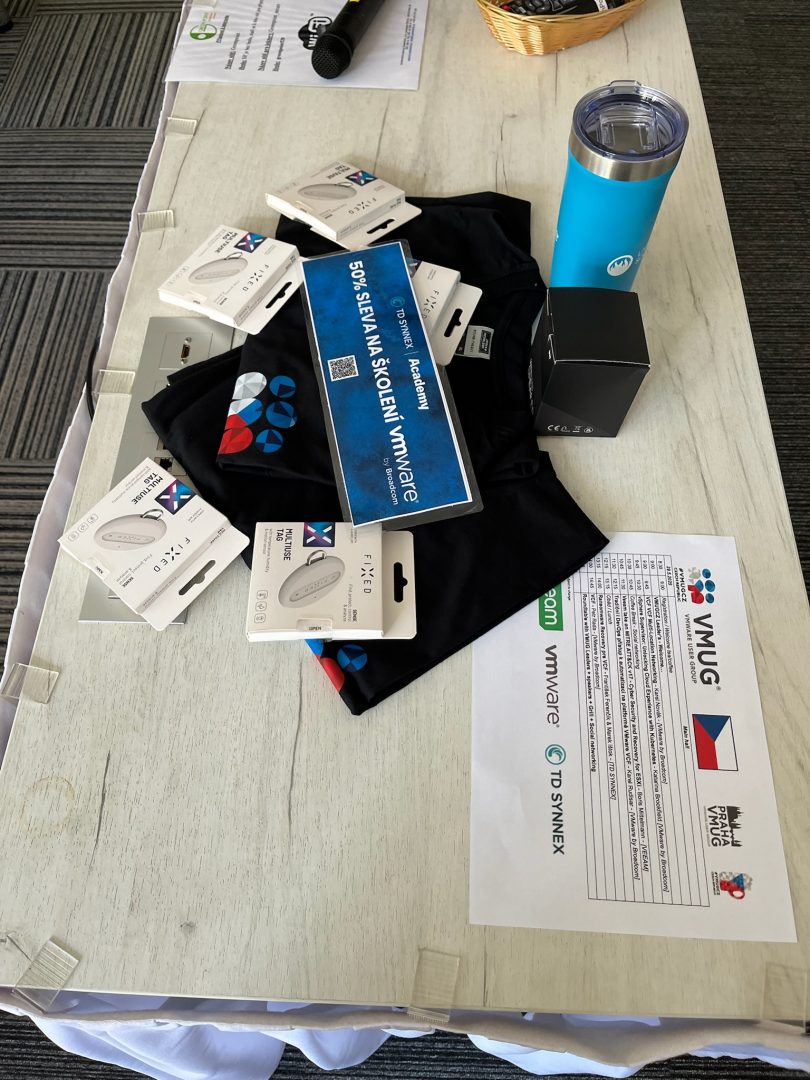
Adding excitement to the event was our raffle, where lucky attendees won two exclusive VMUGCZ t-shirts, five handy multi-use tags, a Bluetooth speaker, a LiveFire water bottle, and a special 50% discount voucher for VMware training.
The day concluded on a high note with a fantastic grill featuring delicious meats, vegetables, sausages, complemented by refreshing beer and great company during our social networking session. It was the perfect end to a rewarding day of learning and community building.
A heartfelt thanks to our sponsors VEEAM, TD SYNNEX , Broadcom and all speakers, attendees, and my co-organizer Josef Zach for making the VMUG Czech Republic event such a memorable success. I’m already looking forward to our next meetup!
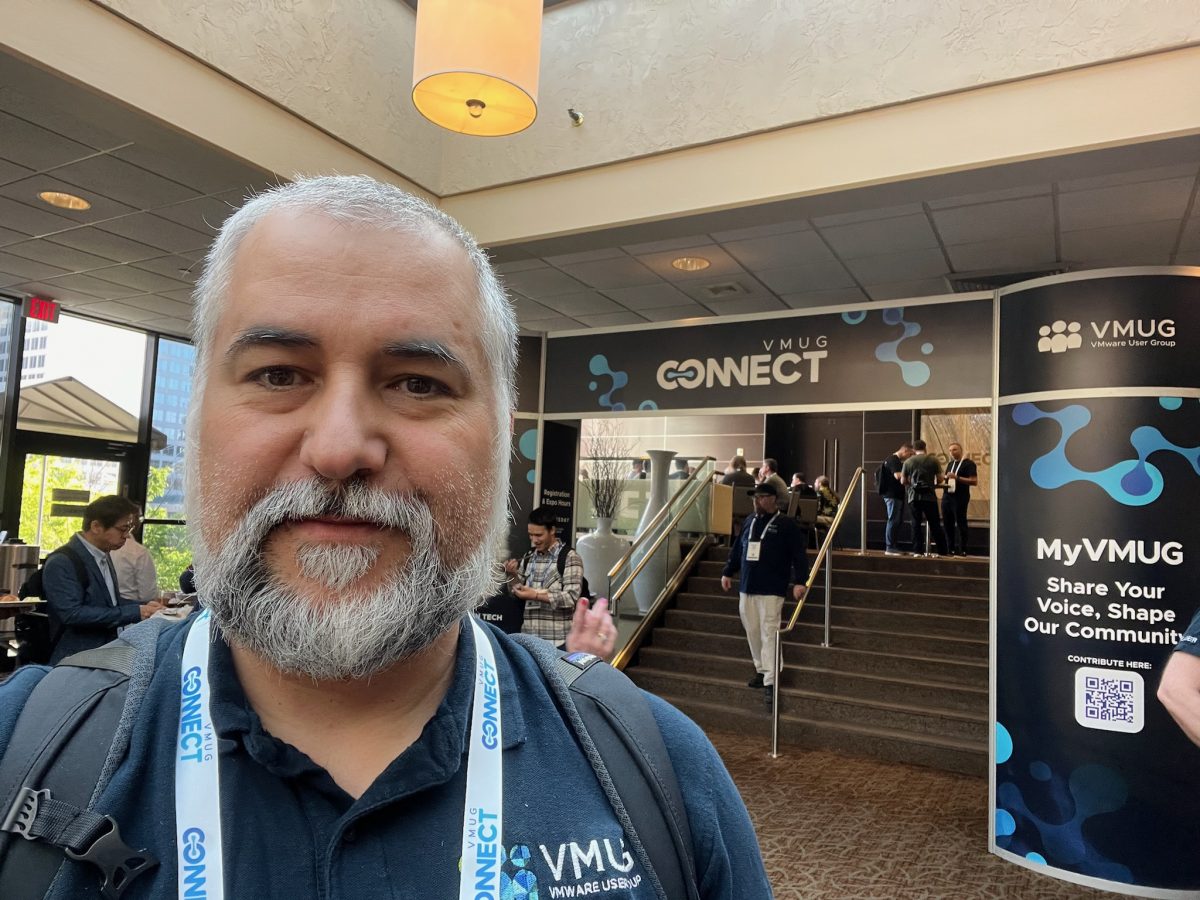
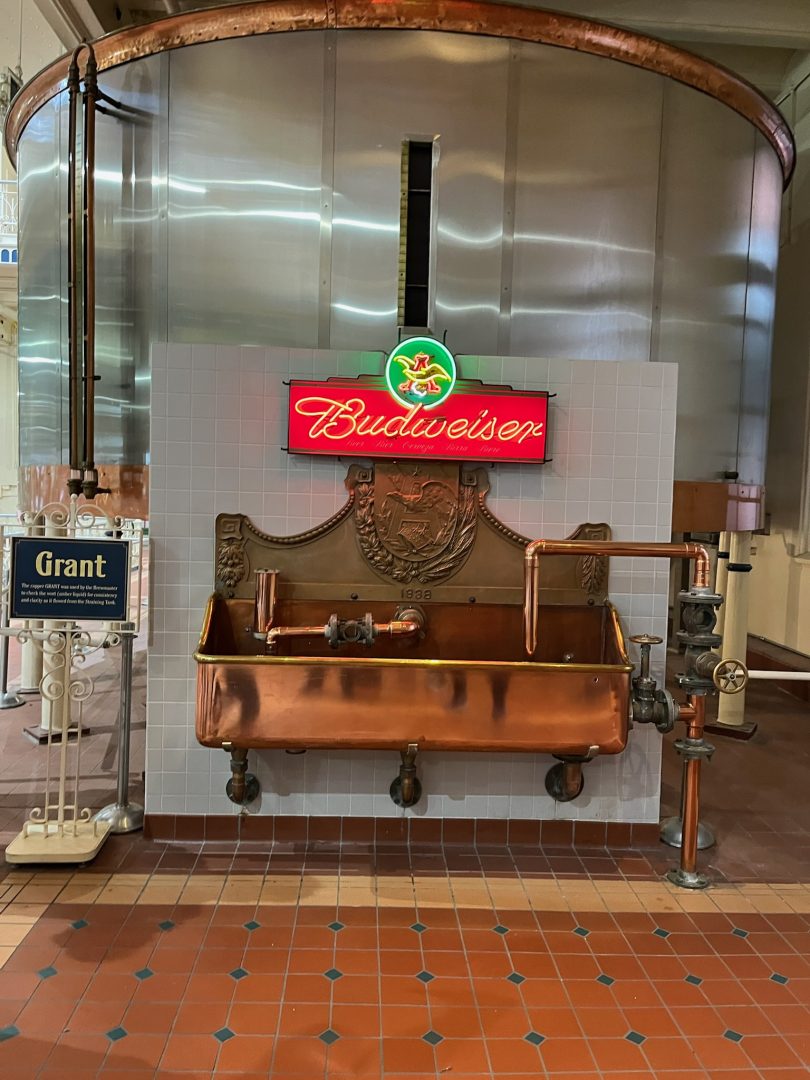
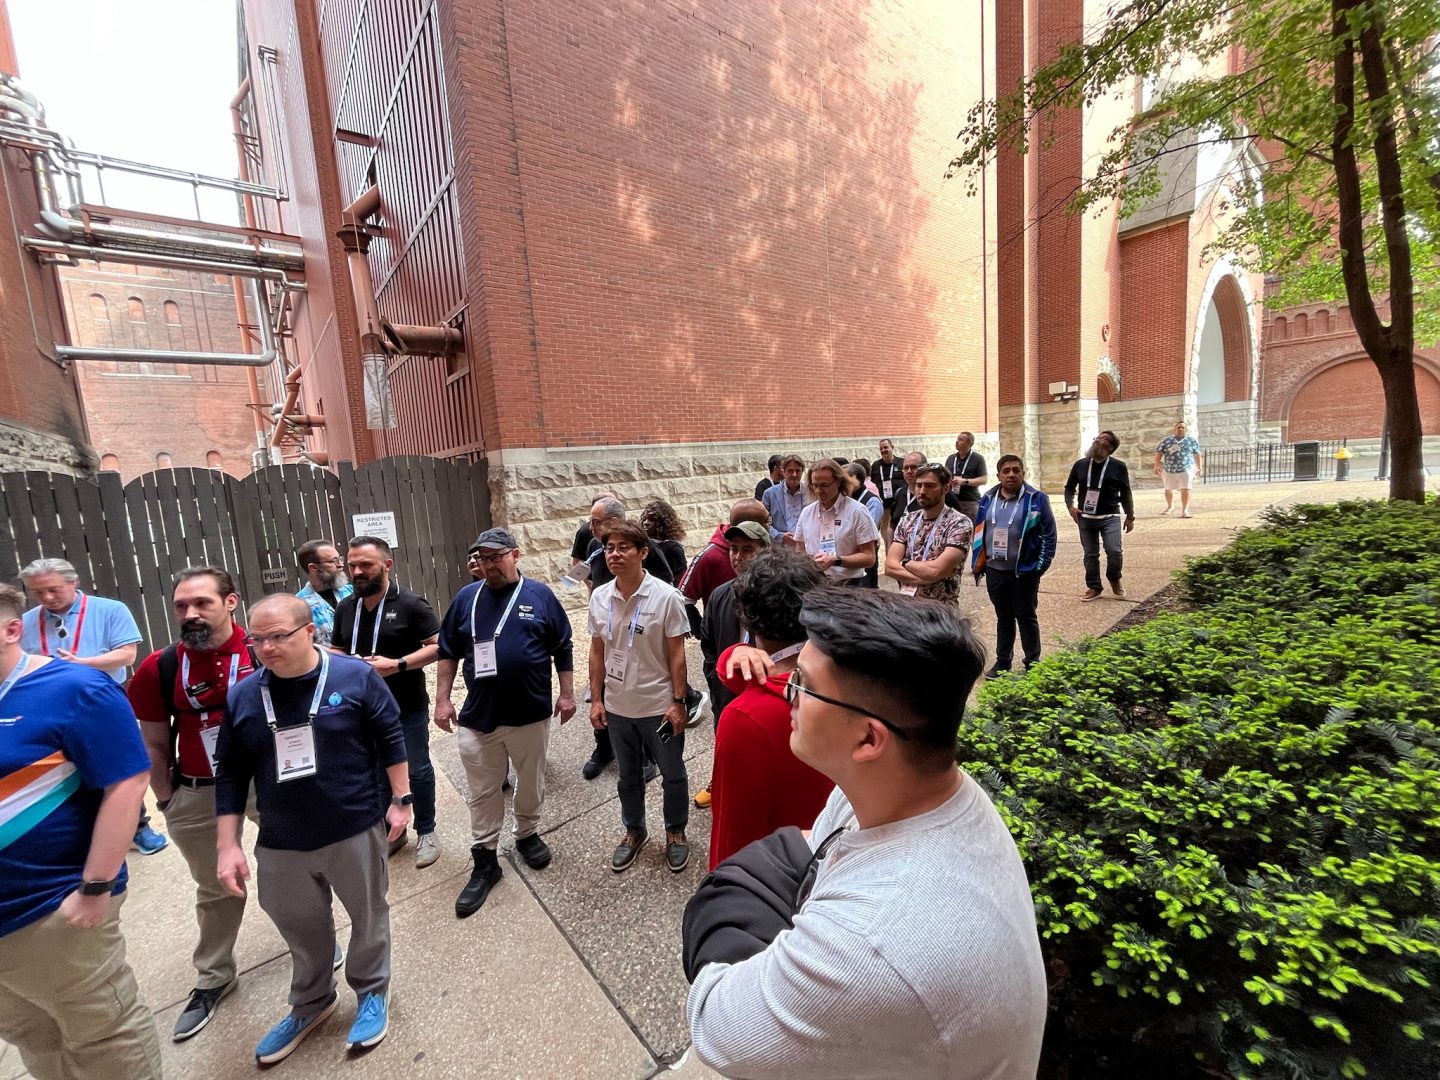
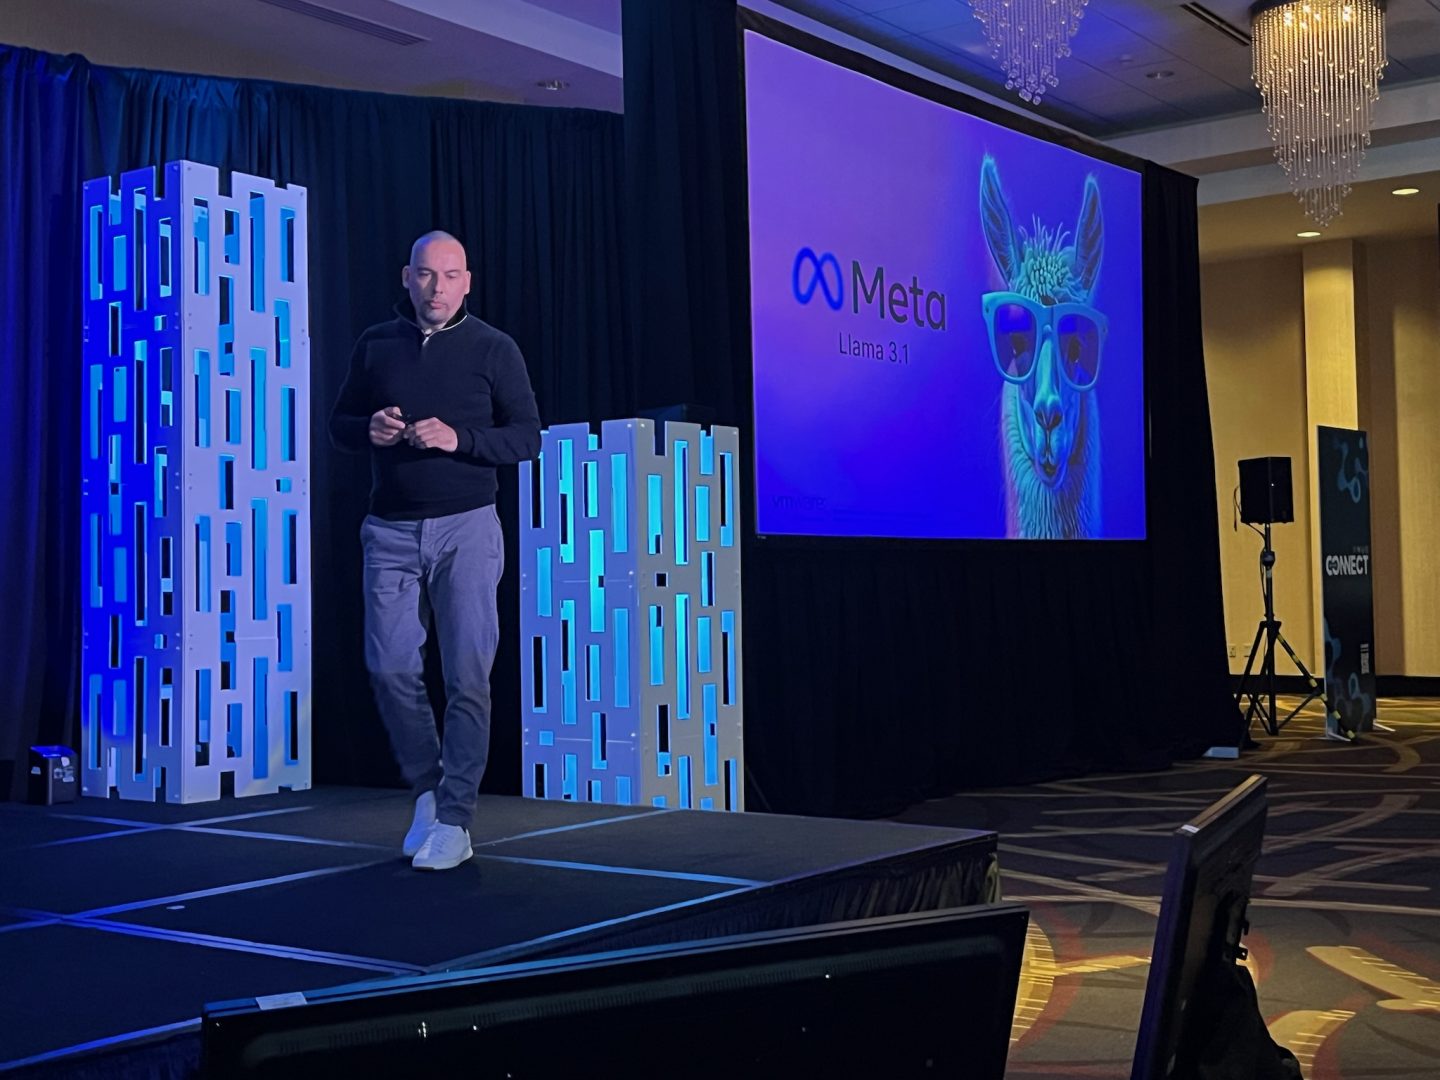
Just got back from VMUG Connect 2025 in Saint Louis, and what an incredible experience it was! From the moment I landed, the energy was buzzing, and kicking off the event at the pre-connect gathering in a Budweiser brewery set the perfect casual tone to network and catch up with friends and peers from around the globe.
The keynotes were truly inspiring. Pablos Holman, the hacker, inventor, and investor, delivered a fascinating talk about innovation, challenging us to rethink possibilities.
Meanwhile, Frank Denneman’s keynote on AI’s evolving role in technology had me scribbling down notes like crazy—exciting stuff ahead!
My favorite session had to be the PowerCLI Deep Dive. As someone who loves scripting and automation, it was packed with practical insights that I can’t wait to implement back at work.
Other standout sessions included:
The Art of Public Speaking
Technical Deep Dive into VCF Integration
Building Private Cloud with VCF
Simple Kubernetes
VMware Cloud Foundation – Edge
Hands-on Labs featuring VMware Live Recovery, Kubernetes, and NSX Networking
Corey Romero’s Jedi-level tips on how to become a vExpert
One session that particularly resonated with me was the HomeLab workshop. Being passionate about HomeLabs, this session provided fantastic ideas and tips on building efficient, powerful, and cost-effective lab environments at home. The discussions around hardware choices, networking setups, and virtualization best practices were incredibly valuable and left me inspired to upgrade and refine my own setup.
I also attended the big session with Weiguo He, “A Look Inside the Future of VMware Cloud Foundation“, which offered exciting insights into upcoming developments.
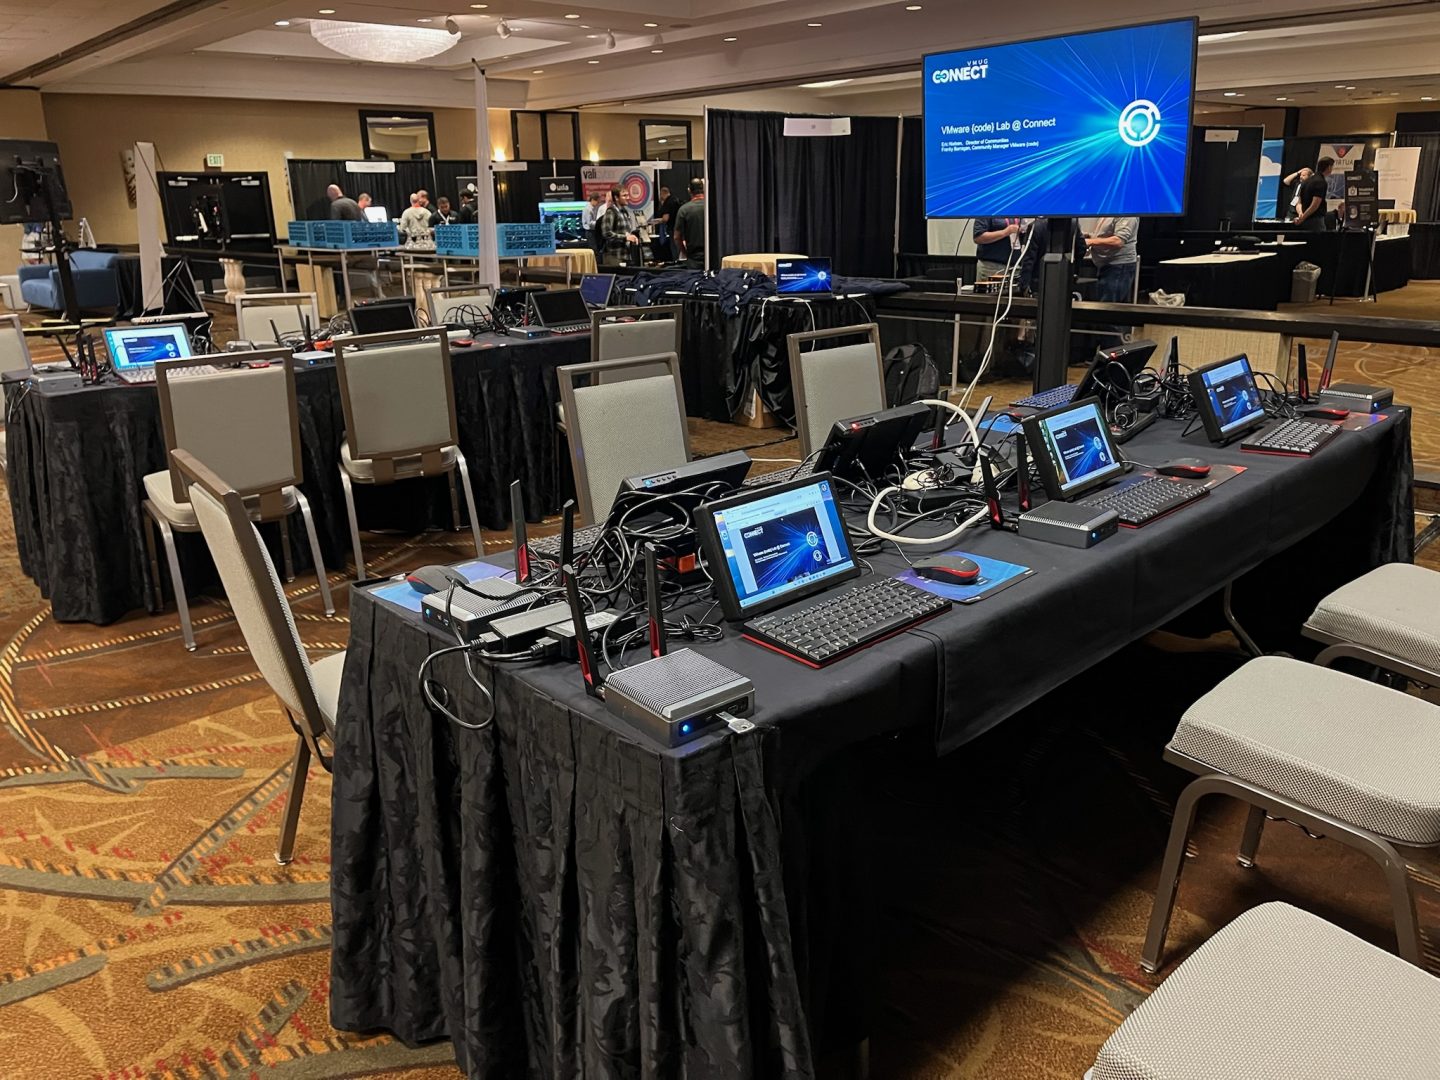
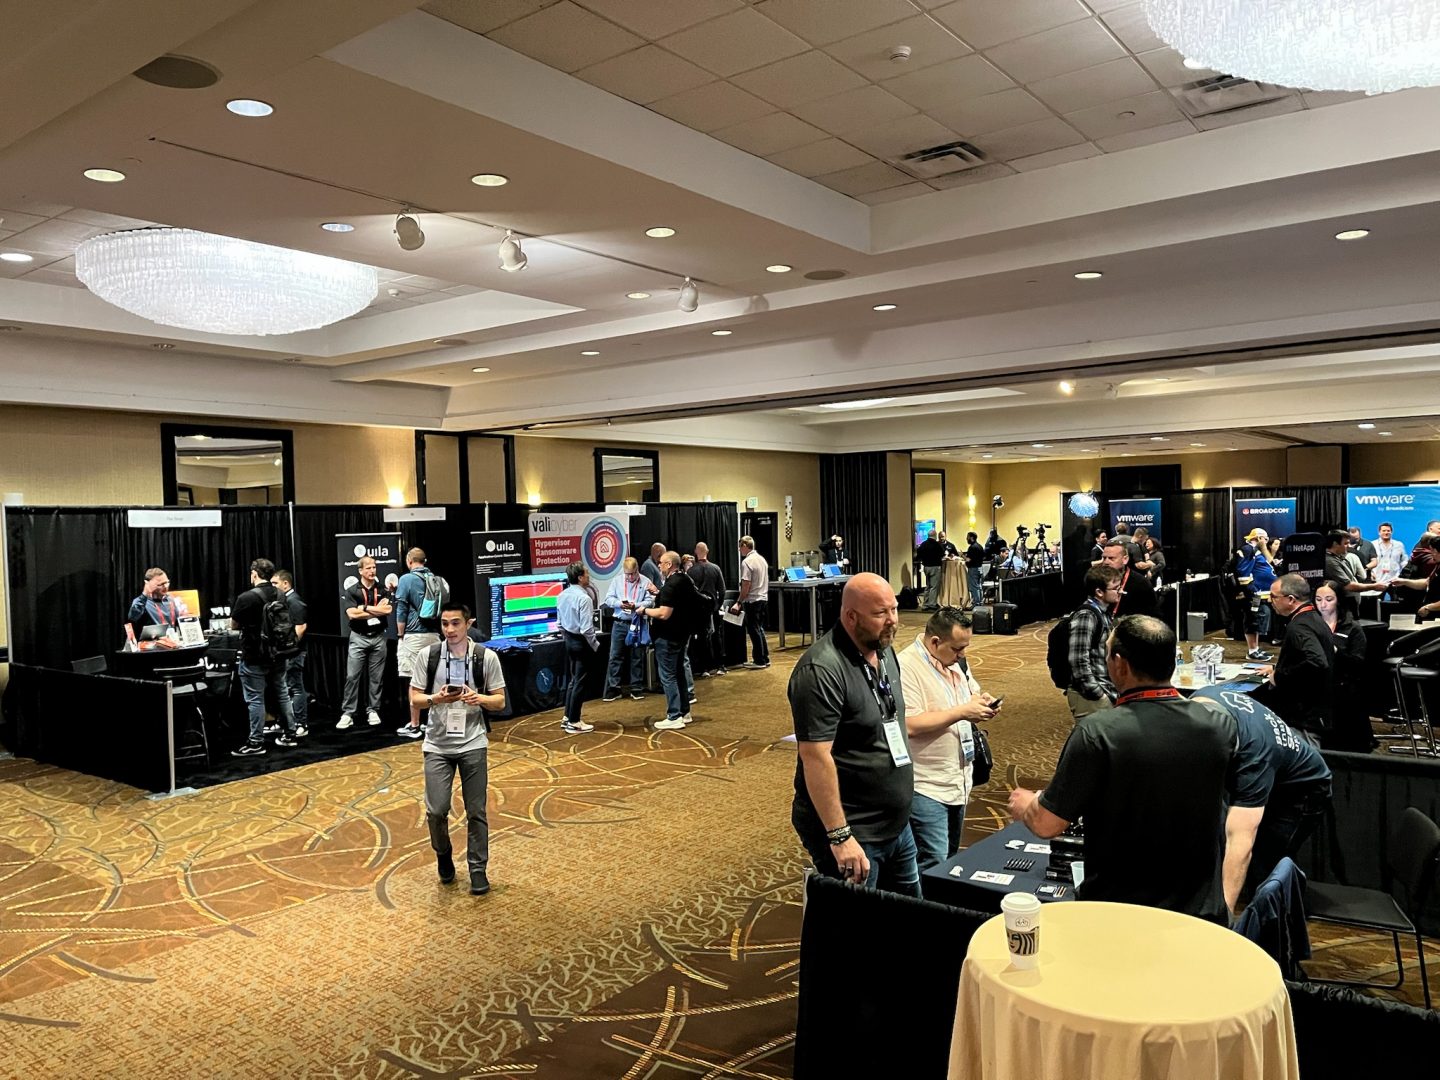
Exploring the vendor hall was another highlight. Interacting directly with solution providers offered valuable face-to-face discussions, giving insights into some great tools that I’ll definitely look into integrating into my workflow.
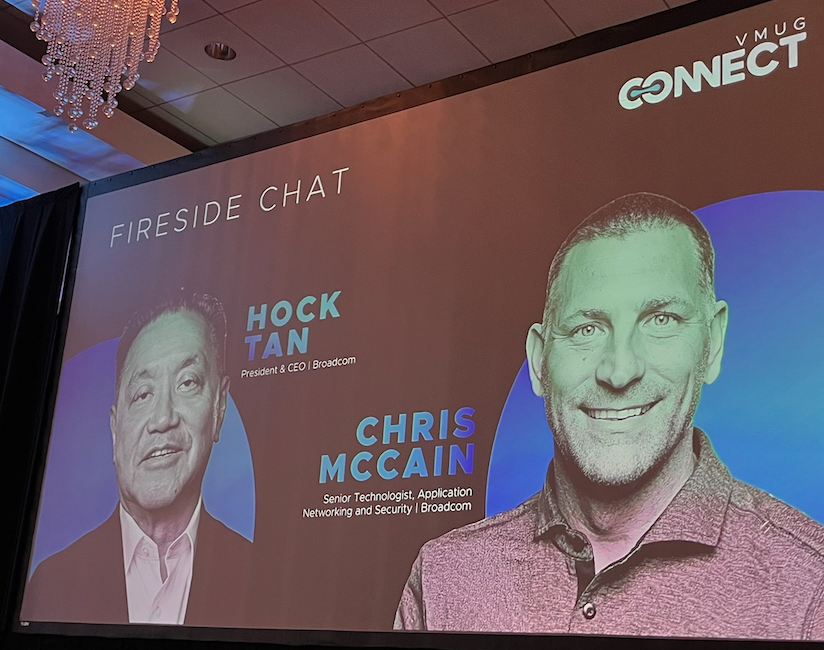
The event wrapped up with a fantastic fireside chat featuring Hock Tan and Chris McCain, offering thoughtful insights and discussions on the future direction of VMware.
One personal highlight was passing my VCP-VCF Administration exam during the event—what better way to celebrate than surrounded by the vibrant VMUG community?
Already looking forward to our VMUGCZ event on May 29… Stay tuned!
![VMUGCZ Online Event Recap: vSAN File Services (Deeper Dive) [CZ] — Jiří Viktorin (Feb 26, 2026)](https://vpxd.dc5.cz/wp-content/uploads/2026/02/VMUGCZ-intro-video-picture-1200x675.png)